Wednesday, 28 October 2015

I've lost my mojo!!

Hi there lovely followers!

As the title of this post suggests I have lost my mojo! I am hoping to find it again by way of a little give away!!

As lots of you are aware I have a passion for colouring and my medium of choice so far has been copics. I have completed a couple of classes over at Kit and Clowder (if you haven't yet checked them out and want to learn how to colour I cannot recommend Alyce's classes highly enough!!) and after I completed my clothing class I coloured up one of the very 1st stamps I coloured again and here is the finished image!


This gorgeous stamp is created by Sylvia Zet for Wee stamps and if you want a rubber stamp you can find her here.

And just for comparison here is my before photo taken in late 2012 next to my current :)


I am so excited in the difference and so proud of myself! 

So, head on over to my FB page To The Stars and Back, find the pinned post and follow the instructions - I want to know what you'd like to see her made into - and I will pick a random winner next Tuesday 03.11.2015 and announce on my FB page!

Thanks so much for stopping by and good luck if you decide to enter!

Melinda 
xx

Wednesday, 14 October 2015

October with Dusty Attic

Hello there Dusty fans!! Melinda here with you today sharing our week 37 in our 2015 Project Life album.

I picked up my gorgeous pack from boss lady Jen a couple of weeks ago and have finally got around to using some of the beautiful new pieces!! I cannot wait to get some more out and make more pretty things!! As you probably noticed I tend to use lots of the titles in our PL album and this week/month there is no exception :)


So, the 2 pages next to each other :) Apart from all the yummy Dusty products I have used an older (by older I mean 2014!!) Pink Paislee range "Hello Sunshine" which has a few black pops in collection. I have used the 6x6 paper pad and the ephemera pack.

The pops of black totally inspired my decision to colour all of my chippy black. Which was so quick and easy using a make up sponge and the Dusty In Colour Soot (DA0925). LOVE!!

Here is the left side


And the right


And here are the close ups along with product links :)


Our title card using Mini Captions #3, Mini ABC Upper and Mini Number Set.


Another of the mini titles from Mini Captions #3.


One of the arrows from Love This....


This cute little piece I have been wanting to use for AGES and I FINALLY got it used!! From Word Disks #1.


I so love this little title from Mini Captions #7.


More alphas from the Mini ABC Upper and the "fun" is from the Word Pack #28.

I have also used the XOXO in couple of places and also the "adventure" and "awesome" titles from Word Pack #28.

So, with this spread done and dusted I am fairly certain that that concludes album #2 for 2015. But perhaps this will be week 1 in album 3!! So many, many memories and moments captured!

I am planning on some fun scrappy time this afternoon and have got the beautiful, inspiring Dusty Attic moodboard up on my computer screen to hopefully get some scrapping done. I cant win the awesome $100 voucher up for grabs so make sure you have a play and use the below board for some inspiration!


Happy scrapping and Ill see you next month!!


Tuesday, 13 October 2015

I like totally love you

Hello there lovely followers!!

Im here today sharing a LO I made over the last couple of days. I have used predominately Shimelle Laine goodies - I just love her 1st 2 ranges with American Crafts!!

I flipped through my stack of photos to scrap and came across this one of hubby and I pre-wedding.


I started with some texture paste from Dusty Attic and a mini stencil from Heidi Swapp on some watercolour paper. Then 2 Heidi Swapp colour shine colours (sweet cherry and coral) were used with water and I pretty much applied them the same way I would water colour paints behind where the photo was going and the bottom left corner. Some stamping using a clear stamp from Heidi Swapp and some roller date stamps with black archival ink. I added some gold thread behind all the paper layers, stuck them down and then did my sprinkles in black, gold, sweet cherry and gold colour shines.

Next I went with some paper layers from the 1st Shimelle collection (the pink/coral/cream diagonal stripe, the cream/black dot, the other cream/pink/coral paper is actually the paper with all the numbers on it, the green map print and some of the filmstrip paper) and then I pulled a couple of scraps from my scrap box - a floral from Maggie Holmes Open Book and and another that I have no idea of brand or anything!! Oh and the background woodgrain paper that is also part of the layers is from Bella and I picked it up from Spotlight.

I heat embossed my title using a Heidi Swapp stamp and gold embossing powder - my photo did have a little reaction but not enough to stop me using it! You can see it in the close ups!

The 2 is fussy cut from the numbers paper and all the flowers and the tab are from the Shimelle sticker book :)


You can see above where my photo bubbled a little!!


So, thanks for stopping by and happy scrapping!!

Mel
xx


Sunday, 20 September 2015

"Sweet Girl"

Hi there!!

I am here today sharing with you a traditional 12x12 layout I made during the week of my beautiful niece from her year 11 ball earlier this year.

I recently placed my 1st order with Aussie company Cocoa Vanilla Studios and I was so excited to get playing with their brand new range "Life Is Beautiful", full of pretty floral's, butterflies and some gorgeous blue's mixed in.

Here is my completed layout


That floral in the background was too beautiful to use only as the background and have covered up so I did indeed gut the middle of it and you can see some of it peeking behind the layers behind the photo.

I have used some of the new texture paste and a new feathers & arrows stencil by Dusty Attic as a subtle addition to the white cardstock. I have also used some very light blue gelatos and the plastic packaging technique to bring out the blue of the dress.


You can see the stencil work and the light blue of the gelatos a little better in this pic :)


The florals are from the ephemera pack and so is the word "sweet". I have pulled a couple of the veneer pieces and also some of the enamel dots. I have used "Worn Jeans" fluid chalk ink to do some stamping - stamps from Kellie stamps and also an Ali Edwards Story Stamp set. And, of course, a roller date stamp. And some gold Heidi Swapp colour shine.


A manila tag and some twine from my stash. Butterfly charm from the collection and some scrap paper behind the white cardstock to work as a pocket for my journalling. Which, I promised my niece, she will one day appreciate the words I have written but at 16, well, need I say more?! Haha!

Thanks so much for stopping by! I do have another layout to share with another of the Cocoa Vanilla ranges but the photo's I have to work with are a bit average. The other layout is about my littlest guy and is using the very cool "Made Of Awesome" range so hopefully with the sun shine today I can get some decent photos!!

Happy scrapping!!

Melinda
xx

Monday, 14 September 2015

September (already?!?) with Dusty Attic

Hi hi! I'm here with you today sharing my projects for September for Dusty Attic!! September, really?! How did that happen?

Anyways, I have 2 projects to share this month - a traditional 12x12 LO and a double page spread with a 12x12 and a PL style page for my littlest guys album.

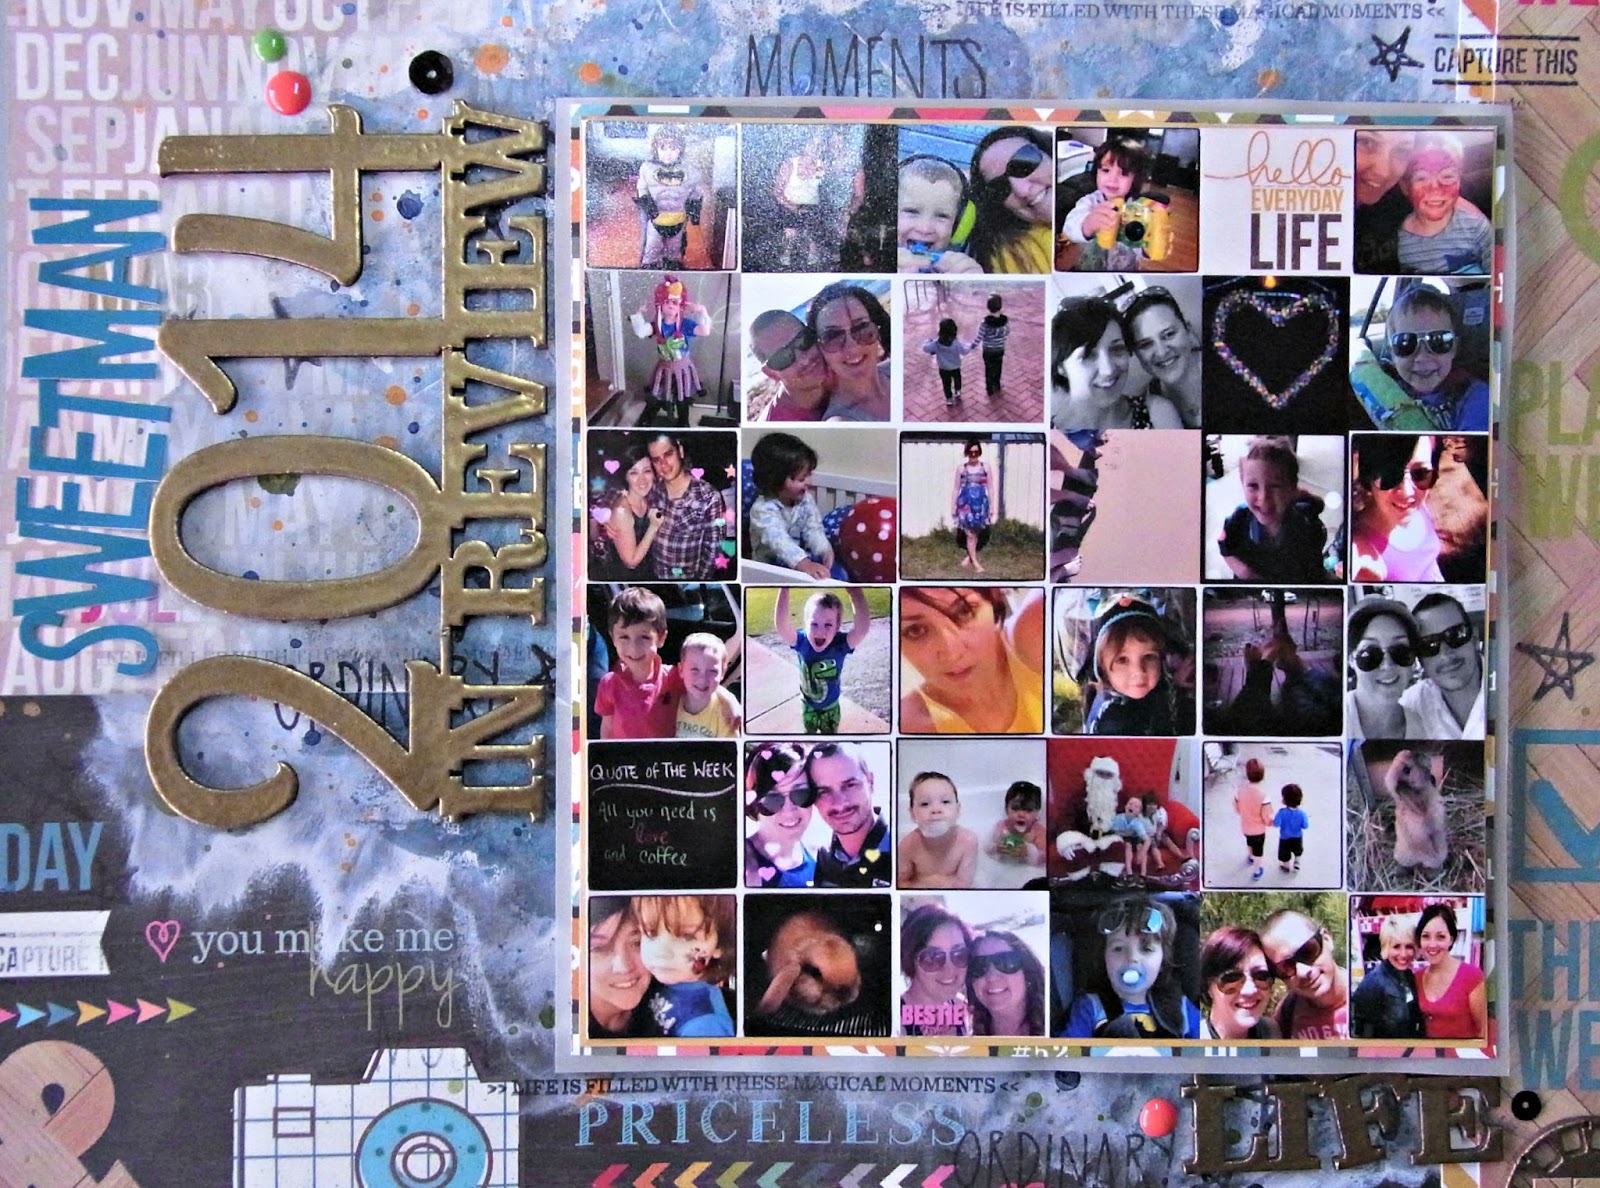
First up my 12x12 LO! I have had this idea in my head for ages now and am so pleased I finally got it done!! I made a collage of some of my favourite photo's from 2014 for the cover of my 2015 diary and also had the same collage printed as a 6x6 photo for this page. 


I have used the Simple Stories Daily Grind range, which I thought was the perfect fit for this type of page!! I got the collection pack so have all the papers and a couple of sticker sheets.

I applied a messy coat of gesso after I stuck some of the papers down and then applied some mist using some plastic packaging and "stamping". Some stamping with black archival ink, some layers behind my photo, a "flip", some magnets and of course those gorgeous Dusty pieces which I have applied some versamark ink and gold embossing powder to.


As I mentioned, a "flip" mechanism (simply a piece of scrap cardstock scored in half, the ends trimmed into a "v" shape and then adhered to the layers where it can't be seen) which holds my journalling and also includes a photograph of my Pop who passed away in December 2014. I have cut a slit in my page protector so that it is easy enough for people to read the journalling when (heck, IF!) they flip through it. I have also hidden some little, very strong magnets in the paper layers so that it all sits nicely when closed.

A close up of the chippy pieces in the top left corner


And the chippy piece that is peeking out from under the photo layers


The chippy pieces I have used are as follows:

Mini View Finders – DA1080
Mini Captions #2 - DA1291H

So, onto my other project for this month!

These are the pages for Hunter's album for March 2015.

As I have mentioned previously I am (slowly!!) working on my boys albums in a month to month format to capture their personalities, quirks and developments. I aim for 1 traditional LO and 1 PL style LO for the month so 2 12x12 pages all up.

Here are both pages together as they sit in the album


I have used the Heidi Swapp September skies PL kit, ephemera and one of the 12x12 sheets of paper.

The left side


I love, love, love how this turned out!! 

Firstly I did some work on the background of that paper. I applied a light, messy coat of gesso with my finger then applied the mists and gelato colours I knew I was going to use on the chippy piece (which are Heidi Swapp navy and peacock colour shine and a green gelato from my stash) again using the plastic packaging/stamping technique. Then I did some splatters all around and finally some stamps using a couple of roller date stamps and black archival ink. 

I have applied the mists and gelato that I have watered down to use as water colours to that background chippy piece after applying a coat of gesso. A couple of coats of white paint to the title pieces, some ephemera pieces, some of the little squares from the cut apart sheet in the 6x6 paper pad and some enamel dots.

A closer look at the centre of the page where most of the design is


And a close up of the background chippy piece


And the title pieces


I realised after I took the photos that there was no journalling so I have tucked a little shipping tag near the top at the back of the LO which also has some twine so people flipping through can see it's there.

And the right hand PL side


I didn't really take any photo's of the individual pockets but I really LOVE how my title card turned out - simple, yet effective so here you go!!


The chippies pieces I have used are as follows:
Triangle Panel Small - all of the mini triangles have come from this
Mini ABC Upper - DA0861N
Mini ABC Lower - DA0862
Love You Arrows - DA1070O
Mini Captions #5 - DA1308I
Word Pack #6 - DA1187


That's it for me for today but make sure you pull out your chippy and play along with the (yet another!!) gorgeous inspiration board for your chance at a $100 Dusty Attic voucher!!!


Thanks so much for stopping by and happy scrapping!!

Melinda
xx


Friday, 28 August 2015

My last Fab Friday with Tiddly....

Hi there!! And welcome! It has been a little while since my last post, life has happened, my littlest little guy just turned 3 and I have hurt my back again. Oh well, life goes on and sadly, so do DT terms!

I am here today sharing my very last card for my term on the very awesome DT over at Tiddly Inks! Very bitter sweet as this team was one of those items on my "to-do" list for my crafting! I decided not to apply for another term straight away but I have no doubt I will through my ring into the hat again sometime!! 

Christy, if you are reading, thank you so much for the opportunity over the last few months, I have had so much fun and it has been a real pleasure "working" on your team!!

Enough of the chatter though and onto the card!!

I have used my one and only clear Tiddly Inks stamp set for this card - Happy Day and I just love how this card came together!!


Another very CAS card but I really love how this turned out!! I have already given this out - it was my Nan's birthday last week so I thought this was perfect for her. I personally love the bright pops of colour!!


The copic combos I used are:
Skin: E000, E00, E21, E11, E04 and R20
Hair: E41, E43, E47 and E49
Dress: BG11, BG13, BG15 and BG18 Frill/Socks: C0 and C1
Red: R22, R24, R29, R59 and C5 Yellow: Y11, Y15, Y17 and E15


I pulled some papers, some thread and some enamel dots from my stash that went well with the colours I coloured with. The sentiment is from the stamp set, punched with an Ephipany tools 1" circle punch with an epoxy dot stuck to the top. Last touch was some gold colour shine sprinkled across the card front.

I really have had so much fun with Tiddly Inks so if you are included do throw your hat into the ring, Christy is awesome to "work" (I use that term VERY loosely!!) for and Lou is pretty fabulous too!!

Happy scrapping!!

Mel
xx

Sunday, 16 August 2015

Always

Hello, hello!! Well, it seems even though my desk currently looks like a bomb hit it I am being super productive lately!!

I have just completed another 12x12 layout - start to finish in 30 minutes - AMAZING!! I may add some stitching, but I will decide later!!

I am here today however to share a different 12x12 LO I created, another for our wedding album and another using an awesome cut file from The Cut Shoppe. I am using this to enter a 2nd time into their monthly challenge for August! Perhaps there will even be a 3rd as I am pretty impressed with my forethought when I created this LO!!


As you can see when I cut the file "Spread Your Wings" I put it pretty much where I thought I wanted it to be on the layout so that I could use the positive cut and the negative cut! I am really pleased with how this turned out and am really excited to use those butterflies on something!!


I found some of the same frangipani printed vellum in my stash that we used on some of our wedding stationery and chopped it down to fit behind that cut. Love how it turned out!!

After I stuck the vellum down I placed the cut butterflies back into where they were cut from so that I could stick down all the little in between cuts. That is probably what took the longest in putting this LO together.


I have used the Maggie Holmes Flea Market 6x6 paper pad for my layers behind the photo along with the black and white striped fabric frame from the same range. All of the paper layers expect the floral are actually the strip from along the top of the papers that kept them in place in the paper pad!


I kept the embellishing pretty simple, I wanted the photo and that cut to be where your eye goes to first and foremost. I didn't really have anything to say with this photo so a simple title and somewhere for one of my fave wedding photos to call home now!!

So, thank you for stopping by and happy scrapping!!

Mel
xx