Tuesday 23 May 2017

{Colour Blast} Sweet Moments ~ Another Wedding Layout

Hey fellow Colour Blast lovers, I'm here with you today with a mostly clean and simple layout!!

I will start by saying that my mojo has kinda been off on a little holiday this week (not sure what that's about!!) but when I was looking through some photos a week ago I came across the one I have used for this layout and because it was so BIG I thought it was a great way to get scrapping without the pressure of so much "stuff"!!

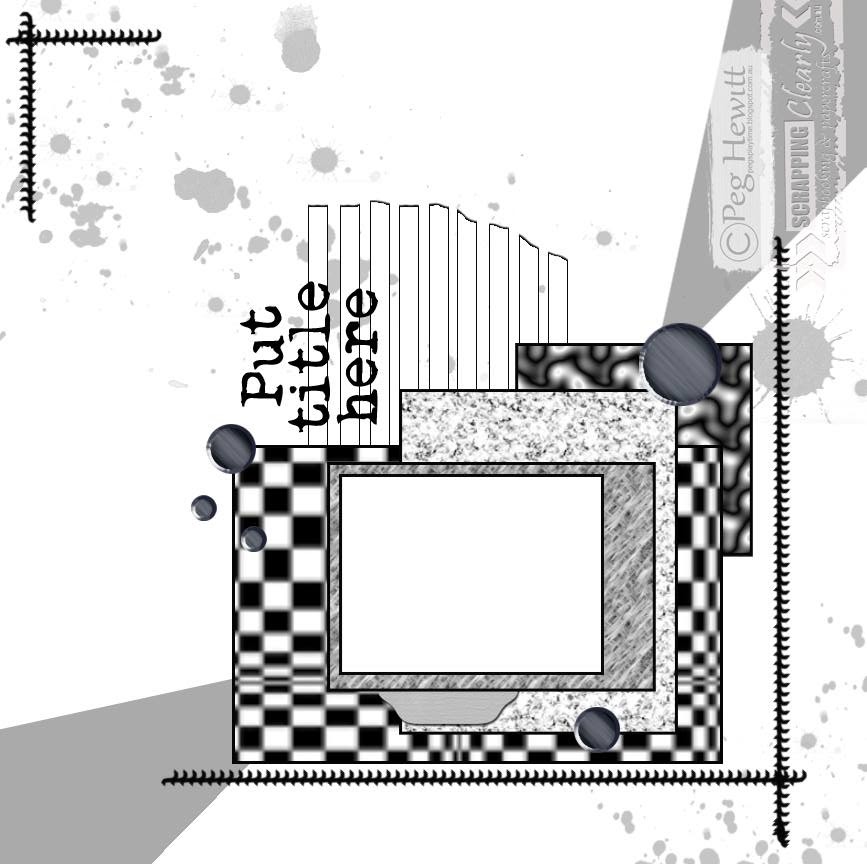
So, I am scrapping another of my wedding photos today and as I mentioned it is BIG - like 8" x 12" big so it takes up a lot of real estate on my page. A little embellishing, a title and a little pop of colour!

First up I started by prepping my chippy with some white heavy gesso. As 2 of these pieces had already had some product put on them one needed 3 coats and the other needed 2 but they came up nice and white and ready for a new layer of colour ;)


I set my chippy aside to dry and did the little work on my background that I knew I wanted to do. 

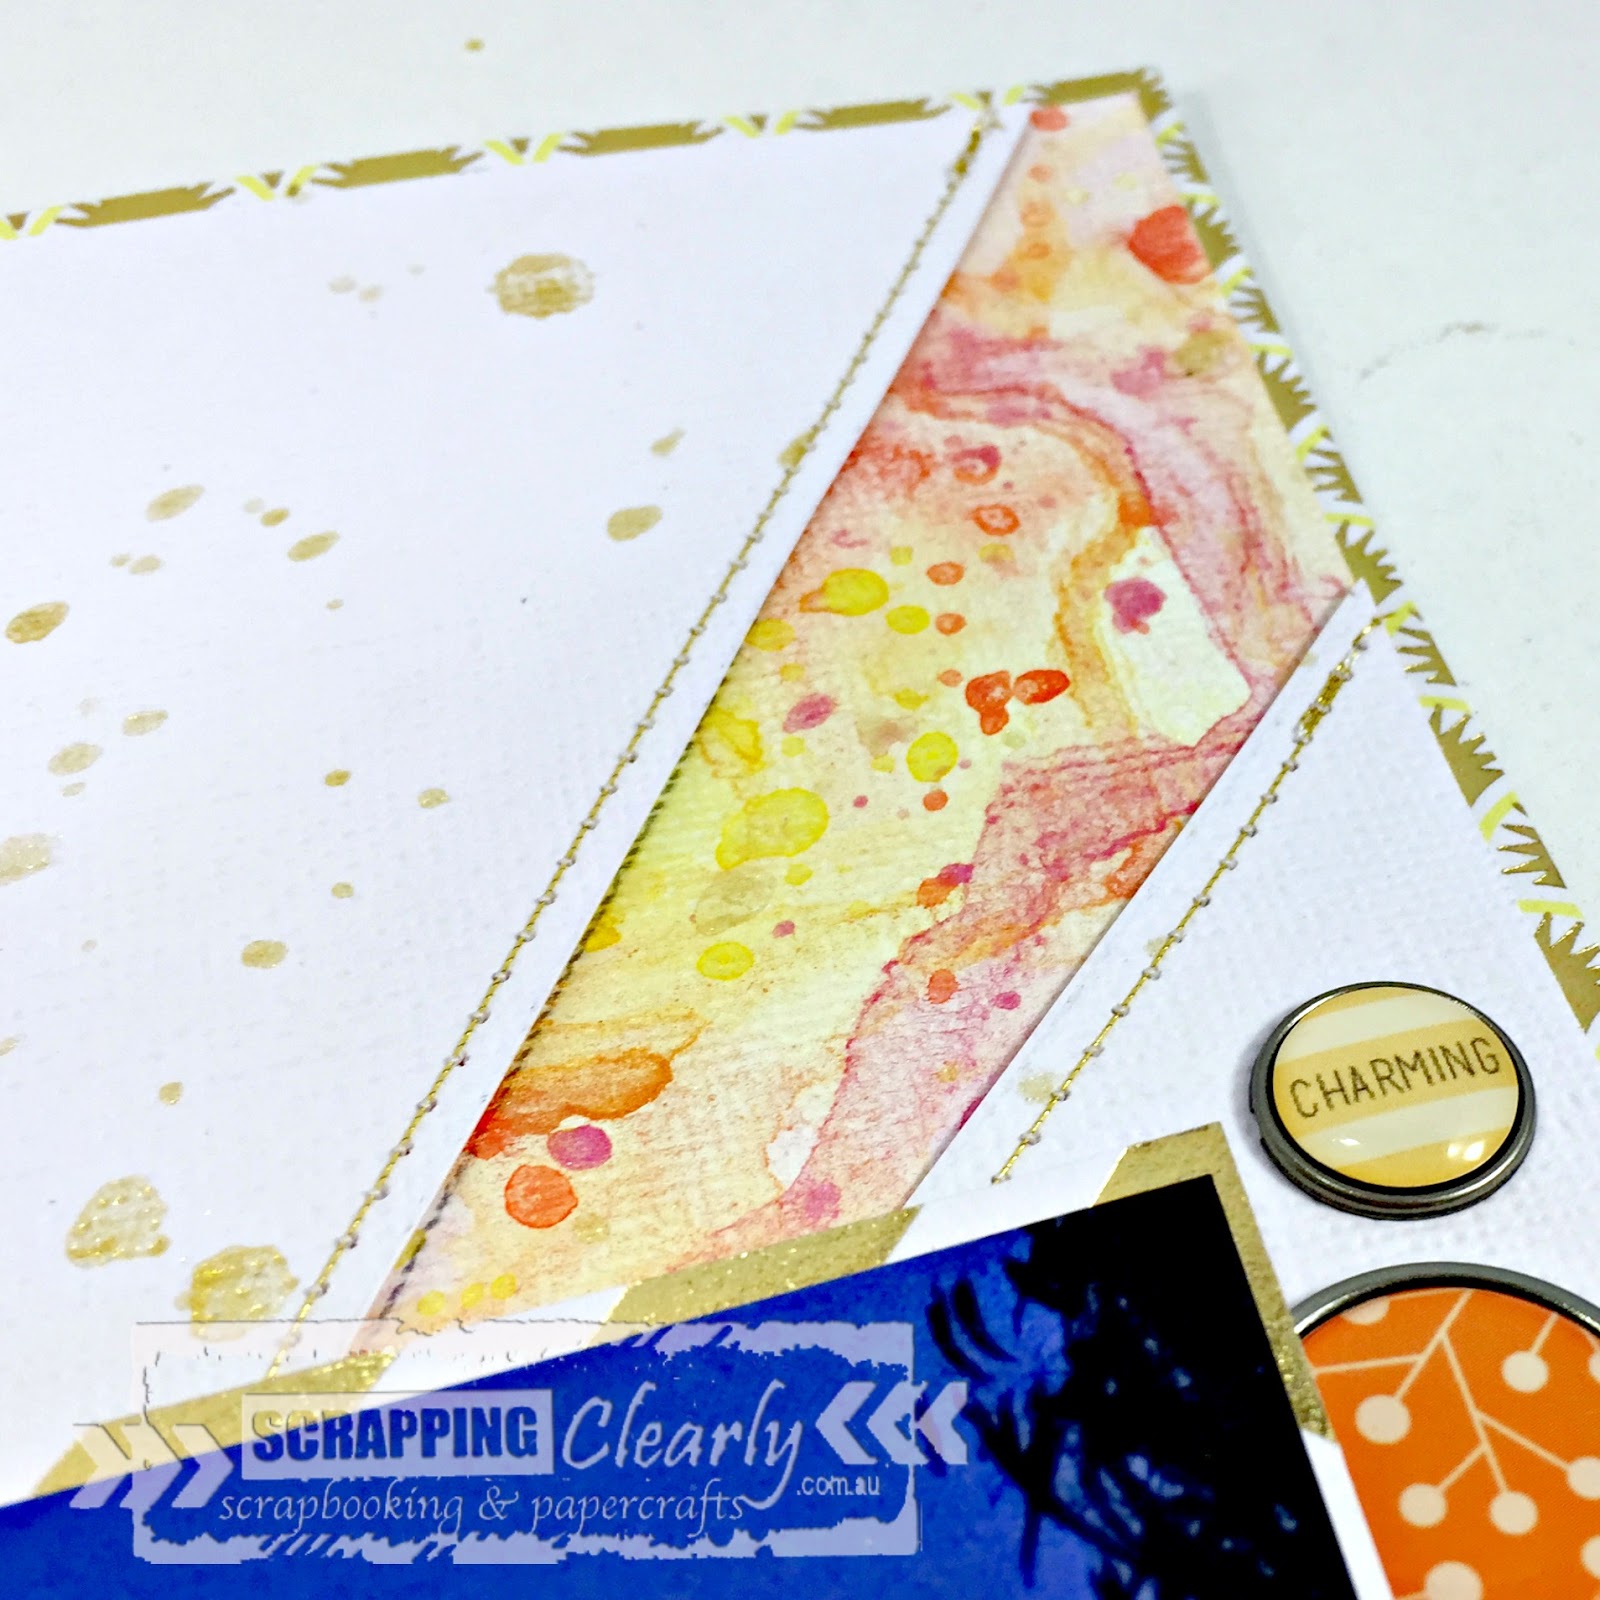
I grabbed my (current fave!!) Blush Colour Shimmer Pot, a wide-ish brush, my craft mat and a little water and applied some colour to my craft mat and mixed with a little water (my brush was a little too big to fit in the pot and mix easily). 


I then applied wide brush strokes both at the bottom of the white cardstock background and also at the top of where I knew my photo was going to be. 


With some of the left over colour on my mat I did some sprinkles.


I popped my background to the side so I could finish off my chippy. I decided to use the gorgeous Blush and Punch Colour Embossing Powders. The title got the Punch while the flourish got the punch. These colours are so, so pretty and my current faves!!


After that was all dry it was time to stick it all together. I used a partial white doily at the top of the photo and applied all my chippy with my wet adhesive directly to the photo. 


I just loved how that looked! As a very final touch I have added some punched gold glitter hearts in 2 places and then I called the page done.


I love how this came together and it has given me some of my missing mojo back. I hope to do a little more scrapping tonight in fact ;) Maybe if your mojo has gone walkies, grab a big photo or one that really inspires you and just have a play!


Thank you, as always, for stopping and see you again soon!

Melinda

Monday 22 May 2017

{ScrappingClearly} This Made Me Laugh ~ Scrapbook Layout

Hi there, today I'm here with my take on the very fun May 2017 mood board for ScrappingClearly. This was also designed by the very talented Peg and after much deliberation I came up with a fun page that I am really happy with!

First up, the mood board


And here is the page I created


This is a photo of hubby from our honeymoon (back in 2008) and one of the King Prawns we enjoyed at one of the places we ate out at. I chose this photo because I really wanted to challenge myself to somehow incorporate that fish!! Easy enough to run with the colours but man that fish stumped me for a while! My mind started wandering and wandered right along to this exact photo and the story I wanted to tell that goes along with it. My husband DOES NOT eat prawns!! Haha! But this night I think between the 2 of us we ate 2 or possibly 3 of these King Prawns and we both loved them!


Here you can see all that messy fun in the background!! I love how it came together and I used the awesomely cool and fun Scribble Sticks by Dina Wakely in Ruby, Tangerine, Lemon and Night. These things, if nothing else, are super fun to work with. I watched another scrappers tutorial process video which gave me a couple of ideas but I did play a bit too to get the feel of how best they work! And indeed, dipping the scribble stick into some water and scribbling onto the page was the best way to get a vibrant colour!
Oh, and I did apply a quick coat of white gesso to help the colours move.


I've also used some of the fun watercolour stickers by Vicki Boutin, the arrows and the word Laugh. Love how they came out, however, a heads up, don't add LOTS of water, the paper will pill up!! Lesson learned ;)


I have used the gorgeous Teresa Collins Nine & Co range for all my embellishing and all the paper layers. Oh, and that cute camera paper clip by American Crafts.

There is a process video for this page, just click below and enjoy!


That's it for me for today, so have fun and remember you still have a little over a week to get your entries in for both the sketch and the mood board challenges!!

Thanks for stopping by,


Melinda

Product List

Dina Wakely - Scribble Sticks
I used Ruby, Tangerine, Lemon and Night
Teresa Collins - Nine & Co - 12" x 12" paper - Hearts
Teresa Collins - Nine & Co - 12" x 12" paper - Perfect (both A & B Sides)
Teresa Collins - Nine & Co - 12" x 12" paper - Sunburst
Teresa Collins - Nine & Co - 12" x 12" paper - Ombre (Background border)
American Crafts Gold Camera Paper Clip
Vicki Boutin - Watercolour Stickers

Friday 19 May 2017

Piece By Piece ~ K+ May 2017 Challenge

Hi there my scrappy friends!! I am sharing with you today my take on the very fun and somewhat challenging Kraft+ May 2017 Challenge. This month is all about the non-square/rectangle photo! This was definitely a challenge for me as I have NEVER scrapped anything other than square or rectangle!!

As always the K+ DT totally inspired me with all of their interpretations of the challenge and got my little brain ticking over!

I came up with the idea of circles for my photos and a line down the page. As you have probably noticed I have been doing a few wedding pages so when I saw the page I am re-doing I thought this challenge would be a perfect way of making a more "me" version of it!! Here is the original....


And here is my do-over page. Again with the pink. Specifically, Blush in the Colour Shimmer Pots by Colour Blast, I mean, swoon, totally!!


So, I had a heap of fun putting this together and am super happy with the end result. It is most surely more me!!


There is a process video which you can see simply by clicking play below!


Thanks once again K+ for a fun challenge and LOTS of inspiration!!

Until next time, happy scrapping!!

Melinda
xx  

Thursday 18 May 2017

{Stash} Hello Baby Ethan ~ A Scrapbook Page

Hey there my scrappy friends!! I have a quick layout share for you today of this page I made to document me meeting one of my scrappy friends little people for the first time!


I made this page about a month or so ago but am sad to say that it has taken me that long to a) getting around to doing a voice over and b) getting around to actually documenting this memory - this little guy is 1 at the end of this month! Oops!


I have once again used more Colour Blast products to create those adorable clouds on the page. I have kept the whole page pretty airy and I love it!


The process video is below, all you need to do is click play and enjoy!


I hope you enjoyed and until next time, happy scrapping!

Melinda
xx

Wednesday 17 May 2017

{ScrappingClearly} Week 14 2017

Hi and hello my scrappy friends!! It is Melinda here with you today and I am sharing a PL spread I have put together using the GORGEOUS Teresa Collins Nine & Co range available in the store!!

I chose this particular week to use this range with as I had printed the title card and had edited the orange text onto the photo and the colours in this range match perfectly!!

Here are both pages together


And each page separately


And here is the title card that as soon as I took the photo I knew I was going to use it in this composition and I LOVE how it came together!


I have used my WRMK Typecast Typewriter for all of my journalling, sometimes I love the change it brings to my pages so am super keen to whip it out!!

I haven't added a great deal of embellishment but I have used some of the cut apart cards for journalling and even cut some of the elements out of the cards for embellishing!


I really love how this card came together, I think it is maybe my favourite card of this spread!! 


Though, I do love, love, love the story behind this photo!!


Anyways, that's it for me for today!! I hope you find a way to document your everyday in a way that makes you happy! 


Thank you, as always, for stopping by and have a fabulous day filled with lots of scrappy fun!!


Melinda


Products used:
Teresa Collins - Nine & Co - 12" x 12" paper - Sunburst
Teresa Collins - Nine & Co - 12" x 12" paper - Alphas
Teresa Collins - Nine & Co - 12" x 12" paper - Cards
Teresa Collins - Nine & Co - 12" x 12" paper - Hearts
Teresa Collins - Nine & Co - Decorative Brads
Teresa Collins - Nine & Co - Decorative Sticker Sheet
Heidi Swapp - Clear Teal Alphas

Thursday 11 May 2017

{ScrappingClearly} Enjoy The View ~ May 2017 Sketch Challenge

Hi there ScrappingClearly fans, Melinda here with you today and I am sharing my take on the very fun May sketch challenge!

Here it is if you haven't seen it


I have changed it up a little and turned it onto it's side so my page is more like this


I also worked with a bigger photo and a less layers but love, love, love how this page turned out in the end!


I have used lots of pieces from the beautiful Teresa Collins Nine & Co range for this page and this stunning sunset photo from Easter 2017.

As you can see I have done some mixed media in the background and have used some beautiful Colour Blast Shimmer Sprays to create that fun, water-colour-y, sunset-y colour scheme.


And for title more Colour Blast goodies - this time Bling and Punch Embossing Powders. Oh, so pretty the way these 2 colours melted and mixed together <3 


For a few extra details I have added a number of the brads, trimmed up a little from each edge (this kinda had to happen - you can see what happened in my process video ;) ) and mounted onto a patterned paper from the collection and I have literally matched the stitching from the sketch onto my layout using gold thread.


There is a process available if you would like to see the whole page come together - the hiccups and all ;) Haha!! Just click on the button below and off you go!


I hope you enjoy my process and I hope you are inspired by the sketch and all of the DT samples to get your own entry in! Remember, you have until the end of the month to get your entries in for a voucher to spend in the store!

Happy scrapping, till next time!


Melinda
xx

Products used:


Heidi Swapp - Wanderlust - Enjoy The View Wood Veneer
Teresa Collins - Nine & Co - Shine 12" x 12" paper
Teresa Collins - Nine & Co - Sunburst 12" x 12" paper
Teresa Collins - Nine & Co - Decorative Brads
Colour Blast - Colour Shimmer Spray - Sunshine
Colour Blast - Colour Shimmer Spray - Tangereen Dream
Colour Blast - Colour Shimmer Spray - Bling
Colour Blast - Colour Embossing Powder - Bling

Tuesday 9 May 2017

{Colour Blast} Eat, Sleep, Be Cute, Repeat ~ An OTP project

Hi there Colour Blasters, I'm here with you today and I am sharing a sweet frame I made for a baby shower today!

This all came together pretty quickly (besides the stitching ;) ) and is so easy to re-create, I hope you follow along and get some inspiration!

First up, I started with my white cardstock and a cut file from the Silhoutte store. I chose to cut parts of the file with the blade to back with papers and chose to use my sketch pens to draw out some of the words for me to colour and then hand stitch around.

The very first thing I did after peeling the paper off the cutting mat was to do the water colouring. I used a pointy pallet knife to add a tiny bit of both the Paris and the Lush Colour Shimmer Dusts to my tray.


Now, don't let the colour of the dry dust confuse you!! These are both green colours and are STUNNING!!

The magic is when you add water ;) You can then see the true colour and all the beautiful shimmer. Which is exactly what I did next using a pipette, straight into the little wells.


Give them a good mix up and you get your shimmery, colourful watercolour-y media ready to go! I used a small-ish paintbrush and simply added colour to each outlined letter. I used a mix of both the Lush and Paris to give different shades and a little more depth to the words for a little more interest.

After that was dried, I went around all the coloured words with my pokey tool and poked holes about 1/4" all the way around for my stitching.


Me being me, I managed to smudge a little colour where I didn't want it - to rectify I quick grabbed a paper towel and mopped up as much of the colour as I could. I wasn't able to get all the colour up so I decided next up to add a few sprinkles of the green colours in diagonal across the page using the same paint brush - smudge covered, woohoo!!

Next up was the hand stitching. I chose a green coloured embroidery thread that matched pretty well to the Shimmer Dusts I had used. Now, this can be quiet time consuming but I love, love, love the finished product so am happy to put the time and effort in. I use a simple back stitch. Up from the back of the paper, down the next pierced hole, back up through the next hole and then back through the previous pierced hole etc etc.


I wanted to a little extra texture and interest so pulled out a star stamp (from a Christmas set!!) and stamped with my embossing ink the same diagonal as the green splatters and then heat embossed the very pretty Snow White Colour Embossing Powder. 


Oh lala, this is looking beautiful!

When that was all done it was time to back the cut words. I have used some scraps of a very pretty wood grain paper in my stash and just outlined the back of each letter and then glued on the paper.

I popped it into the frame I had purchased and I couldn't be happier with the end result!!


I really hope the parents-to-be love it but I am pretty certain it will be a hit!

Here are a couple of close ups


If you would like to see the whole process there is a process video available, just click on the play button below!


I hope this has inspired you to create something a little different and perhaps something off the page! 

Please remember to share all of your Colour Blast creations over in the Colour Blast Creative Corner FB group, we really do love seeing what you are creating!!

Until next time, happy scrapping!


Melinda