Wednesday 27 March 2019

CUT to YOU | Dad's Awesome Little Helper

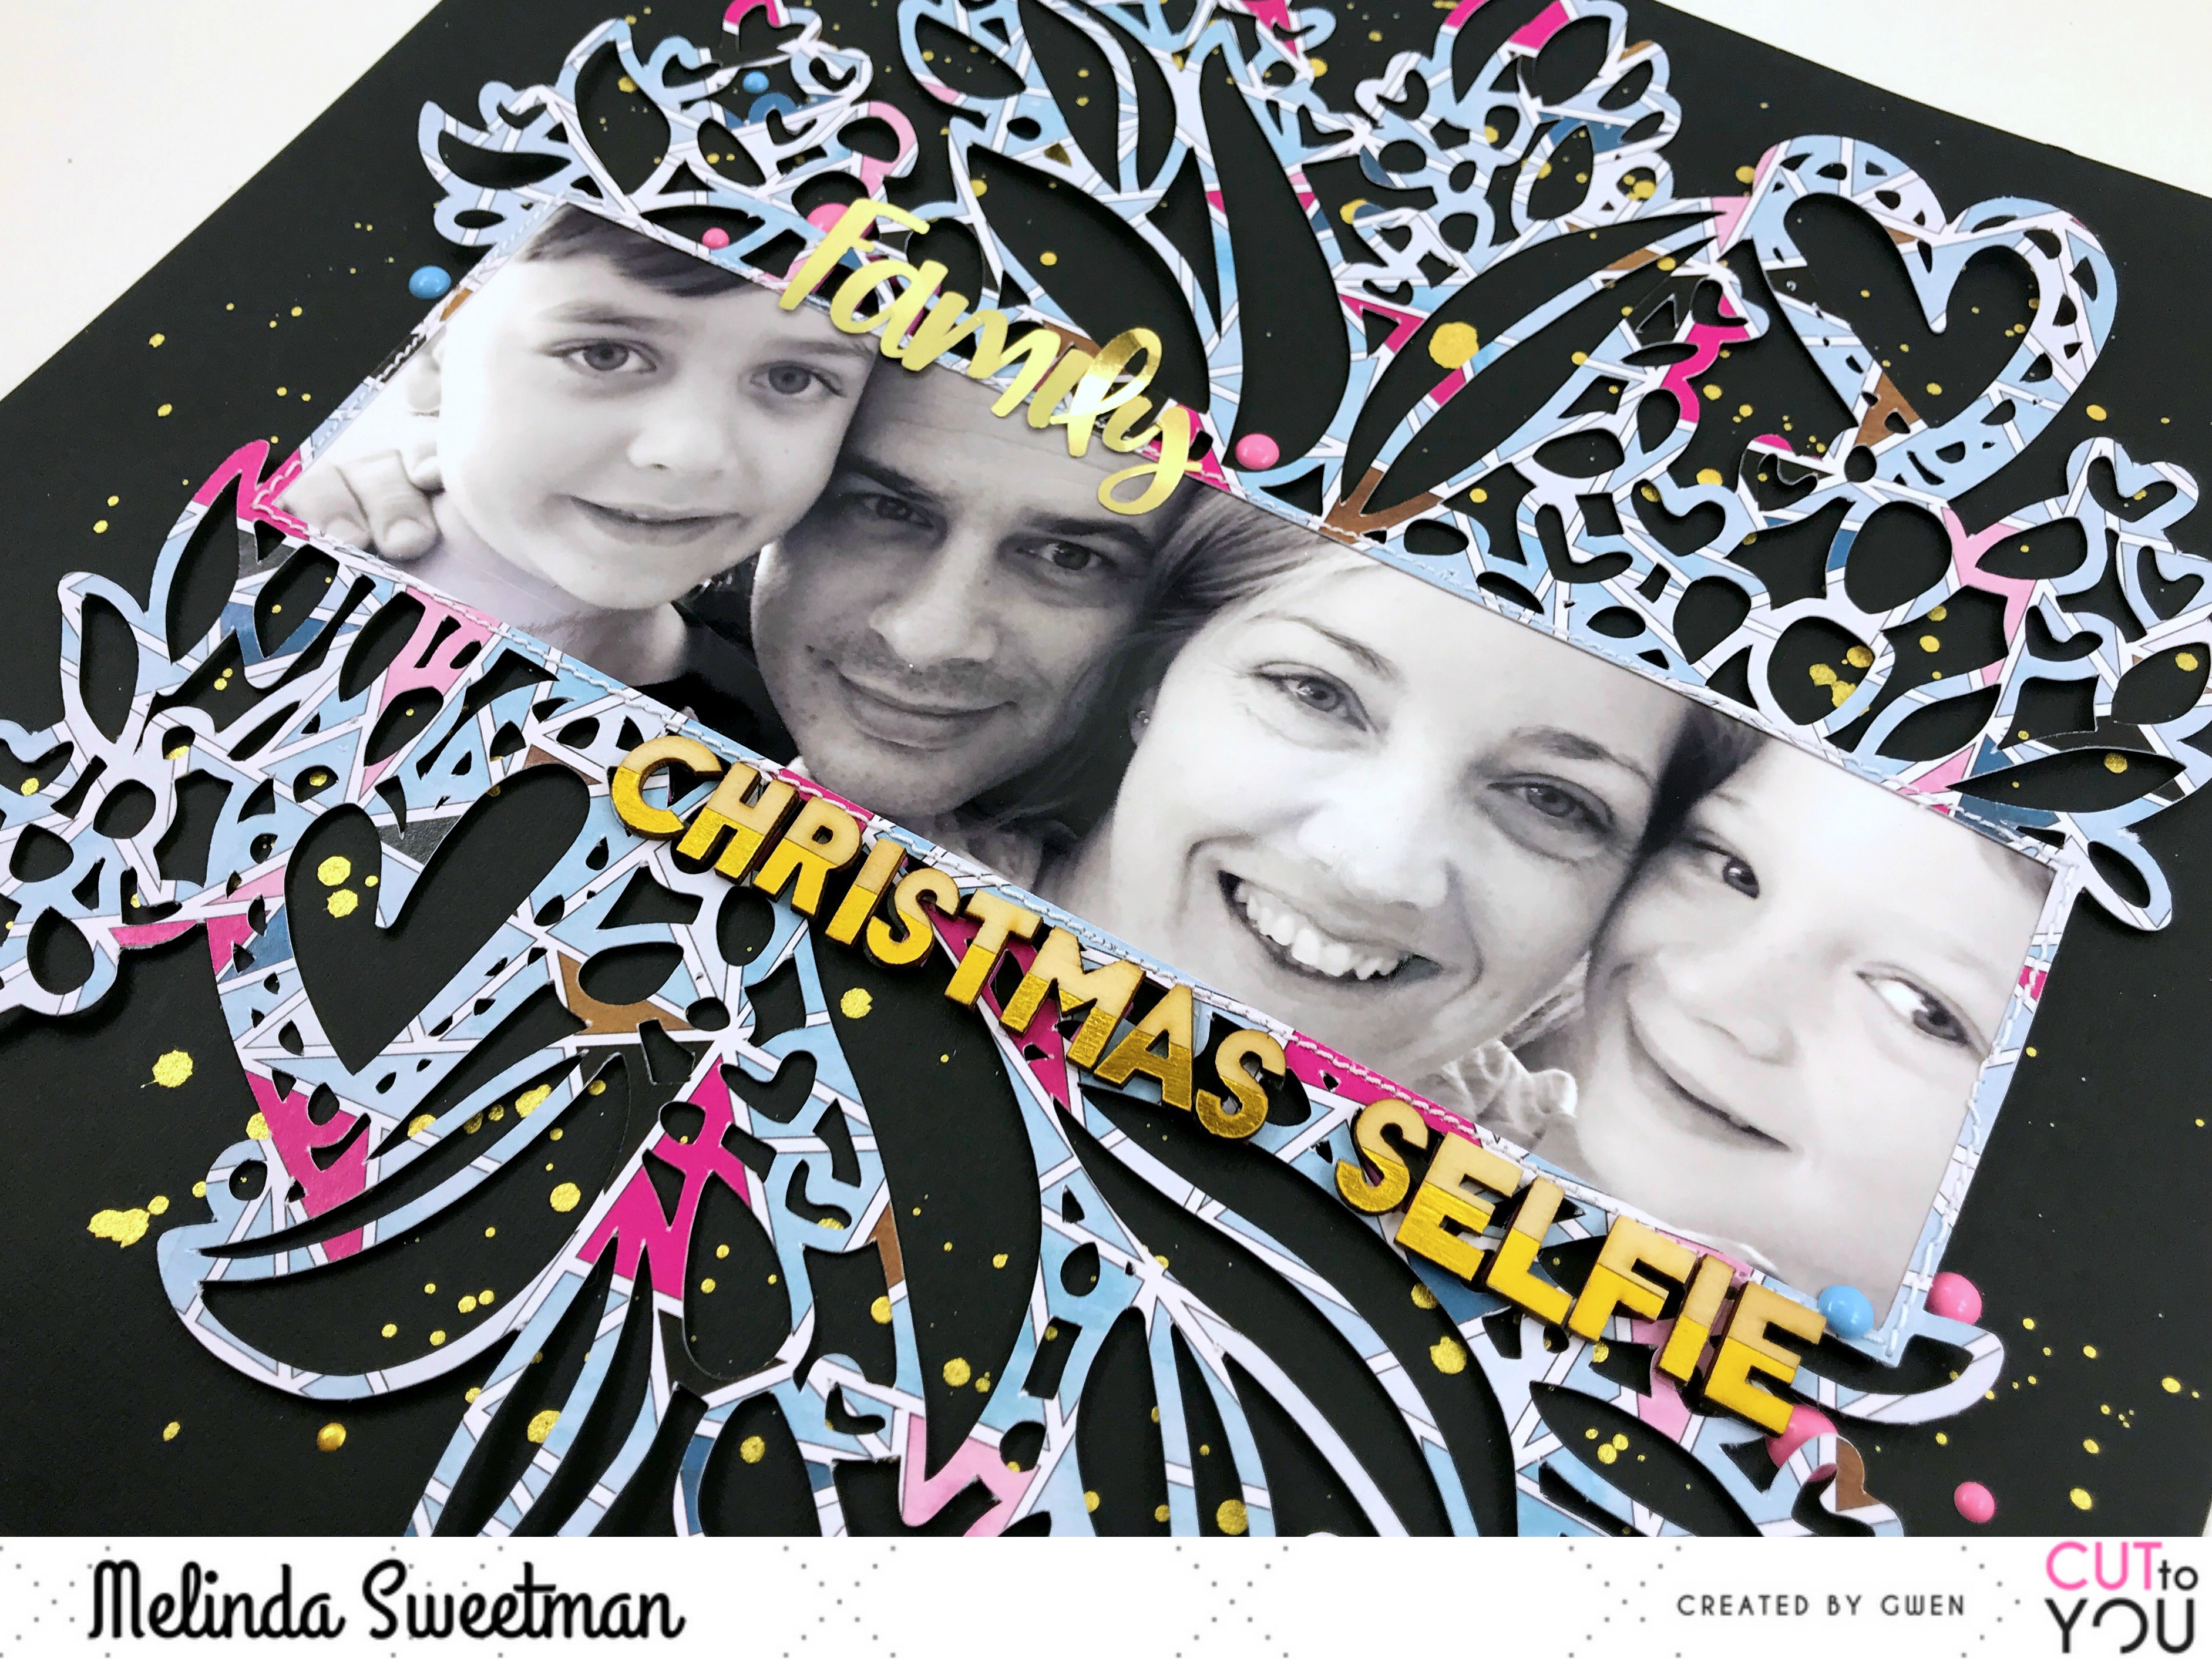
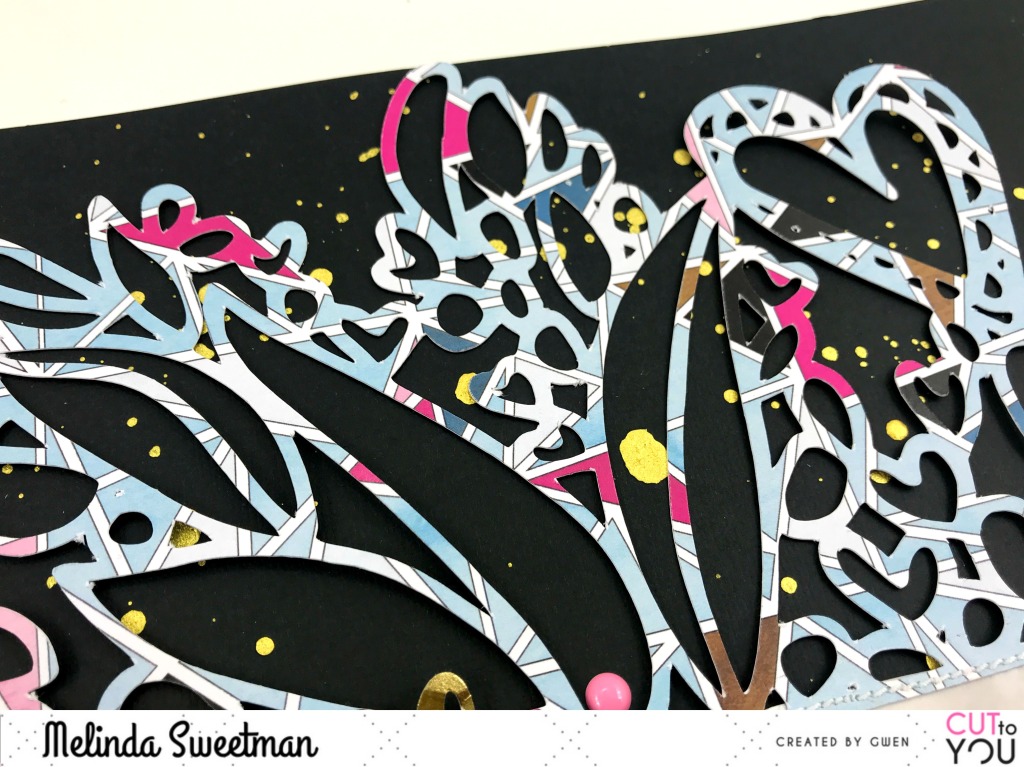
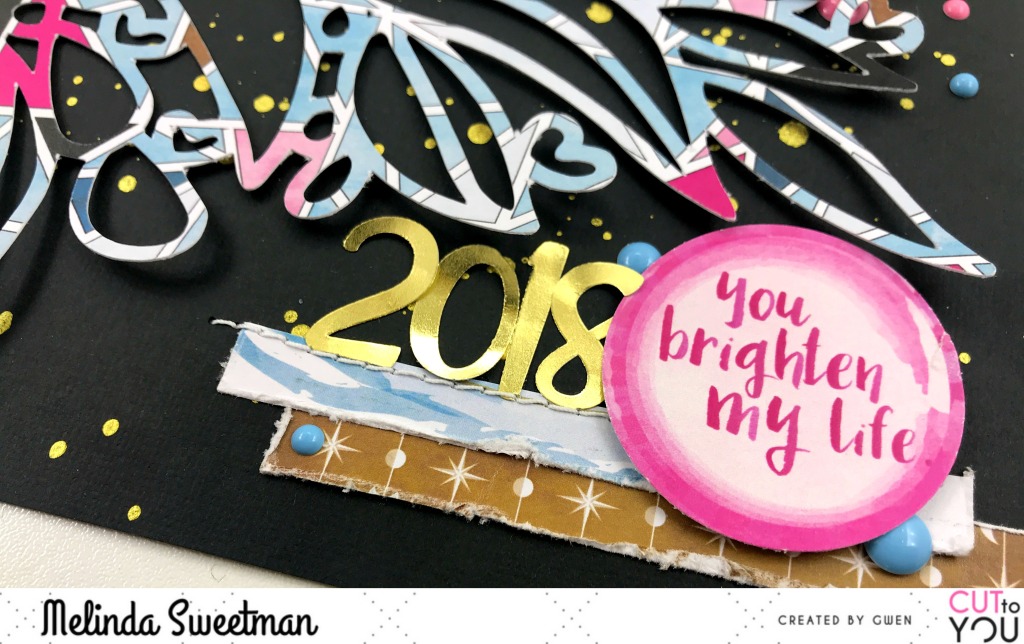
Hello everyone and welcome to my blog today!! I'm really excited to be here sharing this page for CUT to YOU with you as I've done something a little different with a cut file for this. Without further ado, here is my creation


As you can see I have created a mixed media background without a cut file in sight!! But wait!! The cross stitch heart pattern in the background is indeed a cut file! It's the Stitch Geo Heart cut file and I cut this on some paper that I won't use and then using some modelling paste used it as a stencil! I did leave it over night to dry thoroughly as I knew I was going to add lots of water.


I've used my (brand new ;) ) Distress Oxide sprays to add colour to the heart. I've simply sprayed a little colour, spritzed some water and between tipping my page and using a paint brush got the colour moving all over the heart and defining the heart shape. The colours I have used are Cracked Pistachio, Mermaid Lagoon and Faded Jeans. I've used a wet paint brush with clean water around the shape of the heart to fade out the colours.


Once the colours were dry I went back in with the nozzle of each of the colours and splattered away to my hearts content. You can see in this close up how you get the different colours coming through with each of those sprays and I just love it!


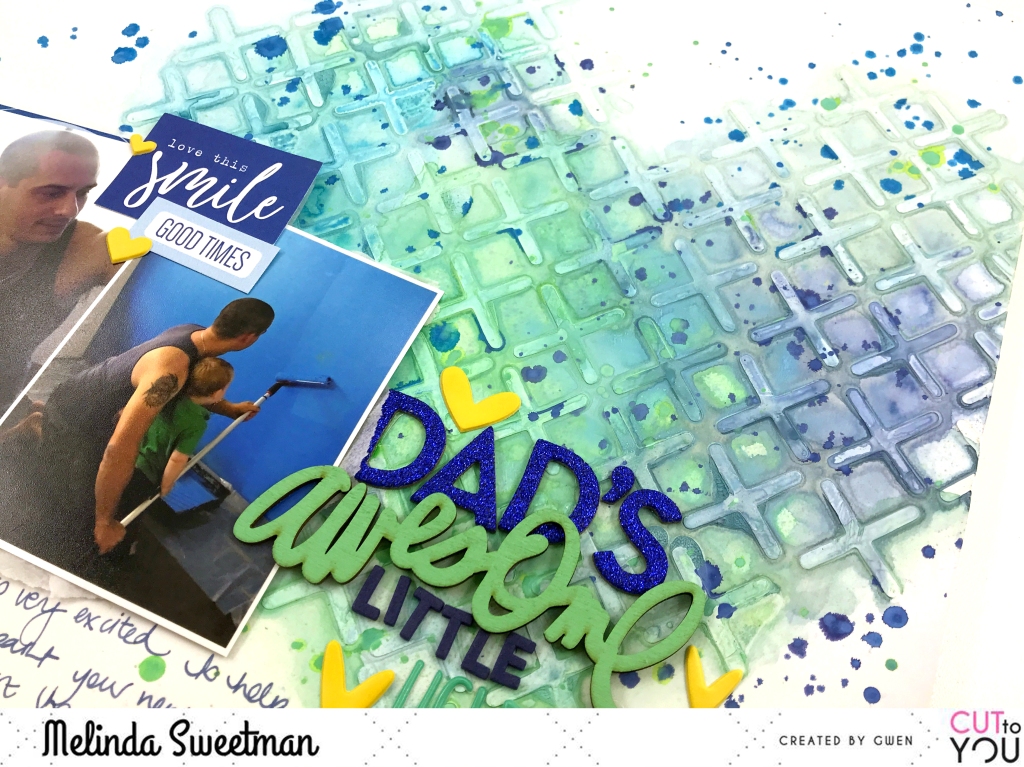
I didn't want to cover up too much of the heart so I have used a pattern paper behind the square photo and then some white tissue paper behind both photos and stuck them together.


It was always obvious to me that the title of this page HAD to be "Dad's Little Helper" so with that in mind I picked out some lettering and in the process found that "awesome" wood veneer painted in the perfect colour to go onto this page so added to my title coming up with "Dad's Awesome Little Helper" - all the alphas are from my stash and all except the tiny foam ones are old!


I added in a couple of cut apart pieces from Elle's Studio and then finished off the page with some yellow puffy hearts. I love the contrast of the yellow against all of those blues and greens!


This is a pair of older photos but I really do love going back and scrapping some of these older memories. There is a big part of me that is sad that this little dude is now so big, it just goes so fast; but it always makes me smile when I reminisce!

My "stencil" is still good for another use or even 2 as I only used it to apply some modelling paste and didn't leave too much on the paper so you very may well see this same pattern pop up soon!
I do have a process video available for you as well, including how I created my stencil in Silhouette Studio. Just hit the button below and enjoy!


Thanks so much for stopping by and I'll be back again soon with another share!

Melinda

Friday 15 March 2019

Anna's Craft Cupboard | Vicki Boutin - Color Kaleidoscope | March 2019

Hey, hey my scrappy friends! Welcome to my blog today! 

If you follow me on any other social media platform you will have seen that this week I have been up on the Anna's blog sharing the creations I have made with the brand new, awesomely fun Vicki Boutin collection called Color Kaleidoscope.

I thought I would pop together a blog post of all of the pages with links to all of the official Anna's blog posts and my YT videos so I hope you enjoy!

First up last Thursday I was on the blog with this rainbow number!


Oh Snap! I love how this page came together and you find the full blog post over here and the process video below


My next share on Friday was another rainbow number lol I also really love the way this one came together! I especially love all the dimension from those hearts! 


Blog post is here and YT process video is below


Next up was ANOTHER rainbow layout! I just couldn't help myself! And funnily enough, I didn't realise until I photographed these pages that they were all rainbow pages!!


Blog post is here and YT process video is below


My next page is kind of a bit different for me! It's one page of a 2 pager! While not a traditional double page layout it is the first of 2 companion pages. I have done this this way as there were too many photos (for me) for one page.


Blog post is here and you can view the process video below


And number 2 of 2!


Blog post is here and, of course, You Tube process video is below!!


And here are the 2 pages together for you!


I am going to share this photo (above) in the Anna's Craft Cupboard FB Community Page to start a little discussion so if you would like to join in head over and hit that join button! There may also be "member only fun things" that happen over there so if you don't want to miss out, head on over!

I do have one more page to create with this collection (and will still have left overs!!!) but I'm not 100% sure when that will happen so I will create a new post just for the page!

I hope you have enjoyed my shares this week using the Vicki Boutin Color Kaleidoscope collection, I sure have had fun creating with it!!

Until next time, happy scrapping!
Melinda
xx


Wednesday 13 March 2019

CUT to YOU | Family Christmas Selfie 2018

Hey everyone and welcome to the CUT to YOU blog today! I am so excited to be here sharing on the blog for the first time with my latest creation for CUT to YOU!

Hello my scrappy friends, it's so lovely to have you here on my blog today!! Today's share is for CUT to YOU and I love the simplicity of my page that really lets my cut file of choice shine!


I have used an "older" cut from November called Title Bouquet. As soon as I saw this file I knew I wanted to make it BIG and fill that middle area with a kind of panoramic picture.


I cut this gorgeous cut file on a busy and bright pattern paper for something different and after trying it on white, grey and black I settled on the black cardstock back ground. I just love the way the cut file jumps off the page and it such a beautiful feature.


Before I did anything else with the cut file I sprinkled gold mist all over my background and popped that aside to dry. While that dried I adhered my big photo into the open rectangle and added some white machine stitching. I popped up the photo on some dimensional adhesive and then got to work on my title.


I have used dimensional adhesive behind my letters as well and then stuck that big cluster as one piece. I have only used adhesive where the dimensional adhesive was applied and have not stuck down the outer leaves and details.


I created a smaller cluster to the bottom right of the page including the rest of my title and some scraps of paper from the same collection I cut my cut file from. I've added in some stitching to the bottom cluster as well. I finished out my page scattering some enamel dots all around the page.


I have created a process video for you today and it includes the process I followed in Silhouette Studio to get my file cut and how I "designed" my page as well before I cut anything! I'd love for you to check it out!

I hope you have enjoyed this page and I will be back again soon with yet another share!! 

Until then, happy scrapping!
Mel
xx

Saturday 2 March 2019

STB March 2019 Challenge | My Love For You

Hey everyone!! A new month and another new challenge for Scrap The Boys!


This month we have a beautiful inspiration board to play along with and I was inspired by both the quote and the colours (one of my all time fave colour combos - navy and light pink) and decided to go big with my title.


This month our sponsor is Cocoa Vanilla Studios and though I have a substantial CVS stash I didn't have just the "right" colours to use for my background or cut file so pulled from my stash.


The cut file I used is from the Silhouette Studio Store and the file number is 111217. I have cut it on an older Dear Lizzy paper and made it fairly big. I also used the same paper to back the right hand side and the bottom of my card stock background.


I added some splatters on my background, behind where my cut file would be, using some of my Shimmerz Paints products.


A couple of layers of scrap papers from my stash behind my photo of my boys and also some tissue paper.


I pulled out my stash of CVS Midnight embellishments and layered those around the page and under/around my photo.

My final step was some enamel dots from CVS also sprinkled around where my photo and embellishments were.

Something different for me, no journalling!! I felt that the title said all that I wanted to say. I may go back in and add the details of the where we were and the why they were dressed up but I do have other photos of this same event (wedding) which I will scrap and tell those details.

A pretty simple page but I really, really love the way this came together! I feel like I can create any page with these colours and I will love it lol

I do have a process video for this and will link it up as soon as it's edited and uploaded. I am currently away on scrap retreat for the long weekend (here in WA) and won't be able to finish off my video until probably Tuesday.


I hope that you find some inspiration from myself and the other DT members over on the STB blog here and do remember to link up to the blog post!

Thanks so much for stopping by and I'll be back again with another page to share with you all!

Mel
xx