Hello my scrappy friends! Another day and another post, yay!
This is for the adventure/travel STB prompt for July and I have actually scrapped someone other than my children lol
Here is my page and I really love the end result! And yep, that's hubby in the photo. Without a child lol
Again, Gwen from CUT to YOU has sponsored us with some cut files and here are the 2 I've used.
As you can see I have welded the word Travel from the Adventure Awaits file to the Fun from the Summer Page Builder file and also cut the word adventure from the Adventure Awaits file. All of these were cut in smooth white card stock.
I decided to keep my background fairly monochromatic using blacks and greys with stencils and the packaging technique. I've also used stamping on my title/word pieces for a little extra interest.
I've pulled the colours from the photo (red and blue) and used those as embellishments and layers around my photo.
You can see this page is awaiting journalling on the right hand side and that is hubby's "job" as it was his trip and his experience. I really don't often get the chance to include any of the other people's voices in my layouts as I have a story I want to tell to "go with" the photos I'm using!
So, make sure you head over here for my process video
And over here for the STB blog and all of the other DT girls awesome inspiration pieces! I can't wait to see what you create this month!
Hello my scrappy friends and welcome to my blog today! I'm sharing my latest DT project with you for CUT to YOU! Yep, I said project and not page again!
I actually created this a little while ago as a gift but couldn't share it until this month as the cut file was one of the fantastic freebies Gwen offered for iNSD! Did you manage to snag yourself this cut file for free? If not head over here to the Etsy store and you buy it now!
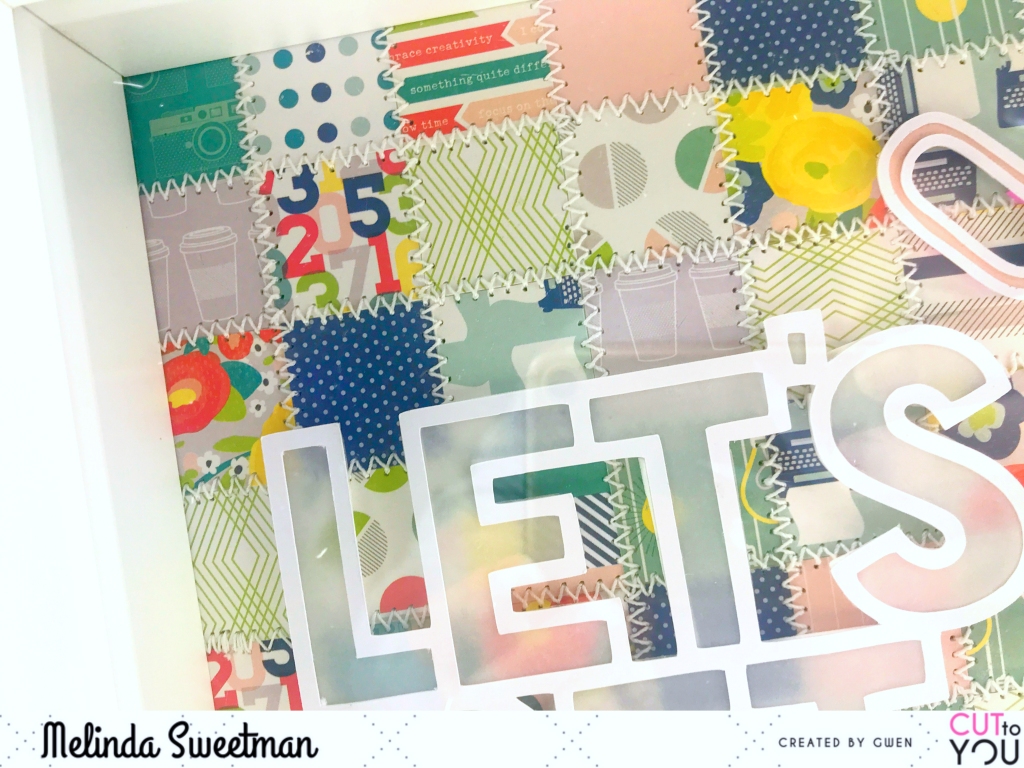
This is the project I created and it is actually in a frame by Ikea called "Ribba". The inside dimension of the frame is about 9" square and I thought the perfect size for an OTP project that wasn't ginormous or too heavy!
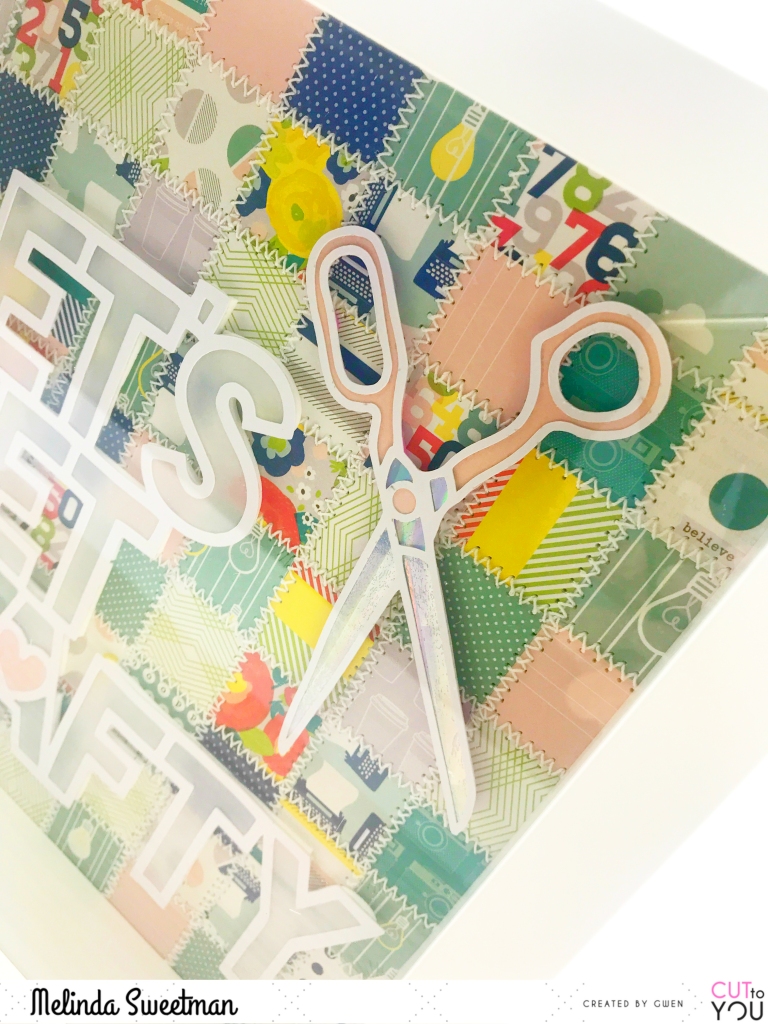
I started by cutting the title and the scissors on some smooth white cardstock keeping in mind the limitations of the inside of the frame.
I decided to back the whole title with some vellum, except for the heart in the middle of the 'A' as I had come up with an idea for the background that did not involve any mixed media lol The person this was gifted to is a (very talented!!) quilter so I used her craft to inspire my background for this!
I have pulled out an older 6x6 paper pad by Shimelle and cut a heap of 1" squares to create my background. Without much rhyme or reason, other than not having 2 of the same pattern next to each other, I randomly stuck down the squares to form a kind of quilt like pattern onto some cardstock. To really go with that idea of quilting I also used my sewing machine and did a zig zag stitch on every line, both horizontally and vertically.
With the main part of my design good to go I got to work on my scissors! I've used the same pink from the heart in the 'A' to back the handles. (cause who wouldn't love a pair of pink handled scissors?!)
Next I have created my own holographic paper for the blades. This was really easy to do with my Minc machine and the Minc mist! I simply painted some of the mist onto some scrap paper, let that dry thoroughly and then ran my scraps through my Minc with the holographic foil and voila!! I love how these scissors came out!
Time to put it all together! I used foam adhesive around the whole title and also behind the scissors and then used my wet adhesive to stick it all to my "quilted" back ground.
I have recorded my process for this as well so I do hope you enjoy!
This was a super fun project to create and it would be so easy to replicate! And using different papers you would get a completely different look so next time you have a gift to give, maybe you could think a little outside the norm!
I hope you have enjoyed and I shall see you next month my next share!
Hello fellow creatives I'm so happy you have visited me here today! I'm sharing another 12x12 layout for CUT to YOU and playing along with the Scrap The Girls May challenge as CTY is this months sponsor.
We had this sketch to play along with and as soon as I saw I thought one of the brand new cut files would be perfect so I cut the Frames Background cut file on white card stock.
And here is my page! I've gotta be honest and say that this is nothing like what I had "planned" out in my head but I do really love it! I kinda got a bit carried away painting lol
I wanted to crack into my Cocoa Vanilla Studio Happiness collection so pulled out the pattern paper with ALL the colours and matched those as best I could with some Distress Ink Pads. I've used Faded Jeans, Worn Lipstick, Cracked Pistachio and Peacock Feathers.
I had intended on colouring just the full blooms in this cut and backing the open ones but, like I said, I got carried away with my painting! The technique I have used to colour is super easy. All I did was smoosh my ink pad onto my craft mat and then used a water colour brush to pick up the colour and paint it onto my cut file. Easy!
I made sure I had different shades of the colours happening which just mean applying a second or third coat and then blending the edges and I really love how this turned out!
I have backed the main frame with the photo of my Mum, my sister (little sister that is lol), myself and my Aunty from my Mum's birthday lunch earlier this year and then backed all of the other frames with pattern papers from the Happiness collection. I ended up backing the open flowers with some plain vellum and love the softness it adds.
I also had other plans for the background paper! I was going to use the beautiful wood grain that is in this collection but when I happened to move my cut file to find something it ended up on this gorgeous pattern and I just LOVED the way it looked! So I shifted gears again!
I popped the cut file up on some old cardboard for dimension adding layers to the pieces that were the furthest away from the centre and then leaving the open leaves and flowers without any adhesive.
Before I stuck that down however I decided I wanted to mute out some of that pattern a little bit so I used some white gesso and my finger to spread some behind where all of my page elements were going and then stuck down the cut file.
Finally, some embellishing. With all the pattern on the background paper I didn't want to add too much so I simply used my Pixscan mat in my Cameo software to fussy cut some butterflies from on of the other pattern papers and added of those (in pink) to the centre of the big open flowers.
I added tassles from the ephemera pack (OMG aren't they gorgeous!), a title piece from the Midnight collection as well as a sticker that says Wonderful. I pulled in a couple of wood grain labels from my stash to add my journalling, added in some white ink splatters and my page was done! I also have a process video for you linked below so I do hope you will pop over and that you enjoy!
That is it for me for today. This page turned out completely different to what I had envisioned but I really do love the end result and love that I got this photo scrapped! Thanks for stopping by and see you next time!
Hello, hello!!! Welcome back to my blog once again today!
As it is the beginning of a new month I have another DT project to share with you and this one is for Scrap The Boys! Being May it is all about Mother's Day!
I went back through my archives of photos and found one of my first Mother's Day when I had 2 babies to love and decided to scrap that! I love the way my big guy is looking at my little guy and the cheeky grin on the little guys face ;)
As you can see I have used a cut file as the main part of my background and this, of course, has come from CUT to YOU. This is an older file called Floral Filled Heart #2 but I just love it and am so excited that I got it onto a page!
I have used, almost exclusively, Cocoa Vanilla Studio goodies to pull this page together and really love the end result! You can see my page come together below in my process video.
As I mentioned in my last post, life has been nothing short of busy so another short and sweet blog post today with lots of photos! I do hope you enjoy!
Head over here for this month's STB challenge and to see all of the other amazing DT inspiration that has been shared! Also, that is where you will need to go upload your take on the challenge! Thanks for stopping by and see you again very soon ;) Melinda xx
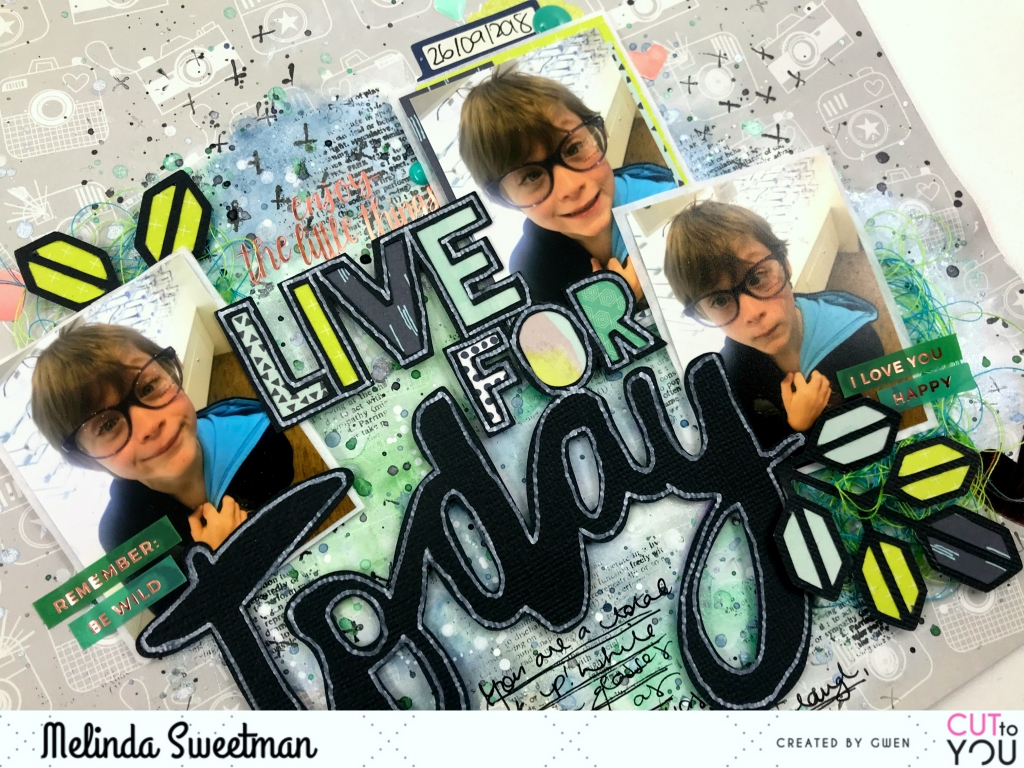
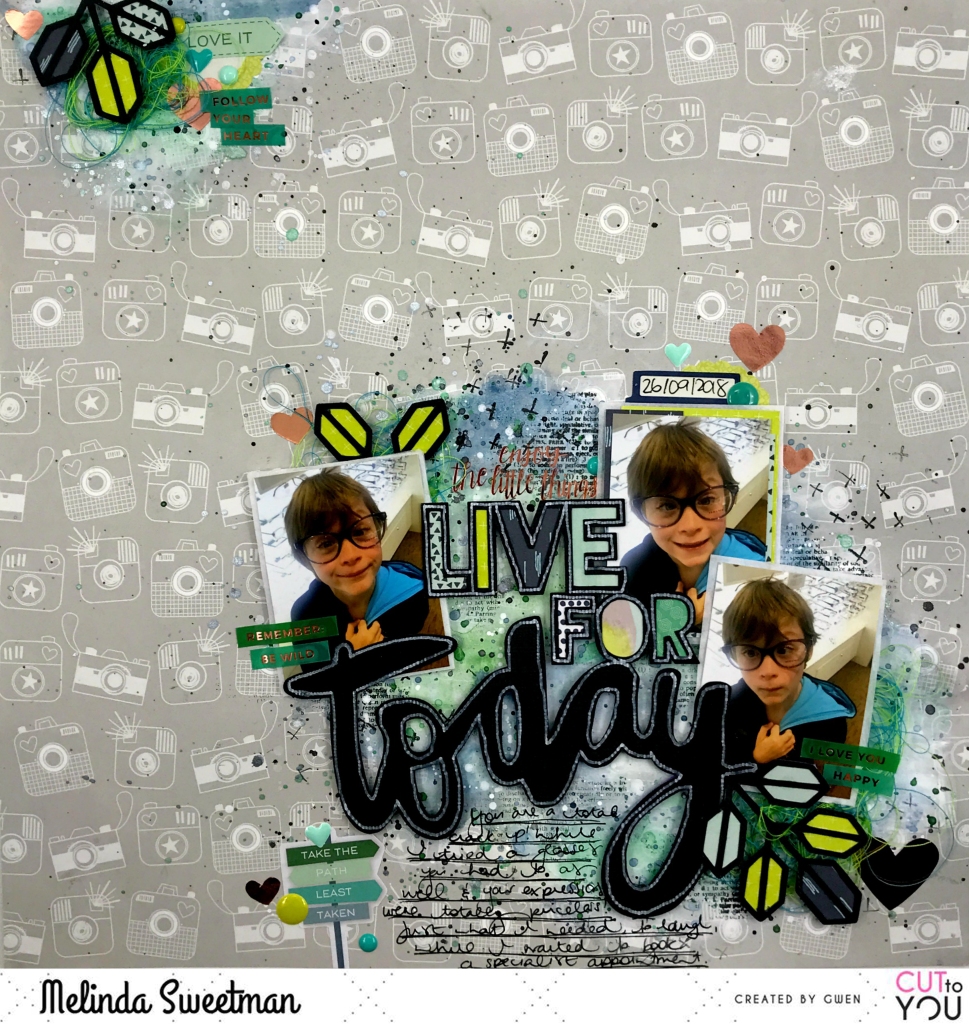
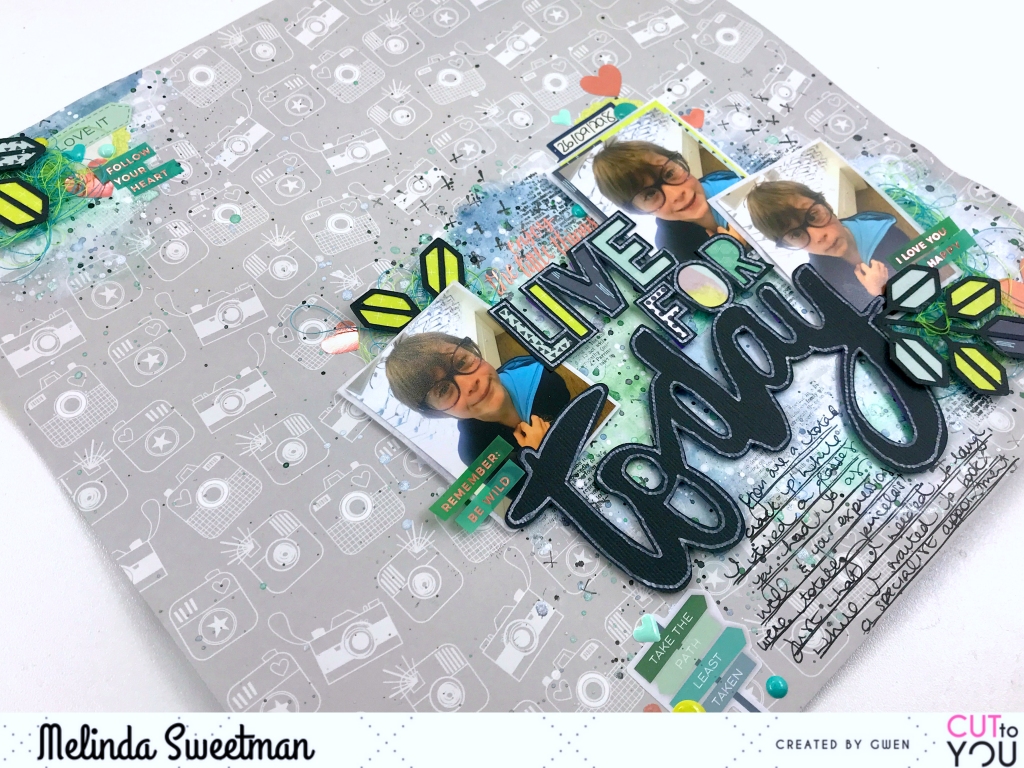
Hello my scrappy friends and welcome to my blog today! Today I have another share for CUT to YOU and for this page I have used an older cut file called Live For Today.
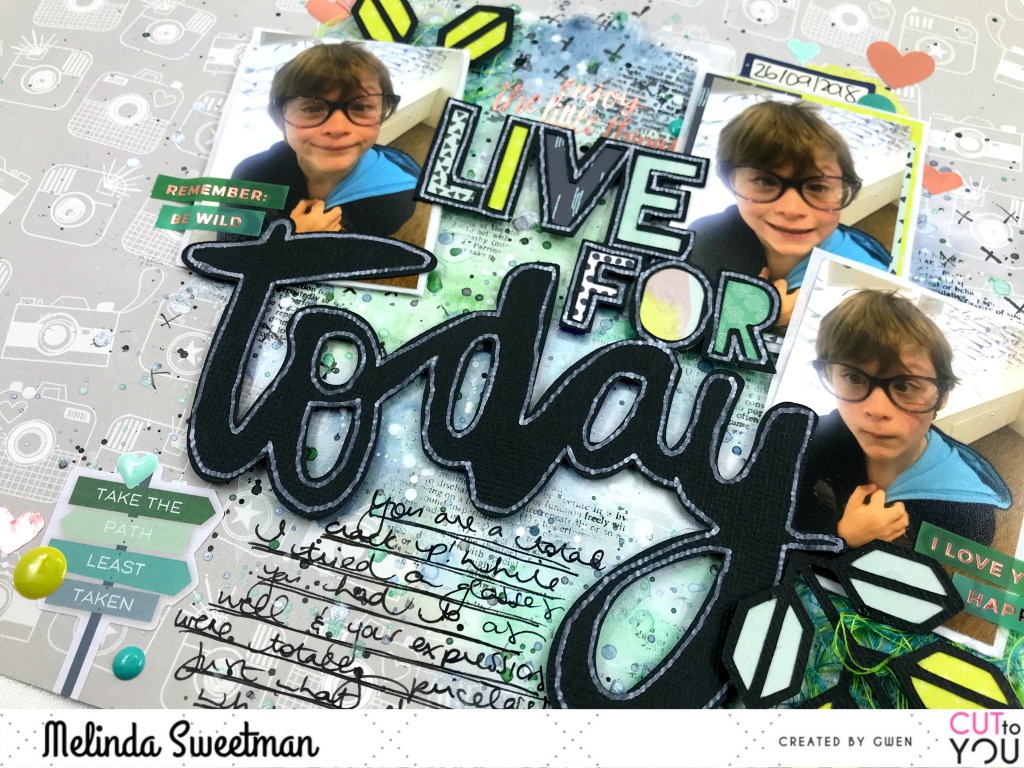
I cut this in black card a while ago and thought it was perfect for these photo's of my biggest child. First up I backed the open letters of my title using some patterned paper I had picked out to work with the colours in my photos.
I worked out where the photos and title were going to be placed and added some white gesso to my back ground paper, smudging the edges with my finger for a softer finish. I also added a small amount to the top left of the page. I've used the packaging technique and a paint brush to add colour onto the gesso'ed back ground paper with some mists and paints from my stash. You can see how that all came together in my process video, linked below!
After adding my mixed media I added a couple of paper layers and some tissue paper behind the small photos. I stuck all the photos and title together to make it easier to maneuver around my page.
I added some more messy fun to the back ground after it was dry with some stamping in black and splatters in matching colours.
With the title and photos being one big cluster that made it easy to work out exact placement and next it was time to embellish. I grabbed a couple of spools of thread (green and blue to match my back ground) and added 3 messy clusters of tangled thread and then hunted for the longest time for something else to add.
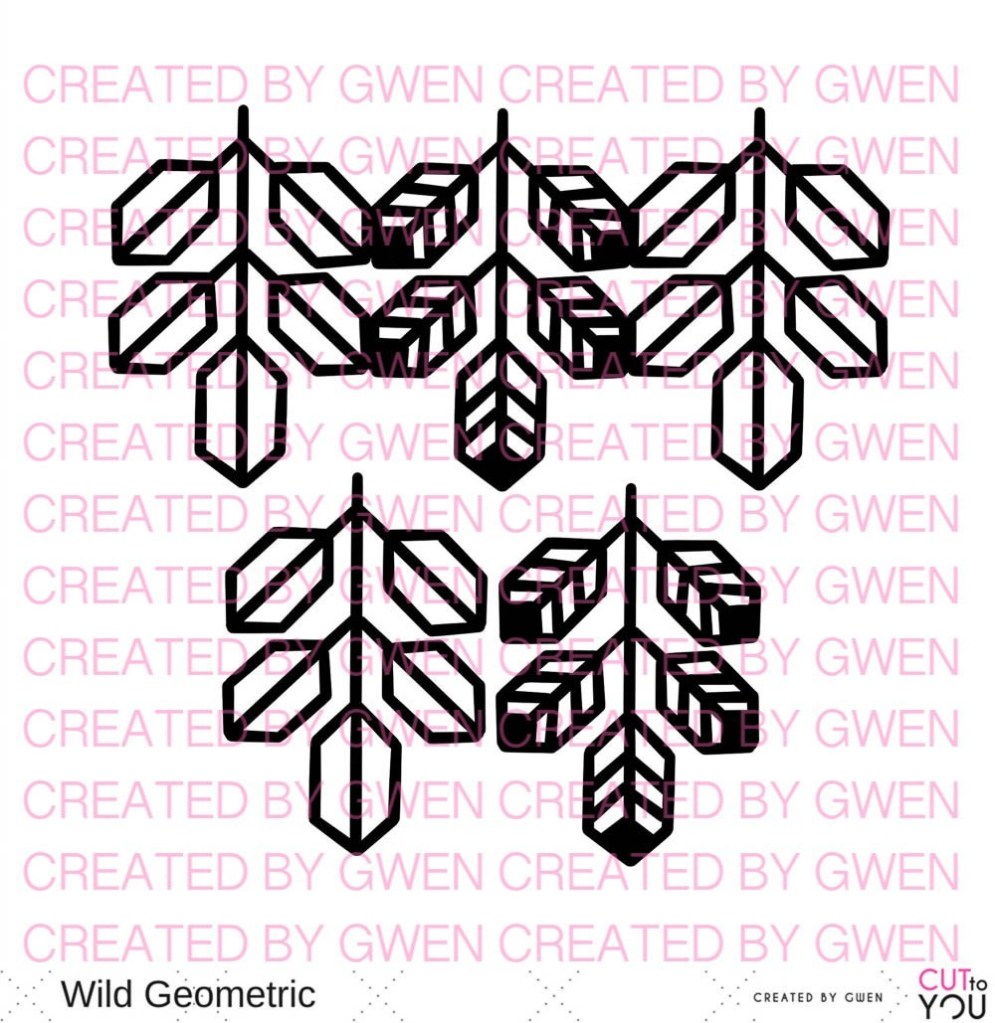
In my bag of already cut CTY cuts I found these great little geo leaves from the Wild Geometric cut file and decided they would be perfect! I backed the leaves in matching papers and then added those in my 3 main clusters over the top of my thread. Then using some wet glue I stuck the thread, title and photos and geo leaves.
I felt like my title wasn't popping enough so I grabbed a white paint pen and outlined the whole file and love the extra attention it brings to the title! Oh, and white splatters in the background ;)
A few sprinkles of stickers, word strips, enamel shapes and my journalling and my page is done!
I hope you have enjoyed my share today, I love these photo's of my little goof ball and I love the finished page!
Hello everyone and welcome to my blog today!! I'm really excited to be here sharing this page for CUT to YOU with you as I've done something a little different with a cut file for this. Without further ado, here is my creation
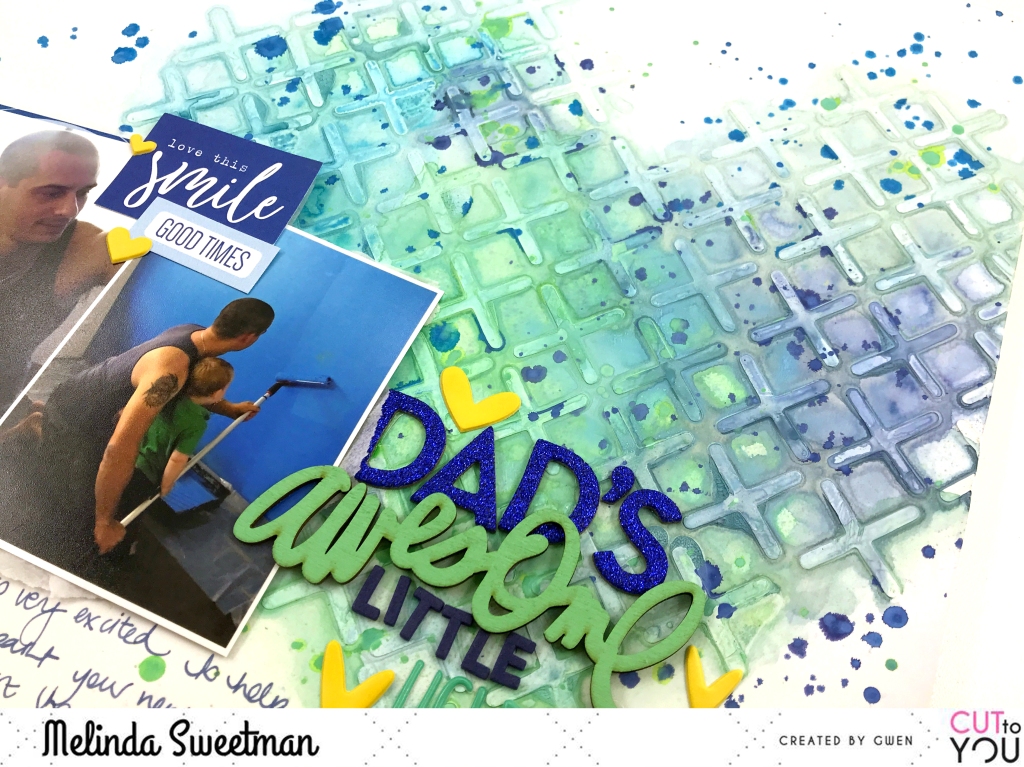
As you can see I have created a mixed media background without a cut file in sight!! But wait!! The cross stitch heart pattern in the background is indeed a cut file! It's the Stitch Geo Heart cut file and I cut this on some paper that I won't use and then using some modelling paste used it as a stencil! I did leave it over night to dry thoroughly as I knew I was going to add lots of water.
I've used my (brand new ;) ) Distress Oxide sprays to add colour to the heart. I've simply sprayed a little colour, spritzed some water and between tipping my page and using a paint brush got the colour moving all over the heart and defining the heart shape. The colours I have used are Cracked Pistachio, Mermaid Lagoon and Faded Jeans. I've used a wet paint brush with clean water around the shape of the heart to fade out the colours.
Once the colours were dry I went back in with the nozzle of each of the colours and splattered away to my hearts content. You can see in this close up how you get the different colours coming through with each of those sprays and I just love it!
I didn't want to cover up too much of the heart so I have used a pattern paper behind the square photo and then some white tissue paper behind both photos and stuck them together.
It was always obvious to me that the title of this page HAD to be "Dad's Little Helper" so with that in mind I picked out some lettering and in the process found that "awesome" wood veneer painted in the perfect colour to go onto this page so added to my title coming up with "Dad's Awesome Little Helper" - all the alphas are from my stash and all except the tiny foam ones are old!
I added in a couple of cut apart pieces from Elle's Studio and then finished off the page with some yellow puffy hearts. I love the contrast of the yellow against all of those blues and greens!
This is a pair of older photos but I really do love going back and scrapping some of these older memories. There is a big part of me that is sad that this little dude is now so big, it just goes so fast; but it always makes me smile when I reminisce!
My "stencil" is still good for another use or even 2 as I only used it to apply some modelling paste and didn't leave too much on the paper so you very may well see this same pattern pop up soon!
I do have a process video available for you as well, including how I created my stencil in Silhouette Studio. Just hit the button below and enjoy!
Thanks so much for stopping by and I'll be back again soon with another share!
Hello my scrappy friends and welcome to my blog today, it's lovely to have you stop by! Today's share is my latest share for Gwen's CUT to YOU store and this time I am using another Travellers Notebook file but I have cut it BIG!! This one is the "This Is My Right Now" file.
And here is my finished page
I have cut this on a red/orange patterned paper to match the red/orange on the background paper I have chosen and backed the open letters with some plain vellum. The cut file has also been mounted onto some craft foam for some extra dimension and for me to be able to layer my embellishments both on top of and below the file.
I have used a bunch of Elle's Studio labels - both cut apart and sticker forms - to form the base of my 3 main clusters. One is to the top left of the title, one to the top of the photo and one to the bottom of the photo.
I have intentionally placed the cut file and photo where they are to allow a little more whimsy with tilting the photo as this photo is just (another!) photo of my boys being silly together and a bit of a funny story!
I did a tiny bit of mixed media in the form of black splatters using some Black Velvet Heidi Swapp Colour Shine where my 3 embellishment clusters were going.
Having this giant title really made this page come together relatively quickly as I didn't want to cover it up to much. I've also pulled in a few stickers from the Vicki Boutin #stickerbook to bring all those colours to all of my embellishment clusters.
I have a process video up on my YT channel today for this page for you too so do head over and check it out if video's are your jam!
As always, I have linked everything in my blog post and you can find all the links also on my video! Oh, and make sure you head over to the new FB Page Cut To You and hit that like button! Thanks so much for choosing to spend some of your time with me here and/or on my YT channel, it really is appreciated!!