Showing posts with label Tiddly Inks. Show all posts

Friday, 28 August 2015

My last Fab Friday with Tiddly....

Hi there!! And welcome! It has been a little while since my last post, life has happened, my littlest little guy just turned 3 and I have hurt my back again. Oh well, life goes on and sadly, so do DT terms!

I am here today sharing my very last card for my term on the very awesome DT over at Tiddly Inks! Very bitter sweet as this team was one of those items on my "to-do" list for my crafting! I decided not to apply for another term straight away but I have no doubt I will through my ring into the hat again sometime!! 

Christy, if you are reading, thank you so much for the opportunity over the last few months, I have had so much fun and it has been a real pleasure "working" on your team!!

Enough of the chatter though and onto the card!!

I have used my one and only clear Tiddly Inks stamp set for this card - Happy Day and I just love how this card came together!!


Another very CAS card but I really love how this turned out!! I have already given this out - it was my Nan's birthday last week so I thought this was perfect for her. I personally love the bright pops of colour!!


The copic combos I used are:
Skin: E000, E00, E21, E11, E04 and R20
Hair: E41, E43, E47 and E49
Dress: BG11, BG13, BG15 and BG18 Frill/Socks: C0 and C1
Red: R22, R24, R29, R59 and C5 Yellow: Y11, Y15, Y17 and E15


I pulled some papers, some thread and some enamel dots from my stash that went well with the colours I coloured with. The sentiment is from the stamp set, punched with an Ephipany tools 1" circle punch with an epoxy dot stuck to the top. Last touch was some gold colour shine sprinkled across the card front.

I really have had so much fun with Tiddly Inks so if you are included do throw your hat into the ring, Christy is awesome to "work" (I use that term VERY loosely!!) for and Lou is pretty fabulous too!!

Happy scrapping!!

Mel
xx

Friday, 14 August 2015

Fab Friday with Precious

Hi there!!

Yep, it's another Fab Friday with Tiddly Inks!! This is my 2nd last one as part of the DT team so I to be honest, I am a wee bit sad that my time is almost up!! That being said, I have had so, so, so much fun!!

So, onto the good stuff, my card!!


I used the gorgeous Precious digi stamp - I have been drooling over her for quiet some time but have not been brave enough to test my colouring skills but I gotta say, I love, love, love how she and the card turned out!!


And, of course, a close up of her :)

The copic colour combos I used are:
Skin: E000, E00, E21, E11, E04 and R20
Hair: YR14, YR18, E08 and E18
DRESS Blueish-Purple: BV20, BV23, BV25 and BV29 Green: YG91, YG93, YG95, YG97 and BG99
Cream: E40, E41, E43 and E44 Pinkish-Purple: RV91, RV93, RV95 and RV99

I have used papers from a freebie 6x6 paper pad I got yonks ago in a craft mag - Meg's Garden "The Romantic Garden" paper stack. The colours work perfectly together!!

The flowers, the frame, the, stick pins, the doily and the purple flower tucked behind the layers are all from my stash. The sentiment was stamped with a tiny alpha stamp set I got from Typo ages ago and stamped in Dark Brown chalk ink.


And just a close up of that little cluster in the top left hand corner!

I hope you have enjoyed seeing my creation for this Fabby Friday!!

Happy scrapping/colouring!!

Mel
xx


Tuesday, 4 August 2015

Tiddly Inks Challenge #163 - Paws for Thought

Hi there!!

A super quick share with you today for the newest challenge over at Tiddly Inks!! Paws for Thought! I thought outside of the box a little here, pretty easy to do with my 2 little people being little boys!!
I have used the super cute Monstrous Party and thought I would go with a primary colour scheme - red, blue and yellow.


I have had this cute image printed out for some time but I have never been brave enough to colour them up!! I love how they turned out, can see where I need to improve but this will be a fun little card for a little boy!!

The copic combos I used are:
Yellow Monster: Y15, Y17, E15 and E18
Blue Monster: B12, B14, B16, B18 and B39
Red Monster: R22, R24, R46, R29 and R59
Balloon: G21, G24 and G29
Grounding: W1, W3 and W5

So, that's it for today!! Make sure you pop over to the Tiddly Inks challenge blog to see all of the awesome makes the other very talented girls on the DT have done and also to enter your own take on the challenge!!

Thanks for stopping by and happy scrapping!

Mel
xx

Friday, 31 July 2015

Fab Friday and a Happy Birthday to Me!!

Well, hi there and welcome to another Fab Friday with Tiddly Inks!! 

Today I decided to use the gorgeous Wryn Eat Your Cake totally inspired by the fact that today is actually my birthday!! So, if you have cake close, do enjoy a piece for me!!

Enough about me and onto the fun stuff, my card!!


Another CAS card for me this week. I decided to take some inspiration from a few cards I've seen about the internet with the image cropped. I also zoomed so the gorgeous Wryn is the centre of attention. 


And of course a close up of my colouring!

The copic combos I used
Skin: E000, E00, E21, E11, E04 and R20
Hair: E21, YR23, E15 and E18
Dress and flowers: BG000, BG01, BG05 and BG09 Brown: E41, E43 and E44
Shading on cupcake: W1, W3 and W5 - I paper pieced this because I wasn't happy with my colouring but I love how it turned out!
Background: B000, B00, B01 and B02


I have used some scraps for the cupcake and used the same pink paper from the "icing" as a mat for the card front. 

I'm really pleased how this turned out, especially since this is my 1st attempt of doing paper piecing since I learnt it in my clothing class at Kit and Clowder!

I hope your having a fabulous day and thanks for stopping by!

Happy scrapping!

Mel
xx

Tuesday, 21 July 2015

Tiddly Inks Challenge #162 - Summer Song

Hi there Tiddly friends!!

Here today to share my take on the new challenge, "Summer Song".

I came to my image in a very round-about way but hey, it's what came to me!!

We are in the middle of Winter here in Australia at the moment and it is COLD - well, cold for here ;) so it was harder for me to come up with something for this challenge than it normally is!! 

My song was "Land Down Under" by Men At Work. This song makes me think of our beautiful country every time I hear it (I hear you say, "Well, der!!") which makes me think of sunshine, warmth, summer, days at the beach and BBQ's so I ended up using the gorgeous "Wryn the BBQ Queen" and love how this card turned out. Obviously, as the sentiment suggests, I am going to use this a Father's Day card, we celebrate in September here!

Enough with the chatter and onto the card


I ended up doing another mixed media background which mostly ended up covered because, to be honest, I was not 100% happy with it but I am happy with end result! As always this little beauty was coloured with my copics and I have just pulled papers from my offcuts.


And the ever so gorgeous Wryn!

The copic colours I used:
Skin: E000, E00, E21, E11, E04 and R20
Hair: E11, E13, E15 and E18
Apron Blue: B91, B93, B95, B97 and B99 Orange: YR000, YR14 and YR18
Dress/Shoes/BBQ and BBQ Tools: C1, C3, C5 and C7
Sausages and Patties: E55, E57, E59 and E29
Grounding: W1, W3 and W5
Sky: B000, B01 and B02

That's it for me for today, so, as always, thanks for stopping by and make sure you stop by the challenge blog to see all the other gorgeous makes by the other very talented girls on the DT!!

Happy scrapping and see you soon!!

Mel
xx

Friday, 17 July 2015

Fab Friday with some Bunny Love

Hi there and welcome to another Fab Friday with Tiddly Inks!!

I've gone for a clean and simple card this fortnight as its school holidays here and this last fortnight has seriously just disappeared in a blur!!

I have used the adorable Somebunny Loves You digi stamp with my copics. 


I knew that I wanted to do a CAS card so I printed Wryn a little bigger than I would ordinarily and set to work. I then pulled a sentiment stamp from my stash and some sequins. I have gone twice around the edge of the card front with white thread in my sewing machine then mounted that panel onto some pink cardstock (that I had scored for a different project and didn't use but love how it added texture!) and then mounted that on a Not Quiet Navy (Stampin Up) card base.


A close up of my colouring that I have used the no lines technique on - I am still trying to master the art of no lines digi printing so it's not completely "no lines" as such but I am so happy with how she turned out!!

The copic colours I have used are:
Skin: E000, E00, E21, E11, E04 and R20
Hair: E21, E25 and E29
Pink: R81, R83, R85 and R89 Blue: B99 and B95 
Bunny Ears and Bunnies: W0, W1 and W3 R11 and R20 
Grounding: W0, W1 and W3


Last but not least my sentiment :) I have used the Not Quiet Navy ink to match the card stock - not stamped 100% perfectly, but, it's all good.

I am so happy with how this card turned out!! I hope you have enjoyed your time here on my blog today.

Thanks for stopping by and happy scrapping!!

Mel
xx

Saturday, 11 July 2015

Challenge 161 - Anything Goes with Tiddly Inks

Hi there!!

Another super quick share today! And yep, a few days late again!! Haha! This time I had to wait for hubby to deliver this card to his brother for his birthday so, hence the delay.

I just love an Anything Goes challenge!! So fun and I can do anything!! Woo hoo!!

Here is the card that I created using the Hello Pet digi stamp set - only the dragon.


I have used a Daffodil Delight cardstock base and I pulled out a bunch of scraps in black and white, layered them all up on the card base and then applied a very light coat of gesso just to tone it all back a bit and give it a bit of uniformity :) It's not very clear in the photo but I have used a dot stencil with the brushed pewter distress stain in some sections of the background. I then dyed some cheesecloth using a daffodil delight re-inker. While that dried I used some black water colour paint to splatter across the background, then pulled out these 2 tickets from my stash (they are Tim Holtz tickets), inked them with black archival ink and also around the card front. I attached the cheesecloth and then my coloured dragon with hot glue to give it some lift.

Here is a little close up


The copic colours I used are:
C0, C1, C3, C5, C7, C10, 100 (black), Y02, R24, R29 and R59

Well, that's if for me for today. Grab yourself your fave TI stamp and join in our challenge!!

Oh, one more thing before I go. The lovely Rhea over at Passionate Paper Creations and Friends on Facebook is having a fun weekend in celebration of all things Tiddly Inks so head over and join in the fun!! There are lots of prizes up for grabs over the weekend and right now there is even a special $1 digi available!!

As always, thank you so very much for taking the time to stop by and an extra special thanks for the comments I receive. I read all of them and am honestly flattered by every single one, so thank you and happy crafting!!

Mel
xx

Saturday, 4 July 2015

Fab Friday with Tiddly Inks

Hi there!

A super quick share today (and a day late, oops!!) of my make for this weeks Tiddly Inks Fab Friday :)

I used one of the newer images "Magical Friendship" and had a heap of fun colouring this up, though it did take me ages as I have been unwell for the best part of the last month. I even did a background of clouds and am super happy with how they turned out!!

So, enough with the chatter and onto the good stuff ;)


I'm very sorry but I forgot to take note of the colours I have used though I do know that the mermaids hair is with BG11, BG13, BG15, BG18 and possibly BG49. And I think the clouds were using B000, B00, B01 and B02.


And just a little close up of these gorgeous characters! I have probably said it a hundred times before but I just adore Wryn, in all her forms!! She is so adorable!!

I have very simply stitched around the edge of the card front twice with some yellow thread and my sewing machine, mounted that onto some Pumpkin Pie card stock from Stampin' Up with foam adhesive and then mounted that on Daffodil Delight card stock card base; also by Stampin' Up (I adore this yellow!!).

So, that's it for me for today!! I hope you like my make and thanks for stopping by!!

Happy Scrapping!
Mel
xx

Tuesday, 16 June 2015

A new release at Tiddly Inks and I just LOVE it!!

Hi!!

Yep, a NEW release!! In both digi and clear stamps!! Squeal!! So, so excited!! There are 2 new gorgeous Wryn's but sadly I have only had the time to have a play with one!! I have the 2nd printed and hope to get to that super soon!!
Here is my card that I made with Owl Always Love You Wryn


Isn't she just adorable?!

And a close up :)


The copic colours I have used are as follows:
Skin: E000, E00, E21, E11, E04 and R20
Hair: YR14, YR18, E08 and E18 (I just LOVE this combo and especially on Wryn!!)
Dress: BG90, BG93, BG96 and BG99 for the green C1 and C3 for the white
Branch: E11, E13, E15 and E18 Leaves: YG03, G94 and G99
Owls: E21, E23, E25, E27, E29, Y15 and Y38
Sky: B000, B00, B01 and B02

And here is a little close up of that embellishment cluster in the top left


I started with the Freckled Fawn arrow paper clip, added that cute resin owl from my stash, some enamel dots and some tiny word stickers by Tim Holtz.

Here is the other brand new image that I haven't yet had time to colour up but isn't she just gorgeous!!


I hope you like my card and perhaps you will get the chance to have a play with these little cuties sometime soon too!! Make sure you share in the FB group!!

Thank you so much for taking the time to stop by and have a great day!!

Mel
xx

Tuesday, 9 June 2015

Tiddly Inks Challenge #159 - Super Power

Hi and welcome!!

Today I am sharing something a little different for me - 2 6" x 6" canvas' that I have made to go into my little guy's bedroom when we decided "it's time" (just quietly, it will NEVER be time!! Haha!!)

Enough of my chatter for now and onto the fun bits!!


Here is the 1st canvas using the ever so cute "My Super Boy".

The background was super easy to put together and I'm very happy with how they turned out! Both backgrounds are done in exactly the same way - just different colours.
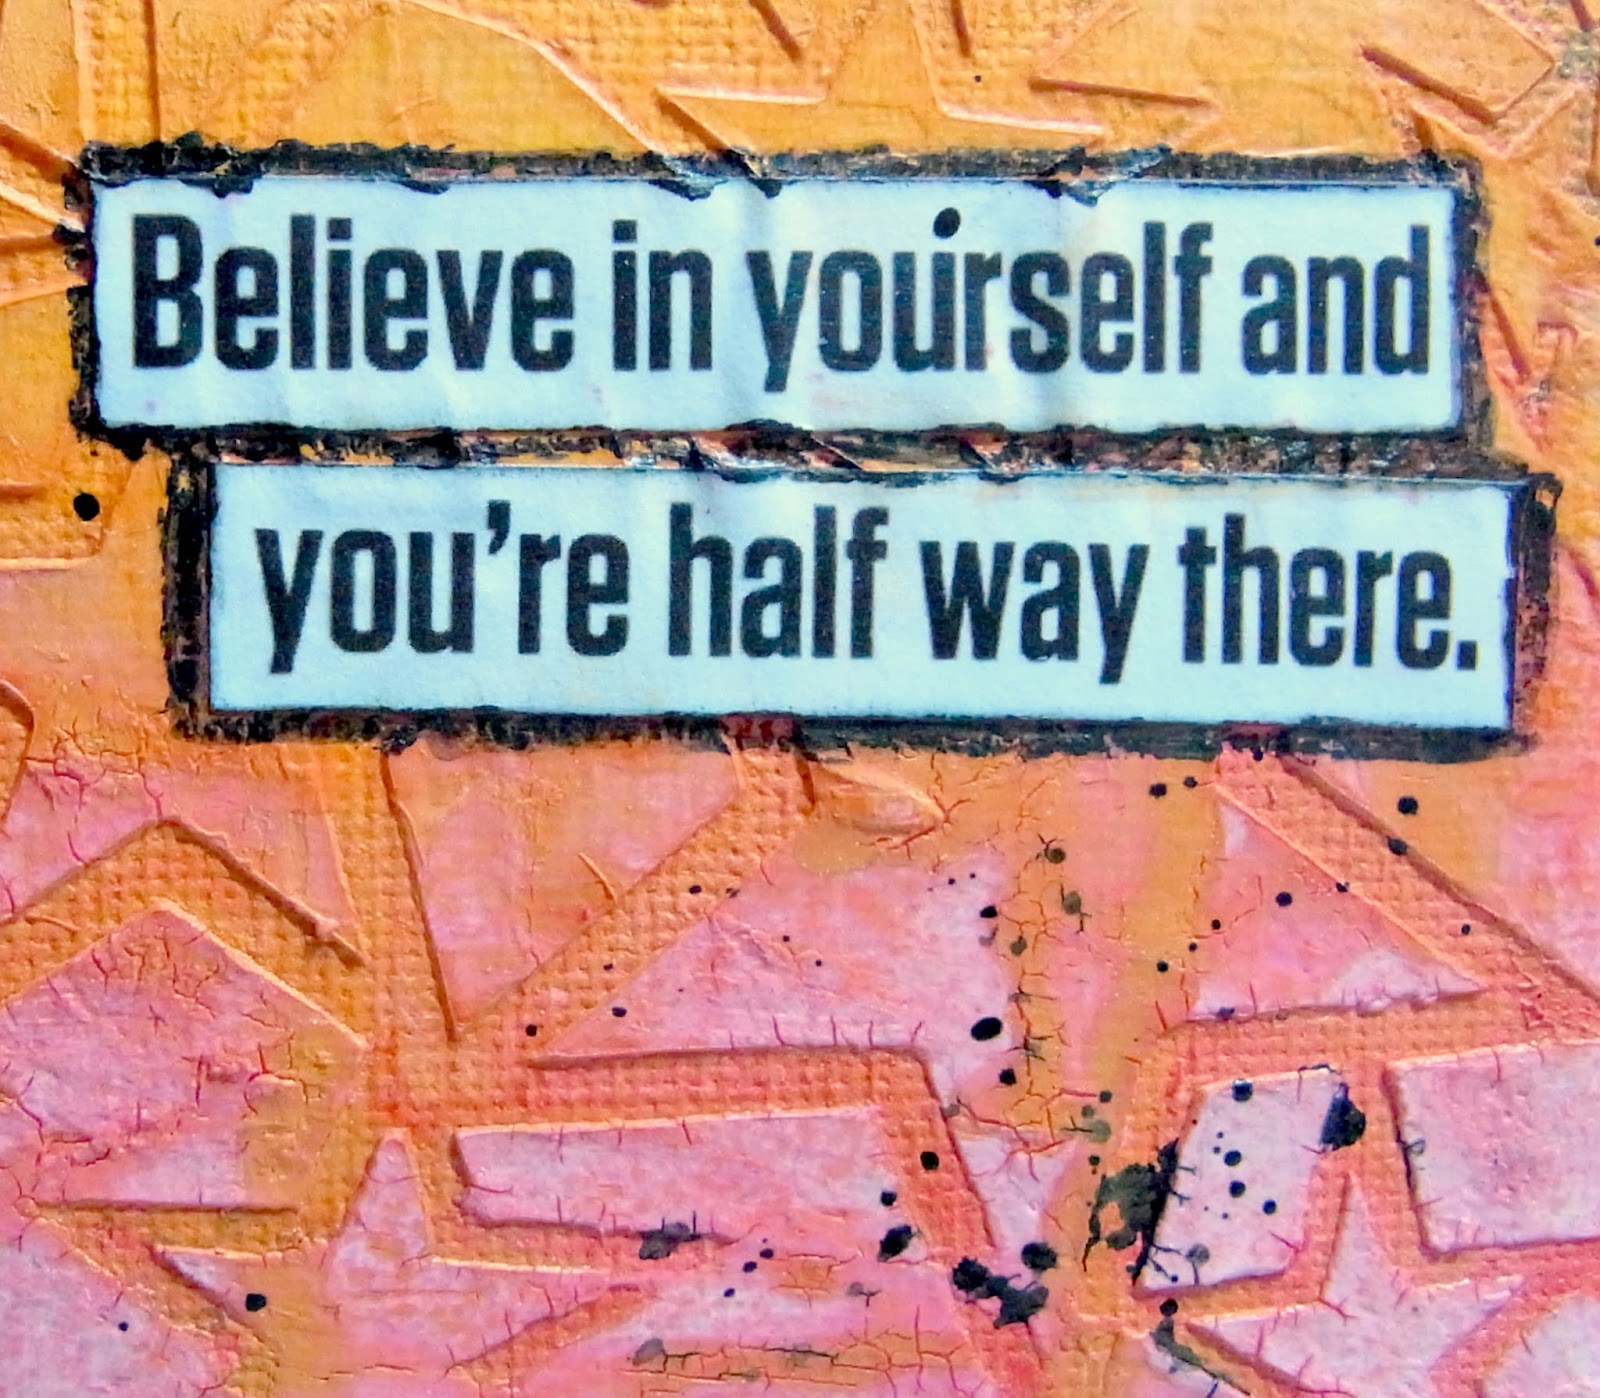
First up, a coat of gesso to prime the canvas. Then some stamping with some Kaiser background stamps in black archival ink by Ranger. Then I used my modelling paste with a TCW stars stencil. When that was dry I grabbed my mustard colour shine and my red Kaiser mist and applied the colours to the canvas. They weren't "mixing" as I wanted so I sprayed on some water and let that dry. I used pinterest to find quotes and came up with this for our this little guy and got hubby to print at work on the laser printer so the colour of the ink didn't run when I used my matte medium to stick it down. I tried a new technique - not sure if I LOVE it or just LIKE it but it's done! I used my black watercolour pencil with a little puddle of water to go around the strips of my quote. When that was all dry, some black inks splats and then I popped the little cutie up on some foam tape :)


The copic colours I used are as follows:

Skin: E000, E00, E21, E11, E04 and R20
Hair: E30, YR31, E33 and E35
Red: R22, R24, R29, R59 and C7 Blue: B12, B14, B16, B18 and B29 
Yellow: Y13, Y15, Y17 and E18 Black: C5, C7 and C9

And a close up of that quote


And onto the 2nd canvas


Here I have used "My Batty Hero" - just LOVE him!! 

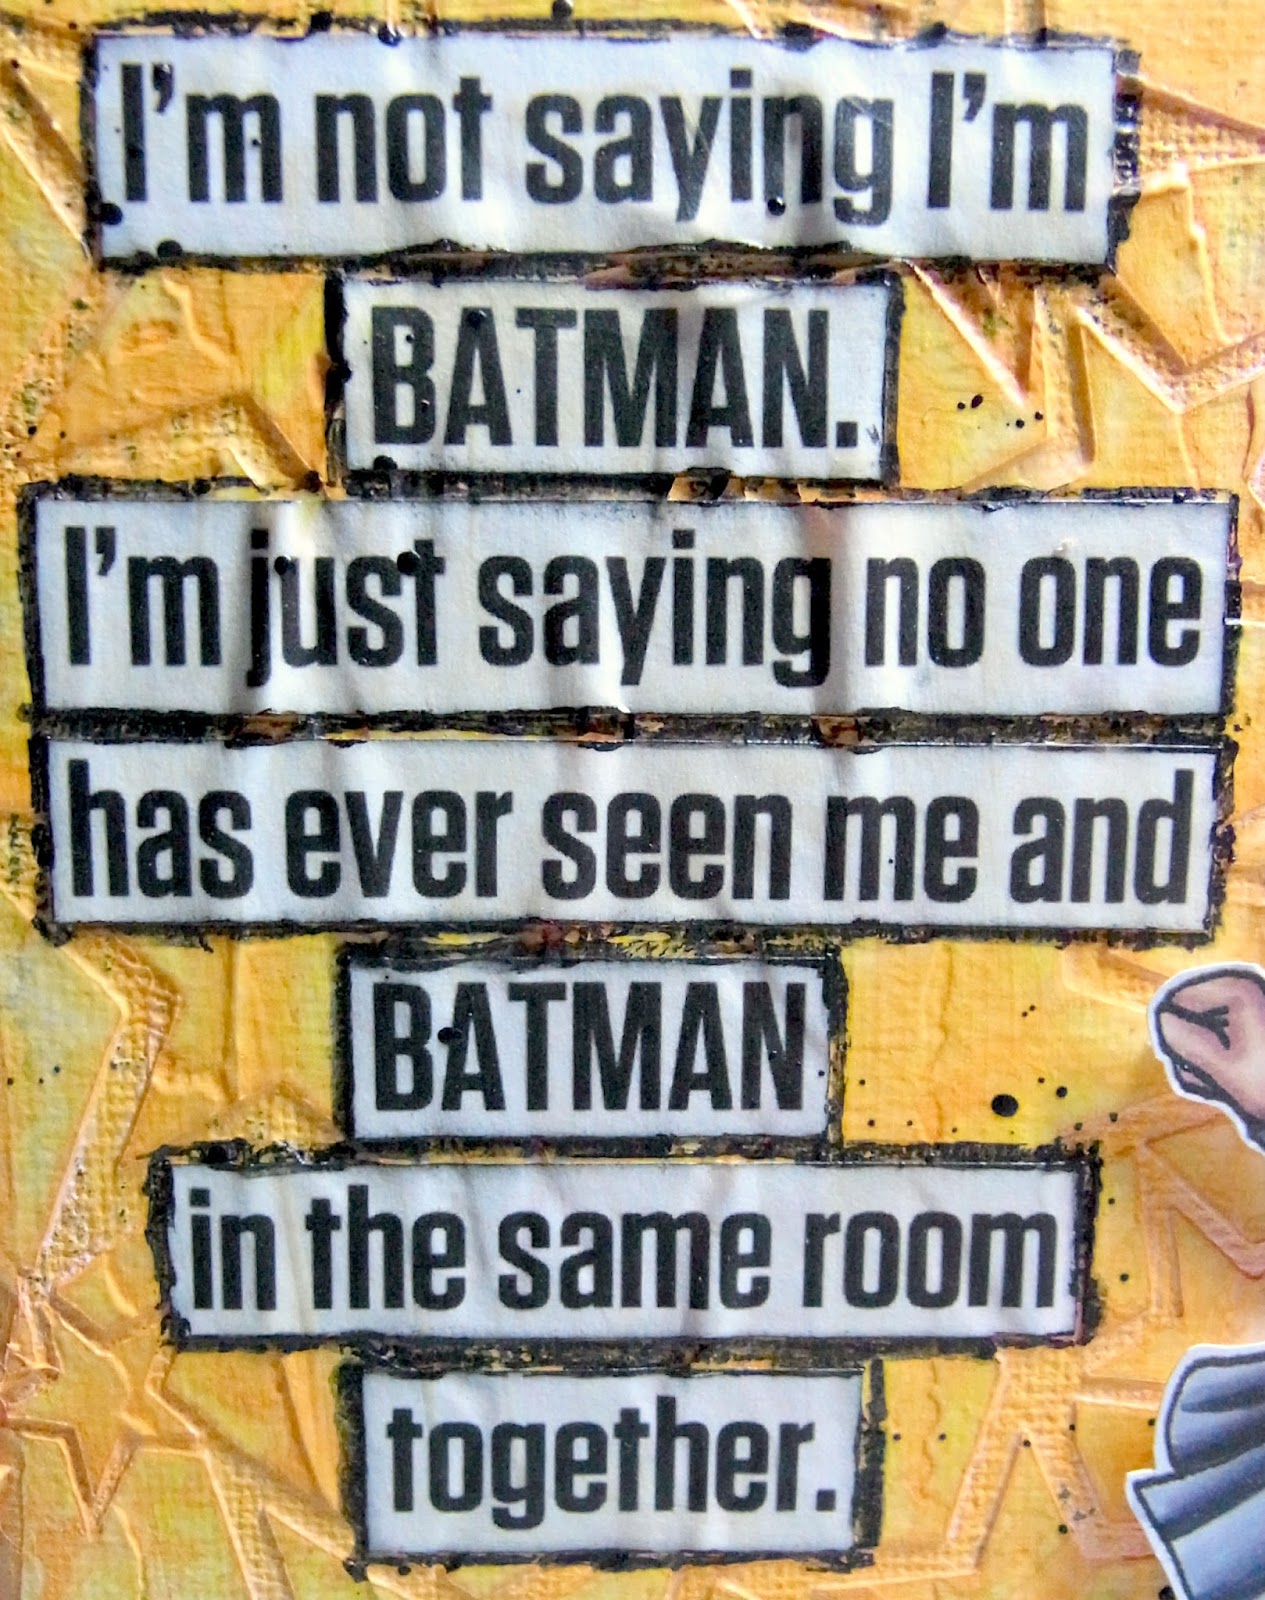
I was going to only do this little guy for my little guys bedroom as we often refer to him as "Batbaby" - somehow we started a batman thing for him when he was little and it has STUCK!! He loves Batman so that is why I chose this particular quote!! And in saying that, he received for his 2nd birthday (August 2014) this gorgeous little guy on his birthday card from me and his daddy and if you would like to have a look I shared that card here.


The copic colours I have used are as follows:
Skin: E000, E00, E21, E11, E04 and R20
Hair: E53, E55, E57 and E59
Black: C1, C3, C5, C7, C9 and C10 Yellow: Y13, Y15, Y17 and E18

And again with the quote


So, make sure you head over to the Tiddly Inks challenge blog to see what all the other girls have come up with and perhaps you might even find some inspiration to enter your own make!!

Happy scrapping!!

Mel
xx


Friday, 5 June 2015

Fabby Friday with Tiddly Inks

Hiya!

Just dropping in today to share my latest make for Tiddly Inks :)

I printed out a few different images I have been really looking forward to colouring up and this gorgeous little Emma spoke to me. I challenged myself to use some different colours and LOVE how she turned out!


For the background I have used some watercolour paper, a stencil and some modelling paste. After the paste dried I grabbed some gelatos, water and a paint brush and did some colouring :) A yellow doily from my stash and some more bits and pieces from my use it or lose it box (best idea EVER!!). Some machine stitching in black to pull it all together, I popped Emma up on some pop dots after I FUSSY CUT her - yep, I FUSSY CUT her!!, and some black ink spots.


The copic markers I used are as follows:
SKIN: E000, E00, E21, E11, E04 and R20
HAIR: E30, YR31, E33 and E35
YELLOW: Y13, Y15, Y18, E15 and E18
ORANGE: YR02, YR14, YR18
SHOES: E13, E15, E17 and E18

I hope you like my make for this Fabby Friday! I had a heap of fun playing with not my normal colours!!

Have a great weekend, I shall be enjoying myself on a scrapbooking retreat!!

Melinda
xx

Tuesday, 26 May 2015

Tiddly Inks Challenge# 158 - Make It Easel-y

Hi there and welcome to this fortnightly challenge at Tiddly Inks! This month is "Make It Easel-y" so all you need to do to participate is to grab a Tiddly stamp and make an easel card!!

For this challenge I have used the gorgeous Wryn - Grow A Little Love and made a thank you card. 


The copic colours I used are as follows:
Skin: E000, E00, E21, E11, E04 and R20
Hair: E70, E71, E74, E77 and E79
Dress: BG11, BG13, BG15, BG18 and 100
Pot: E31, E33, E35 and E37 (I think!!)
Flowers: YR02, YR14, YR18 and E18

The paper is from an Echo Park 6"x 6" paper pad "Creative Agenda". Doily, alpha stickers and metal flower all from my stash. Butterflies cut with a punch from Stampin Up :)


And a little close up of the gorgeous Wryn, I totally adore her!!

So, that's it for me for today, thanks for stopping by! Make sure you head over to the Tiddly Challenge blog to see all of the other gorgeous creations and get your entry in too!!

Melinda
xx

Friday, 22 May 2015

Fabby Friday with Tiddly Inks

Hello!!

Here we are with another Fabby Friday post with Tiddly Inks!! 

This week I used the gorgeous little "King of The Wild Ones" digi stamp which I have had in my stash for ages and have been waiting for the confidence to colour him up. He jumped straight out at me when I was looking for an image to choose as he reminds me of my 2 little boys who are certainly testing their boundaries as of late ;)


A clean and simple make for me but I have been busting to give this a go!! I have actually used my cameo to cut the card front with the stitched border after I printed my image and sentiment (the sentiment came from this set) using the PixScan mat.

Here is a little close up of my colouring


The copic colours I have used are as follows:
Skin: E000, E00, E21, E11, E04 and R20
Hair: E43, E47 and E49
Wild Thing Outfit: BG11, BG13, BG15, BG18 and BG49
Crown: Y15, Y17, E15 and E18

This little cutie has made his overseas to one of our nephews and I hope he arrives there soon and safely!!

Hope you like my little guy and happy crafting :)

Melinda
xx

Tuesday, 28 April 2015

Tiddly Inks DT Call

Hi there!!

So, I decided to bite the bullet and put through an application for a spot on the DT over at Tiddly Inks again! Nothing quiet like leaving it to the last minute! At last check there was about 4 hours left to link up!!

So, I have used the gorgeous Fairy Tenderhearted which I purchased when she was 1st released but have only just now been brave enough to colour up!! Haha! But I totally love how she has turned out so much so that I can't decide if I am going to keep her and pop her onto a mini canvas or pop this whole 6" x 6" piece onto a card front, but for now I am calling her done!!

Here is my (as finished as it is for now until I can decide!) finished piece


I really am so happy with how she turned out and probably would never have given her a go without the encouragement and support from Alyce over at Kit and Clowder!


The copic colours I used are as follows:

Skin: E000, E00, E21, E11, E04 and R20 (blush)
Hair: E11, E13, E15 and E18
Dress: R00, R11, E02, R20, E95 and E04
Wings/Leaves: YG03, G28, G94 and G99
Branch: E41, E43, E47 and E49
Bird: BV20, BV23, BV25 and BV29


Again, I truly had so much fun putting this together and I am super proud of my little piece of artwork, chosen or not ;)

Thanks for the opportunity Christy to be a part of your team, I totally love your gorgeous designs!!

Whatever you are up to tonight I hope you are enjoying and happy scrapping!!

Melinda
xx

Saturday, 14 March 2015

March with Dusty Attic

Hi there!!

This post is a wee bit special, it is number 100!! Wow! I'm impressed with myself for getting 100 posts done! AND there are even a couple in draft format!! So, I am celebrating just a little!!

Today I am here to share with you my projects for March for Dusty Attic! I have 3 to share today, a PL "end" page, an 8" x 10" canvas gift and a mini holiday PL spread! I hope you enjoy and I will warn you, there are a few photos!!

Here is my 1st layout for the month


As the "title" of the page suggests this is our final page for our 2014 Project Life album. Pretty simple but that was how we spent New Year's Eve and I thought a simple, yet effective "end" to the album fitted perfectly!

My little family and I headed away from home on the 27th December for a much needed mini holiday in the beautiful Margaret River, approx 4 hours from home. Wine, cheese, the beach and a beautiful little "home" for the 6 days we were away. We spent NYE in our little cabin. The boys went to bed around their normal bedtime and hubby and I enjoyed a local bottle of rose along with some local cheese and crackers. This photo was taken from our porch while we enjoyed the quiet and each others company.


A close up on the embellies on the title card - an arrow from Heart Arrows #1 and numbers from Mini Number Set that I have spritzed with pink and mustard colour shine by Heidi Swapp. After that was all dried I did a little bit of stamping with a watermelon colour inkpad. Somehow that "permanent" ink didn't stay where it was put when I applied the clear varish but I am happy with the effect it has given! I stuck those pieces down to the 6" x 4" transparency and added 3 sequins and voila, a closing page for our 2014 album!

Oh, and if you love the idea of big photos in your PL I highly recommend popping over here to see the tutorial that I used to learn how to crop my pics in PSE the quick and easy (and cheap!!) way!!  

Onto my 2nd project for the month!


This is an 8" x 10" canvas that I created for a family friend that I have known since childhood. After all we grew up next door to each other!!

As usual I used my copics to colour up this gorgeous stamp "You and Me" from Tiddly Inks. This is the 2nd time I have coloured up this cute couple and I had a heap of fun testing out all my "new found" colouring skills!


I have used the "no lines" technique here and the colours I used are as follows
Skin tones on both: E000, E00, E21, E11 and E04 R20 for blush
Bride
Hair: E21, E25 and E29
Dress: C0, C1, C3 and C5 Also I have used the clear wink of stellar marker all over the dress
Groom
Hair: E71, E73, E75 and E79
Suit: W1 W3, W5, W7, W9
Shoes: C3, C5, C7, C9 and a white molotow marker


A close up of the chippy I used. String of Hearts Frame Set and again the Mini ABC Set Uppercase. I originally had all the chippy sprayed with the seafoam colour shine spray but it all blended a bit too much together so I sprayed straight over the top of the alphas with the primrose colour. I was so impressed by how well the chippy pieces took the extra layer of colour and am very happy with how they turned out!


And a few close ups!! A heap of the flowers have come from D-lish Scraps and some others are from my stash that I had thought I would never use!!

I had so much fun stepping out of my comfort zone for this project and super happy how it turned out! Even better, the bride loved it!! Winning!!

Onto my last project for this month. Another spread in our PL album. Again this is still our 2014 album (yep, I did the end page before the album was completed!!) and I have used a "panoramic" page protector design in Design A which looks something like this. 


I have photographed my spread all the way open, both front and back but as you can see, the right side (when looking at the front!) folds back over so it fits perfectly into a standard 12" x 12" album!


That is both the front and back of the page. As you can probably work out I have documented the 2014 part of our mini holiday. We returned home on 2nd January 2015 and the few photos from those days are included in our 2015 album.


I used a disk from Word Disks #1 which I have coloured with citron colour shine spray and then coated with clear varnish. Which I have done with all the pieces on this spread.


On this card I have used the citron and teal colour shines together for an ombre greeny to teal colour. I have used Mini Words #1, again the Mini ABC Set and the Teeny Tiny ABC Set.


Here I have used the Mini Mason Jars which I painted white and coloured the lid silver with a silver sharpie marker. I then cut out the glass shape from vellum to give the "right" sort of look to the glass. Used my Copic multi liner to add in the lines, added the enamel heart sticker and stuck it to my card. No varnish here ;)


The cheeky from Word Pack #6 which again I have used both the citron and teal colour shines on.


One of my favourite things about PL is I can just run with the photos I have. Yep, my big little guy has his eyes closed but that is ok. That is how it happened. The lighting is pretty terrible but again, we were in a cave so yep, that's how it happened! I have used the word memories from the Mini Words #1 pack and again, citron and teal colour shined!


Here I have used an arrow from the Love This, Love That Arrows pack and yep, you guessed it teal and citron colour shine again.


A pebble from the Page Pebbles #8 set. Colour shine, yep! Then I again used my copic multi liner to trace the words again to make them pop and then varnish over the top of the whole thing.


Last but not least another word from the Mini Words #1 pack, colour shined and varnished!

Make sure you head over to the Dusty blog and have a play with this months inspiration board for your chance at a $100 voucher to the store!! 


As always, thank you for stopping by and happy scrapping!! 


Melinda
xx