Thursday, 11 June 2015

Another PL update!

Hi there!!

Today I am here to share with you some more of my PL pages!! It's been a little while but as always, life has been CRAZY!!

Lots of photos so grab a cuppa and enjoy!!

Straight into it with week 9


This is how they sit in our album :)
I have used the Maggie Holmes Open Book kit - absolutely gorgeous!!


The left hand side - I have added some veneer pieces, some enamel dots and also pulled bits and pieces from the Open Book ephemera packs an also the rub ons. Oh, and that gold arrow is from Freckled Fawn.


And the right hand side.
I have been hanging out to use that cute little bunny veneer from Corbett Creations for ages and I love it!!

Onto week 10


I have used the Heidi Swapp Favourite Things core kit for this week and also some of the papers from the 6x6 paper pad. Added in some printable labels from my stash, some Freckled Fawn veneer words and also a couple of chippy stickers from an older Heidi Swapp line that ended up in my "use it or lose it" box.


The left hand side.
Oh, I have also used some Journal It's - Wordfetti from D-lish Scraps - layered up a bunch on the title card and scattered a few around the pages.


And the right hand side :)

Week 11


For this week I have used Crate Paper's Notes & Things 6x6 paper pad paired with more of the Maggie Holmes Open Book ephemera packs and rub ons. 


Our title card for the week - so love how this turned out!! I just piled on some of the ephemera pieces and added some pretty clear sequins and some yellow alpha stickers from my stash :)


The left hand side - I am going to go back over those grey letters on the bottom left - not happy with how it looks!!


And the right hand side :) I love, love, love Design E page protectors!!

Week 12


I have actually used one of the panoramic design A page protectors on the right hand side so this is of the page closed :)

I have used the Plus One core kit along with the 6x6 paper pad. Added embellies from my stash that worked with the colours I chose :)


And here the panoramic page opened alongside the left page of the spread


The left hand side. I have also used the Plus One die cuts (the xoxo) and have coated them in glossy accents before adhering them for a different texture on the page.


And the right hand side with the flip closed. Again, a die cut that I have used my glossy accents on - the little love heart.


And opened :)

And week 13!


I have used Dear Lizzy 5th & Frolic for this layout. Added in more heart veneers, enamel dots and the cutest little alphabet stamp I found at Typo!


The left hand side :) Bottom left is a flip.


And opened - my big boy is currently obsessed with building things with lego. And his fave to build whatever he feels like - no rules or instructions - and I love that!!


And the title card. I just really liked the way this little card come together!


And the right hand side :) I love, love, love that photo in the top right! The funniest story! I had organised a play date with a Mum's group Mum and all the boys were playing. One of them found "something" in the sand! They were all very excited and in an attempt to find out what it was we suggested them working together. So they made this little human chain, one holding onto anothers feet and then they all pulled!! It was hilariously funny to watch and we encouraged them!! By the way, we THINK the "something" was actually a tree root!! haha!!

Onto week 14


Both ages together and for this week I have used the Shimelle 12x12 paper pad - I don't think this range had a name but it was her 1st with American Crafts. I have used some of the cut apart sheets and also some of the 12 x 12 papers. Added in some washi, some of the Shimelle stickers and rub ons and used my little butterfly punch by Stampin Up.


I might add here too that that little insta camera card thing I have had in my stash for AGES - like 2 years or something and am so happy to have it on a layout. There is another on the right hand side on the big panoramic sunset picture that came with this one too so yay for using stuff!!


This is a Simple Stories page protector and I love the design but there is one little thing that bugs me to no end everytime I use it!! That top 4" x 12" pocket is actually more like 4 x 12 1/2" (ish) so everything rattles around in there until you staple it in (or the like) but this time I outsmarted it! I have actually mounted the photo on 2 pieces of that patterned paper but you can't see the join unless you go looking for it - I have covered it up pretty well!!

Week 14 was the week of Easter so I, of course, have an insert!

I have used another Simple Stories page protector for this one - love the 6x8 pocket!!


Here is the front of the page. I think that the pink card comes from possibly the Heidi Swapp Favourite Things or perhaps the Blush core kit. Either way I thought it was cute and decided that even though these pages are all about the boys pink was totally acceptable since it was Easter ;)
That bunny came from Corbett Creations - so cute!!


And this side is all about Easter Sunday. And my boys. Of course!! And chocolate!! Haha!

The card on the top right has been in my stash I think since 2013 - I participated in a swap and totally forgot I had it. But the Easter Bunny found it, raided my stash for some alphas to spell "HOPPY EASTER" found my green highlighter and signed it LOVE E.B. with a little pawprint he drew. What a clever bunny ;)


And the last photo for this post! Phew!
I just love this photo of my boys. They were so totally excited and happy and looking forward to diving into their stash of chocolates! Those brads, something else that has been in my stash for I dont even know how long - I think I purchased them to document Jacob's 1st Easter which was in 2010....

So, that is it for me - my hand is sore from all this typing!! Haha!!

I hope you have enjoyed seeing my pages and I would love any comments you would love to take the time to leave! I hope to be "caught up" to where I am in real life in blog land soon so that I can start doing weekly shares of our album!!

Anyways, happy scrapping!!

Melinda
xx

Tuesday, 9 June 2015

Tiddly Inks Challenge #159 - Super Power

Hi and welcome!!

Today I am sharing something a little different for me - 2 6" x 6" canvas' that I have made to go into my little guy's bedroom when we decided "it's time" (just quietly, it will NEVER be time!! Haha!!)

Enough of my chatter for now and onto the fun bits!!


Here is the 1st canvas using the ever so cute "My Super Boy".

The background was super easy to put together and I'm very happy with how they turned out! Both backgrounds are done in exactly the same way - just different colours.
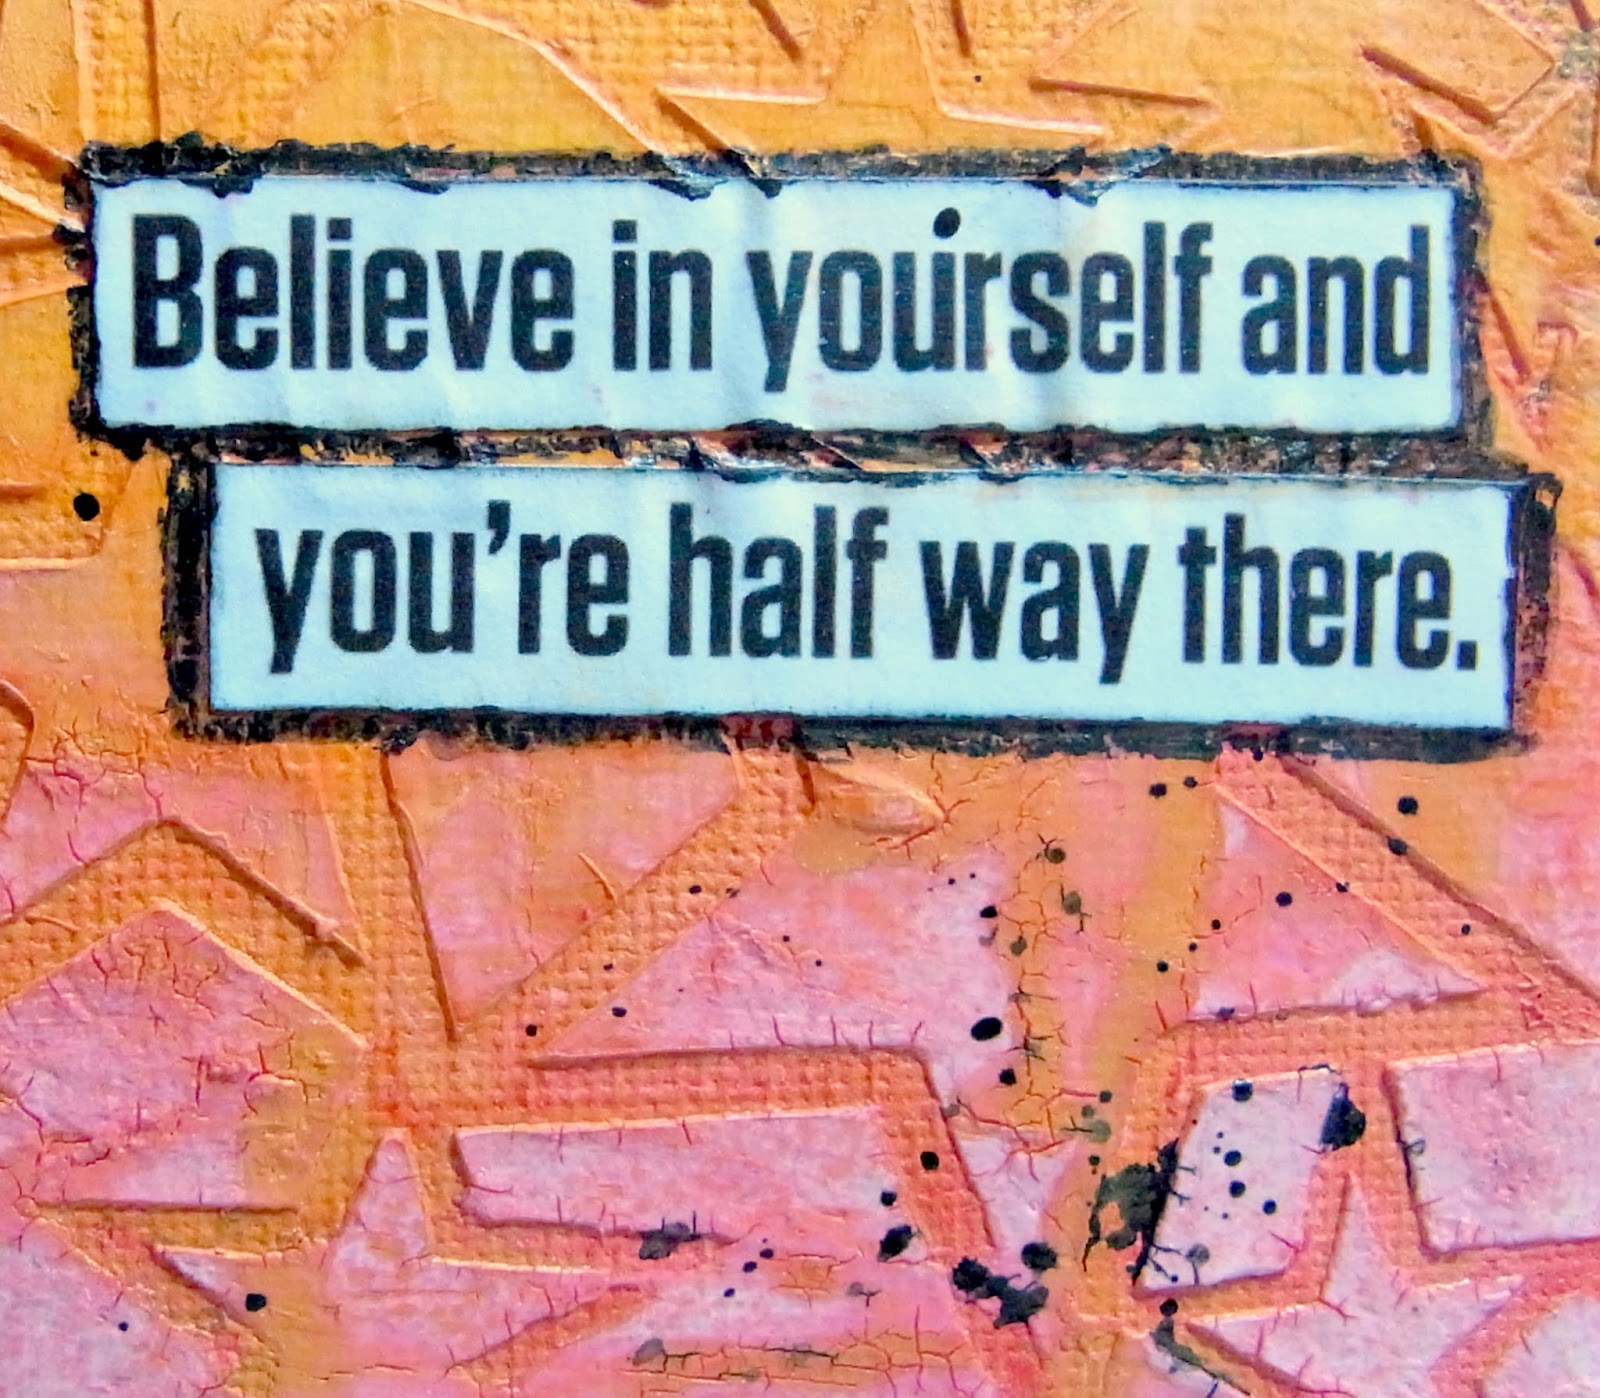
First up, a coat of gesso to prime the canvas. Then some stamping with some Kaiser background stamps in black archival ink by Ranger. Then I used my modelling paste with a TCW stars stencil. When that was dry I grabbed my mustard colour shine and my red Kaiser mist and applied the colours to the canvas. They weren't "mixing" as I wanted so I sprayed on some water and let that dry. I used pinterest to find quotes and came up with this for our this little guy and got hubby to print at work on the laser printer so the colour of the ink didn't run when I used my matte medium to stick it down. I tried a new technique - not sure if I LOVE it or just LIKE it but it's done! I used my black watercolour pencil with a little puddle of water to go around the strips of my quote. When that was all dry, some black inks splats and then I popped the little cutie up on some foam tape :)


The copic colours I used are as follows:

Skin: E000, E00, E21, E11, E04 and R20
Hair: E30, YR31, E33 and E35
Red: R22, R24, R29, R59 and C7 Blue: B12, B14, B16, B18 and B29 
Yellow: Y13, Y15, Y17 and E18 Black: C5, C7 and C9

And a close up of that quote


And onto the 2nd canvas


Here I have used "My Batty Hero" - just LOVE him!! 

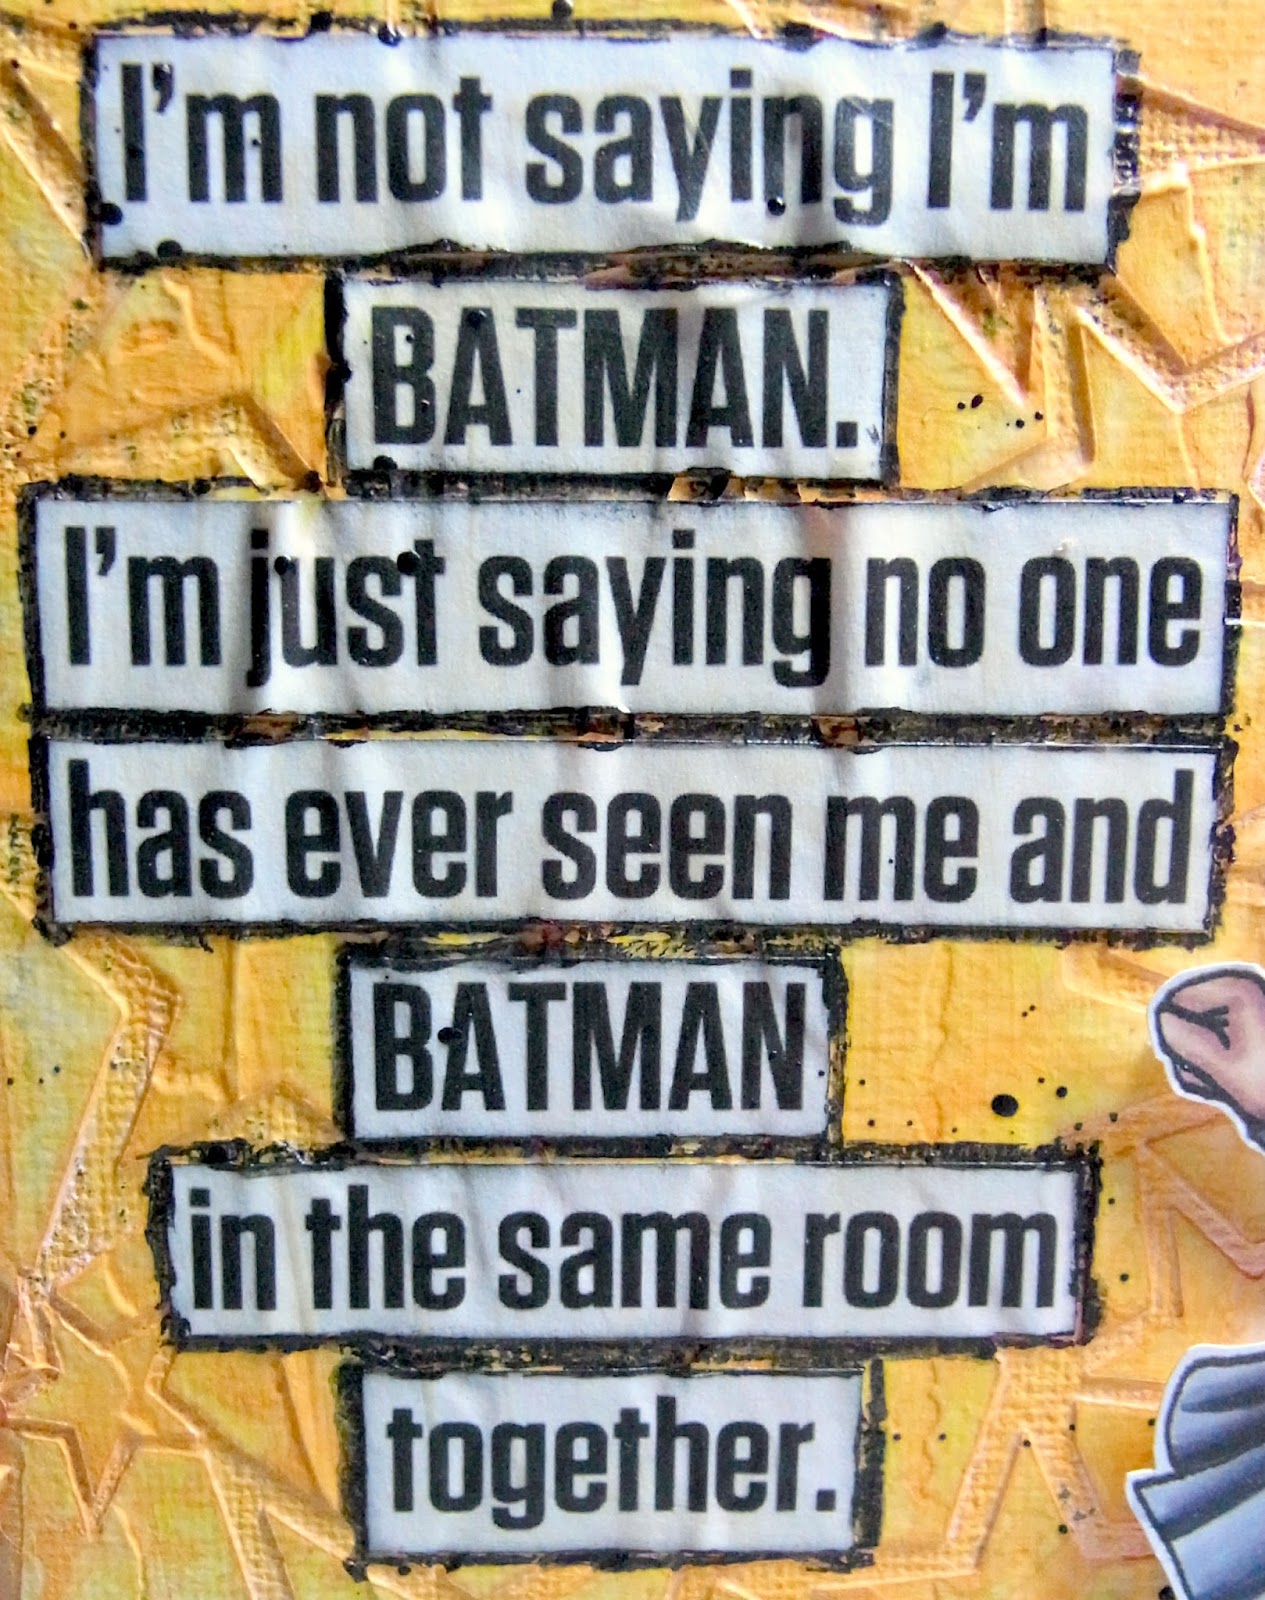
I was going to only do this little guy for my little guys bedroom as we often refer to him as "Batbaby" - somehow we started a batman thing for him when he was little and it has STUCK!! He loves Batman so that is why I chose this particular quote!! And in saying that, he received for his 2nd birthday (August 2014) this gorgeous little guy on his birthday card from me and his daddy and if you would like to have a look I shared that card here.


The copic colours I have used are as follows:
Skin: E000, E00, E21, E11, E04 and R20
Hair: E53, E55, E57 and E59
Black: C1, C3, C5, C7, C9 and C10 Yellow: Y13, Y15, Y17 and E18

And again with the quote


So, make sure you head over to the Tiddly Inks challenge blog to see what all the other girls have come up with and perhaps you might even find some inspiration to enter your own make!!

Happy scrapping!!

Mel
xx


Friday, 5 June 2015

Fabby Friday with Tiddly Inks

Hiya!

Just dropping in today to share my latest make for Tiddly Inks :)

I printed out a few different images I have been really looking forward to colouring up and this gorgeous little Emma spoke to me. I challenged myself to use some different colours and LOVE how she turned out!


For the background I have used some watercolour paper, a stencil and some modelling paste. After the paste dried I grabbed some gelatos, water and a paint brush and did some colouring :) A yellow doily from my stash and some more bits and pieces from my use it or lose it box (best idea EVER!!). Some machine stitching in black to pull it all together, I popped Emma up on some pop dots after I FUSSY CUT her - yep, I FUSSY CUT her!!, and some black ink spots.


The copic markers I used are as follows:
SKIN: E000, E00, E21, E11, E04 and R20
HAIR: E30, YR31, E33 and E35
YELLOW: Y13, Y15, Y18, E15 and E18
ORANGE: YR02, YR14, YR18
SHOES: E13, E15, E17 and E18

I hope you like my make for this Fabby Friday! I had a heap of fun playing with not my normal colours!!

Have a great weekend, I shall be enjoying myself on a scrapbooking retreat!!

Melinda
xx

Tuesday, 26 May 2015

Tiddly Inks Challenge# 158 - Make It Easel-y

Hi there and welcome to this fortnightly challenge at Tiddly Inks! This month is "Make It Easel-y" so all you need to do to participate is to grab a Tiddly stamp and make an easel card!!

For this challenge I have used the gorgeous Wryn - Grow A Little Love and made a thank you card. 


The copic colours I used are as follows:
Skin: E000, E00, E21, E11, E04 and R20
Hair: E70, E71, E74, E77 and E79
Dress: BG11, BG13, BG15, BG18 and 100
Pot: E31, E33, E35 and E37 (I think!!)
Flowers: YR02, YR14, YR18 and E18

The paper is from an Echo Park 6"x 6" paper pad "Creative Agenda". Doily, alpha stickers and metal flower all from my stash. Butterflies cut with a punch from Stampin Up :)


And a little close up of the gorgeous Wryn, I totally adore her!!

So, that's it for me for today, thanks for stopping by! Make sure you head over to the Tiddly Challenge blog to see all of the other gorgeous creations and get your entry in too!!

Melinda
xx

Friday, 22 May 2015

Fabby Friday with Tiddly Inks

Hello!!

Here we are with another Fabby Friday post with Tiddly Inks!! 

This week I used the gorgeous little "King of The Wild Ones" digi stamp which I have had in my stash for ages and have been waiting for the confidence to colour him up. He jumped straight out at me when I was looking for an image to choose as he reminds me of my 2 little boys who are certainly testing their boundaries as of late ;)


A clean and simple make for me but I have been busting to give this a go!! I have actually used my cameo to cut the card front with the stitched border after I printed my image and sentiment (the sentiment came from this set) using the PixScan mat.

Here is a little close up of my colouring


The copic colours I have used are as follows:
Skin: E000, E00, E21, E11, E04 and R20
Hair: E43, E47 and E49
Wild Thing Outfit: BG11, BG13, BG15, BG18 and BG49
Crown: Y15, Y17, E15 and E18

This little cutie has made his overseas to one of our nephews and I hope he arrives there soon and safely!!

Hope you like my little guy and happy crafting :)

Melinda
xx

Thursday, 14 May 2015

May with Dusty Attic

WOW!! May?!? Already?! I can hardly believe how quickly this year is flying by. With it all the little moments of the every day life. I have been meaning to do some work on my 2 little people's album's pretty much since I started Project Life back in January 2013. It hasn't really happened. Well, to be honest, it HASN'T happened!! 

That is until this month!! I was feeling a bit blergh about all the projects I have on the go at the moment and thought starting something new would maybe kick start my mojo. And as an end result of that one of my boys has April 2015 documented and in his album and the other has the 12x12 half of April done!

I decided that to keep it pretty simple I would do a combination of PL and 12x12 pages each month for each of my boys. Focusing on their stories.

Running with that I came up with these 2 pages for Jacob's album for April 2015.


I started with that fun 12x12 green and blue triangle print by Kaisercraft and found some Simple Stories Snap Boy cards that matched perfectly!! I teamed that with some washi tape, some Kaisercraft stickers and some black print at home labels. Oh and a HEAP of Dusty Attic chippies!!

And this is how they will sit in his album


So, I am currently feeling rather proud of myself and my ingenius idea of keeping it simple and getting it done!! As I said above, I am now about 3/4 of the way through April 2015 for Hunter as well!!

Here are a few close ups of all the fun Dusty Attic goodies I have used and as you can see, I have kept them all raw for both pages, just love how the pages came together!


In this cluster I have used Mini Number Set for 2015, Page Pebbles #8 (thank you so much Lizzie for the idea of the epoxy dot over these, they look fabulous!!), Mini Cogs, Mini Stars and Arrows #1.


Here I have used the Mini Banners attached on top of some washi tape.


Again the epoxy dot over one of the Page Pebbles #8 and more of the Mini Stars.


And once more one of the Page Pebbles #8 with the epoxy dot and Mini Stars.


More Mini Cogs, Mini Stars and also the Mini ABC Upper Set - and YES! I have indeed used a 'V' in place of an 'A' - I need a sheet of vowels only!! Hahaha!!


Some Teeny Tiny ABC letters for the little caption and a circle from the Page Pebbles #10 set - again with the epoxy dot.


And, finally, here I have paired the Teeny Tiny ABC letters with the word "attitude" from Word Pack #6.

There are 2 titles that I didn't photograph separately but for one I have again used the Mini ABC Set Upper (with a V for an A) to spell MATES on the top left and the word "adore" from Mini Words #1.

So, I had a heap of fun putting these together and piling on all my Dusty Attic yummies!! And a bonus, it is documented and in his album!

I hope I have helped inspire you to get some of those memories recorded and in albums/on pages and will be back again next month!!


Melinda
xx

Tuesday, 12 May 2015

Tiddly Inks Challenge #157 - May Flowers

Hi there!!

Popping in to share my very 1st challenge make as part of the Tiddly Inks DT! This fortnight the theme is "May Flowers". When I saw the theme I knew straight away which image I wanted to use so got her all printed out and got colouring!!

Here is my card


I adore this stamp, she is seriously too cute and a great little image to share for the swap I participated in over at Kit and Clowder.

Here is a little close up of her all coloured up!


The copic colours I used are as follows:
Skin: E000, E00, E21, E11, E04 and R20
Hair: E21, E25 and E29
Dress: BV20, BV23, BV25 and BV29 also RV91, RV93, RV95 and RV99
Flowers: R00, R11, E02, R20, E95 and E04 also E43, E44, E47 and E49
Leaves: YG03, G94 and G99

I have had this cutie in my stash for AGES and am so pleased with how she turned out! Oh, and the sentiment came from this set, also from Tiddly Inks :) It just fitted perfectly!!

So, this fortnight the challenge is "May Flowers" so make sure you share your take!!

Thanks for stopping by and I hope you have found some inspiration both here, on the Tiddly Inks blog and at the girls blogs with their gorgeous creations!!

Melinda
xx