
Hi there and welcome to my blog today! I'm sharing another page using my absolute fave collection so far this year, Starshine by Shimelle :)
Another page from my besties and niece's birthday party back in January :) And both my niece and myself LOVE this very candid moment that someone happened to snap!
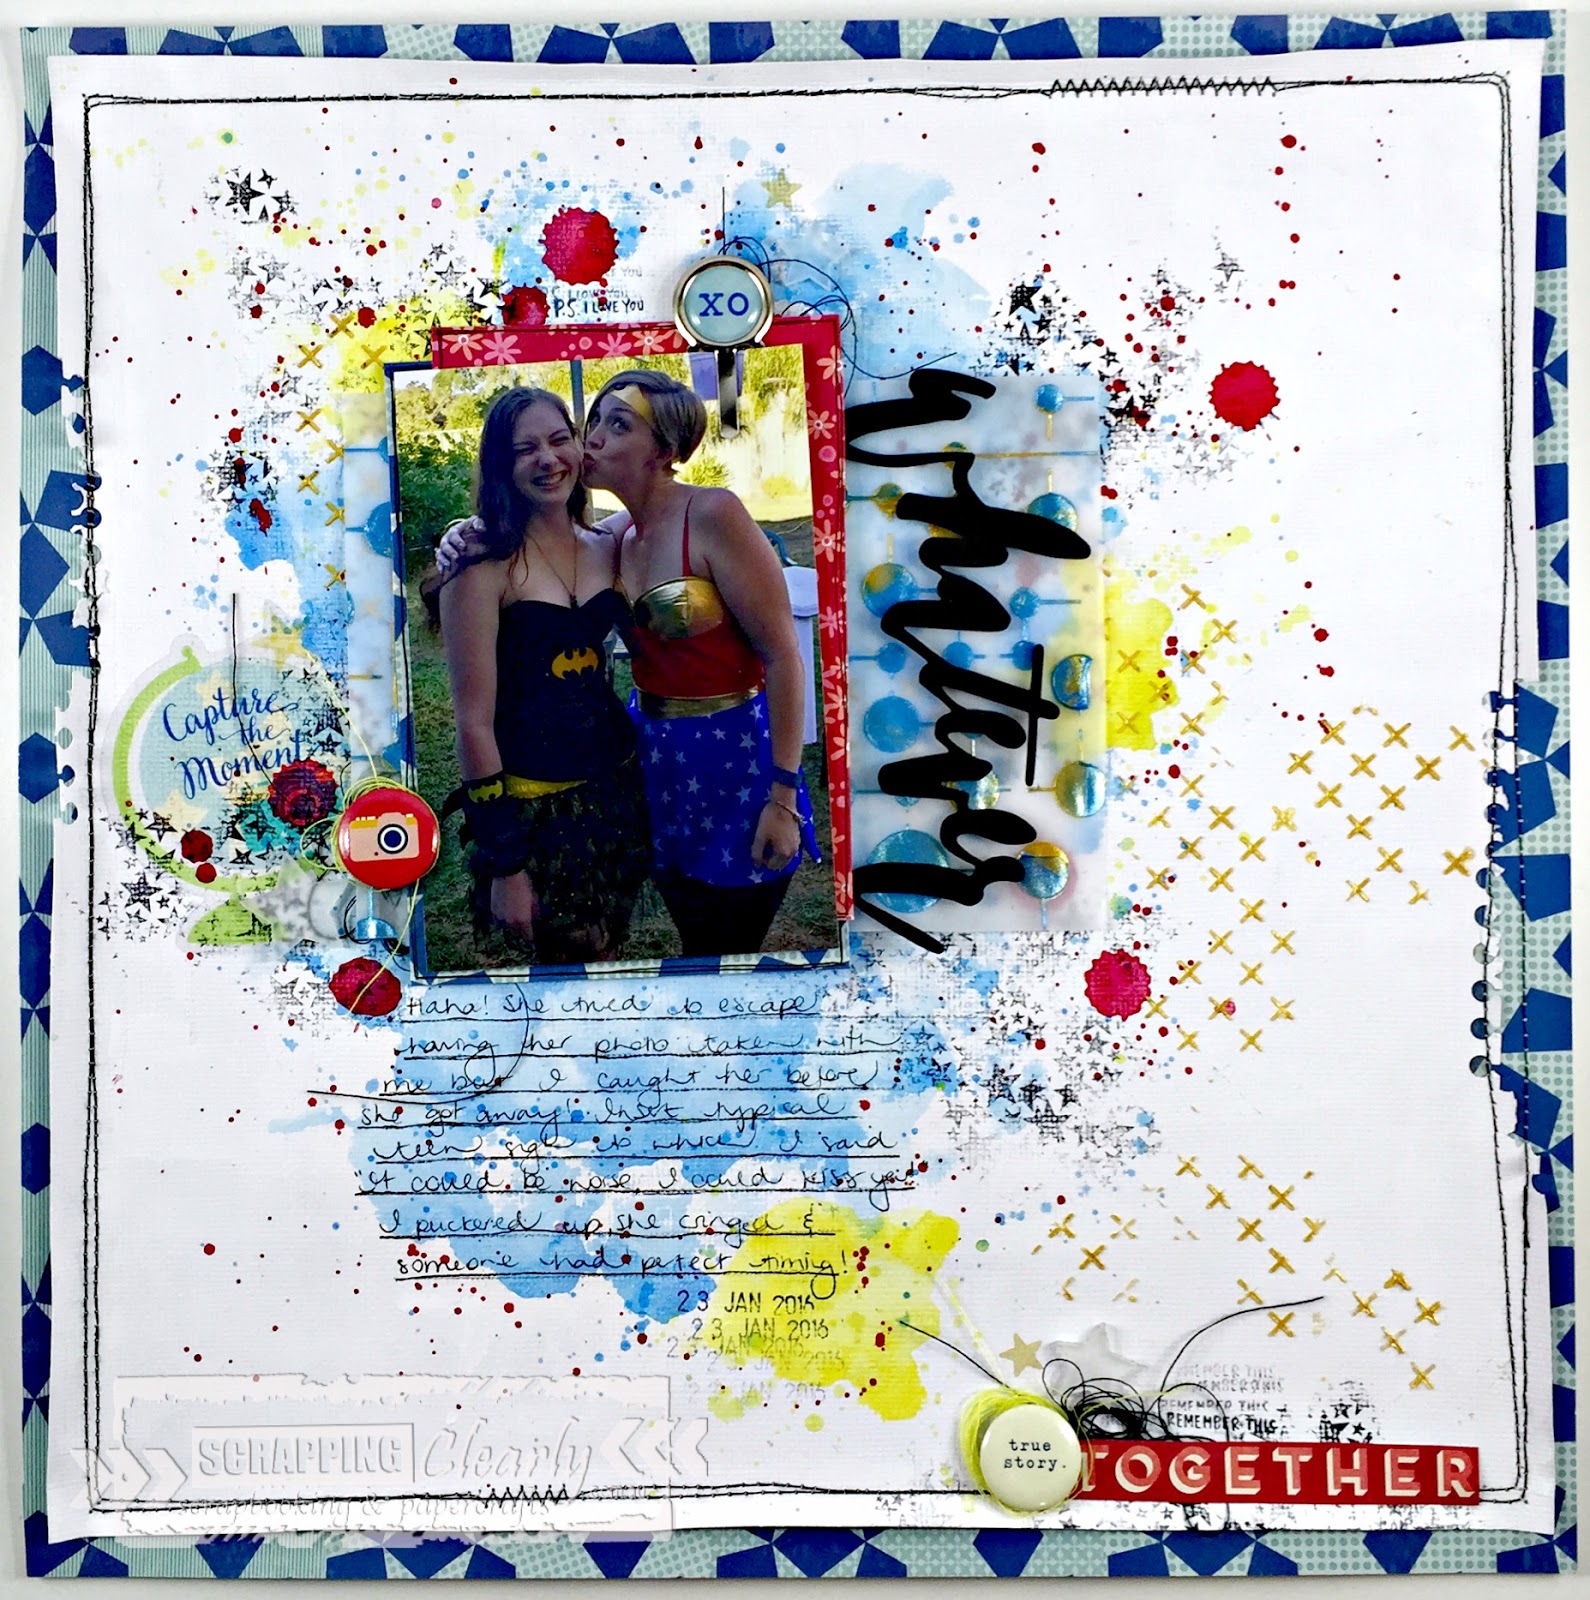
I started this page while on retreat at the beginning of the month and am so happy with how it came together!. Because I started at retreat I can't 100% remember HOW I created the water colour background but I am about 98% sure it was using gelatos! I have a bunch of the older gelatos that don't have the names printed on them but I used a red and yellow that I got in one pack and I have also used Blueberry for the blue. As you can see I have used a piece of plastic packaging and the very easy packaging technique with the blue and yellow - letting the colour dry between as I didn't want green! After that was dry I went in with the red and a pipette to create big splatters and also a paint brush for some smaller in all 3 colours :) After that was all dry I went in with a star texture stamp and black archival ink from my stash and then some of the Bling Colour Paste by Colour Blast and a stencil.

A bit of a close up of the detail in the middle of the page. I had to ask around at retreat but I managed to find a piece of vellum (I can't believe I didn't pack any!!) as I had an idea!! I grabbed my Singin the Blues and my Bling colour paste by Colour Blast and a fun stencil and just stenciled the pattern onto the vellum for the last layer behind the photo cluster and as it turns out - somewhere for the title to go! I used these fun phrase thickers in an older Dear Lizzy collection but this worked perfectly for my title! Both of my stencils are from Dusty Attic and you can find them here in store or if there is one in particular you are after Kylie can order them in!
I have used the "Voyager" (red with flowers) paper and also a paper from the 12x12 paper pad to back the photo. I did outline both of those with a black pen to give a little more definition to the layers as well.
Once that was all assembled I went in with my embellishments but didn't want to add too much as the background had so much happening!

This cluster is to the left of the photo and you can see that I have used 2 clear stickers from the collection, some of those GORGEOUS acrylic stars (it was hard sticking those down, I'm kind of hoarding them!) from the acrylic shapes, one of the flairs (these guys are little and oh so cute!) and also some black and yellow thread from my stash for more added texture.

This little cluster is at the top of the photo and again, clear stickers (hard to see but yellow star near the top right), another acrylic star and one of those cute paper clips. Oh, and more black thread :)

And onto the very bottom cluster :) I have cut the "Together" from this piece of paper, added some thread, another of those adorable flair, another yellow clear star sticker and a 3rd acrylic star.
I used one of my border punches from my stash on 2 of the sides in a really messy way and then distressed them a little. I felt the page was lacking a little something so mounted it onto that star paper from the 12x12 pad (I used this same paper as one of the mats on my photo but cut out the middle as I had a feeling I would use this to mount the whole page) and then machine stitched all around the edge in a messy fashion!
That's it for me for today. I truly do love this collection and I am so pleased I got this story told.
Thanks for stopping by and happy scrapping!!
Mel
Mel
xx
No comments:
Post a Comment