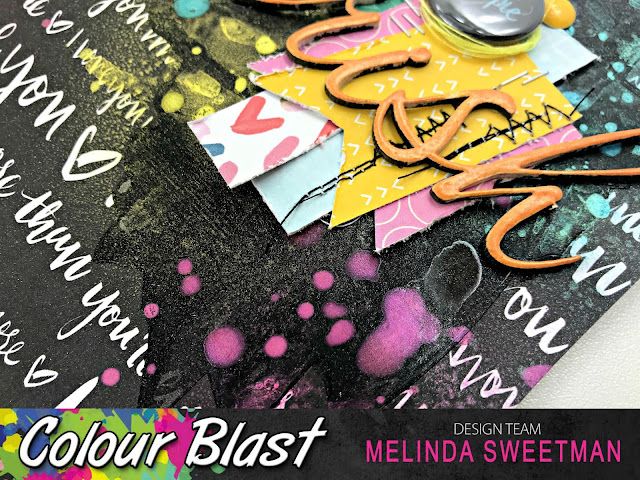
Hello my scrappy friends and welcome to my blog today! I'm here sharing my last post for Colour Blast for January. I hope you enjoy my process!
Funny how I came to this design though because I started with a patterned paper background and decided I just didn't love it, heck I didn't even like it really so I thought I would use what I had done to create something I at least liked!!
First up - patterned paper and White Heavy Gesso. A thick-ish/random, smeary coat in the area where I was going to put my photo's. I left that over night to dry.
When I came back the next day I turned my camera on and you can see my process from here on out below and keep scrolling for my step by steps....
I decided I wanted a dark contrast so grabbed my Dusty Charcoal Colour Paste and a stencil and after I marked where my photos were going I added some paste in 2 different areas. And smeared it on the top left so added a 3rd place with the paste.
Before this dried I knew I wanted an orange/black/gold colour scheme so I grabbed my Bling Colour Embossing Powder and sprinkled a little here and there over my Colour Paste and heat set the lot! Not only does heat setting it set the embossing powder but it also makes the Paste all bubbly and gives more awesome texture!
At this point I was thinking "Hrm, I'll add a bit more colour and maybe I'll start to love it more" so I grabbed my Sunset and Saffron Colour Sprays and some packaging and got to work using the smooshing (yep, that's the techy word ;) ) technique, working a small-ish section at a time and drying in between.
While I was working on that it occurred to me that the reason the 3rd spot of paste wasn't gelling was because I hadn't added gesso first, so I told myself "I'll add some smooshing here too and that will work better". TBH with you, NOPE, just nope! Ok, time to re-think my idea!
I grabbed some circle punches and dies and got to chopping up the paper - I did feel some satisfaction here - and immediately I was liking it better!! White cardstock and clear gesso for the background and I was ready to go again!
I added some ink to both my circles and the thin mat I had applied to my photos using Archival Black ink and placed the circles and photos in a configuration, first horizontally, that I thought would work. Meh, so I tried vertically and was like "Yay!! THIS is it!!"
Remove everything from the page again, grab my black archival ink and a couple of texture stamps and stamp, stamp, stamp!!
Next, I used both my Bling Colour Shimmer Spray and Colour Shimmer Pot to apply lots of pretty gold to the background. I sprayed the mist first, I wanted a fine, light coverage then I used the Bling Colour Shimmer Cube with both the packaging technique and also a paint brush and added colour to my hearts content.
Oh, and of course splatters! I used my paint brush and Colour Shimmer Pot. And Colour Spray in Roadbase also using a brush!
I added some gold stitching with my sewing machine through some of the circles and then it was time to stick, stick, stick!
I did add some more Bling splatters after all the circles were stuck down but before the photo was stuck down.
And lots of close ups! Enjoy!
So, just because you are not loving what you started does not mean that either a) you need to ditch the whole lot or b) you have to "put up with" and keep what you don't love!! Play! I'm sure, like me you have a good stash of awesome product that can sometimes be neglected, pull it out and PLAY!!!
That's it for me for this post and January so see you again next month, I cannot wait to play along with the next challenge, it's a fun one ;)
Melinda
xx


