Showing posts with label pink fresh studio. Show all posts

Wednesday, 13 November 2019

Anna's Craft Cupboard | Annabelle Acrylics Feature | November 2019

Hello my lovely blog subscribers and welcome to my blog today! It's been a little while between posts but I just wanted to drop in quickly and share all of my November Anna's Craft Cupboard shares in one place!!

This month I featured lots of the beautiful Annabelle acrylic pieces available exclusively through Anna's and here they are!

First up this fun page "You Have My Heart" featuring Annabelle with the oh so fun "Squeeze The Day" collection by Bella Blvd


You can see the full blog post on the Anna's blog here

And my process video is below


Next was this very mixed media page using a cut file to hand stitch around and some Lindy's products for the mess "Sprinkles & Fairydust"!


Blog post is here on the Anna's blog

And video is below!


3rd up was this page "But First... Coffee" created using the Vicki Boutin Wildflower & Honey collection and again more Lindy's for my background.


The full blog post is over here on the Anna's blog

While the process video is below


Warning!! This video goes on a bit of personal journey tangent ;)

And lastly was this page "You & Me Silly Selfies" pairing Annabelle with Pink Fresh Studio's "Just A Little Lovely" collection.


Blog post can be read here 

And my video is, again, below.


I hope you have enjoyed my shares for Anna's this month! I really loved playing with those gorgeous acrylic pieces and digging into my Anna's stash of purchased and left over goodies! So fun!

Until next time, happy scrapping and thanks for stopping by!

Melinda
xx 

Saturday, 28 April 2018

{ScrappingClearly} Crazy Even In Emergency ~ A Scrapbook Layout

Good morning and welcome to my blog this weekend! Do you have any scrappy plans? I do and I hope to be super productive, as always I have deadlines and things I want to create!!

Anyway, I'm here today sharing my newest page created for ScrappingClearly. I have used the very fun Photo Play Boys Rule Collection. I am documenting an interesting story today of my boys being maniacs, even while we were in emergency with my husband last July. The journalling sums up how well they coped and all in all what an awesome job they did in such a gloomy situation!


I was inspired by a couple of stickers in the collection and built my page starting with those....


I also created a process video which you can see below. 


I started by tearing 3 pieces of patterned paper from the Collection Pack (Seeing Stars, My Boy and Smash Bang) and layered them on the right hand side of my white background paper and then added a coat of white gesso both over the bottom of the papers (where my photo's were going) and onto the white cardstock.


Time, of course, for some messy fun! I started with a text stamp in Black Archival ink and then used a Dotty Texture stamp with Dark Blue Archival Ink.

And then more colour!! Back, again, to my Distress Oxides! I was going to use LOTS of colours but then ended up using only Squeezed Lemonade and Spiced Marmalade and the packaging technique over where the gesso and stamping was.


I also added some splatters using the Faded Jeans Distress Oxide watered down as I felt the white half of the page needed some of that darker blue to balance the right side.


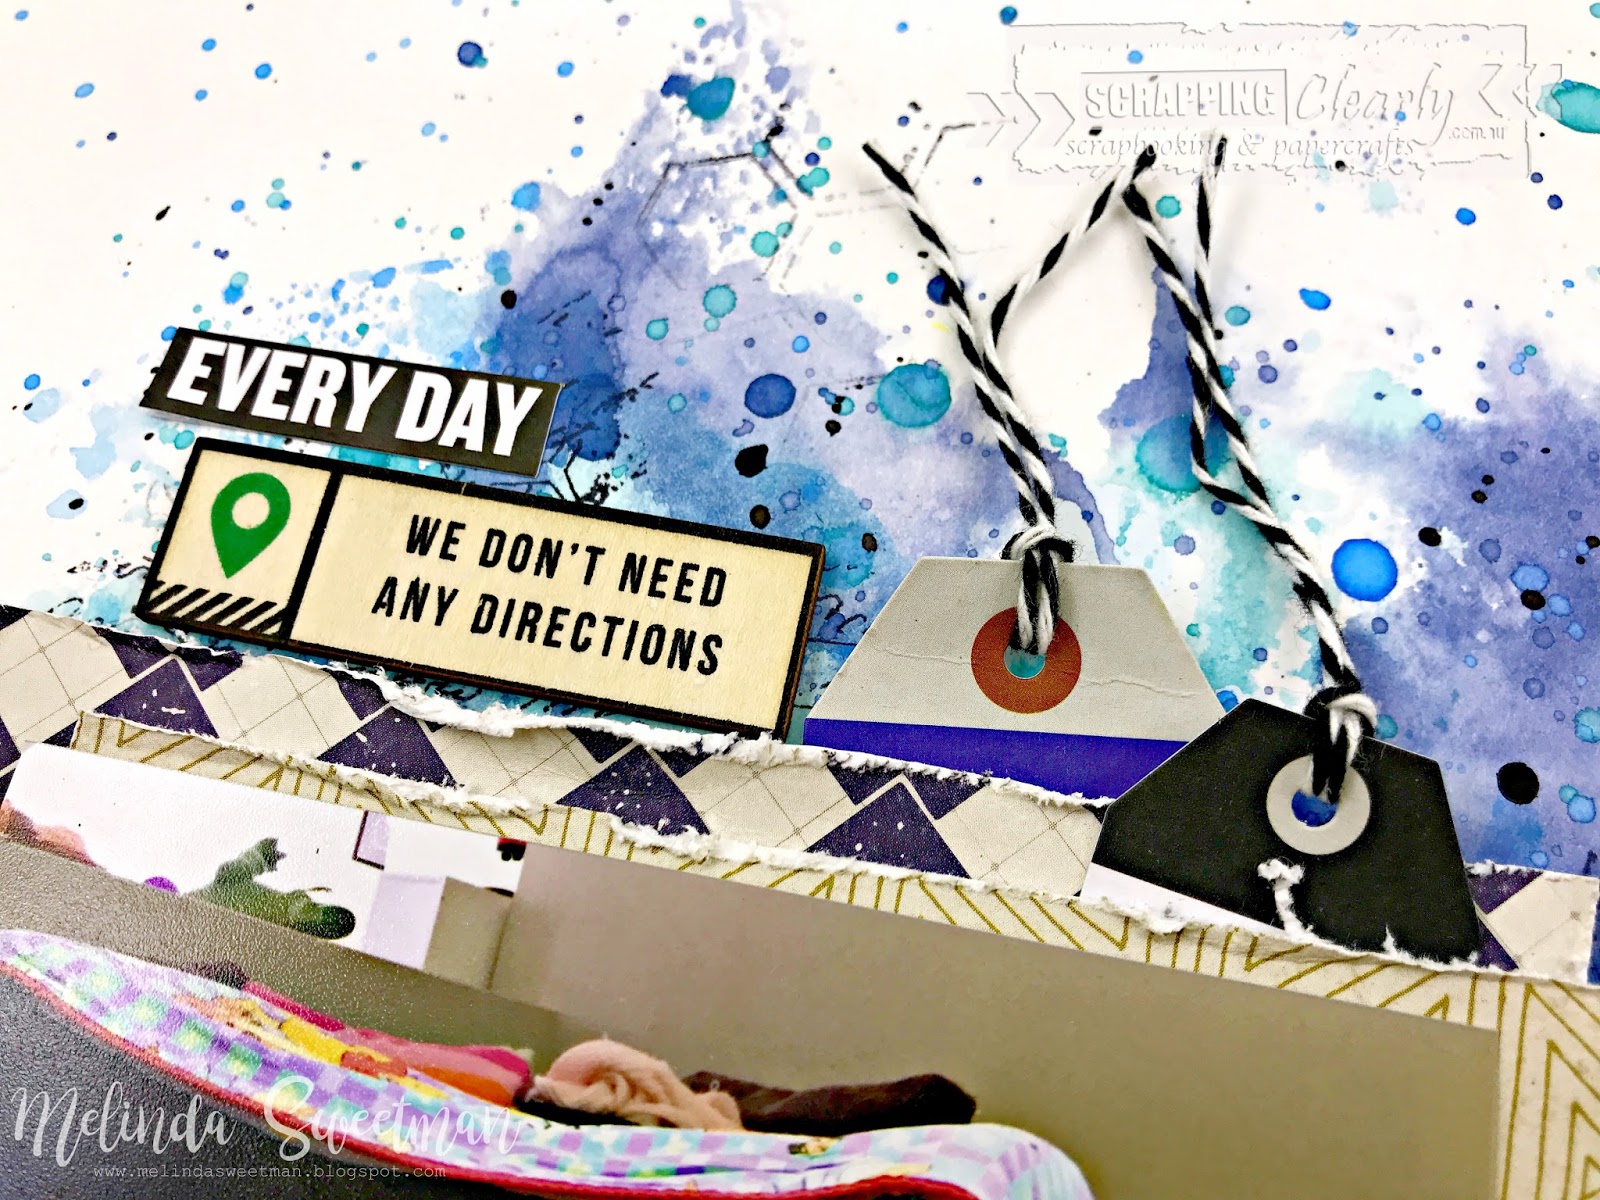
Once that was all dry I added all my stickers and some messy thread in both a dark blue and a bright lime green and I love how that brings all the colours all through the page. The black word stickers are from the Boys Fort Phrase Stickers sheets.


Last off was my title using the Black Glitter Heidi Swapp chippy alphas paired with the fun Mini Alphas from Pink Fresh Studio's Boys Fort collection.


I have to document the actual story of the reason we were at the ER in the first place but am kinda stuck - it's one of those stories that I certainly feel like I want in our album but am unsure how to add it in! Have you shared one (or more!) of those types of stories in your albums? How? Please do share, I would love to hear!!

Anyways, I shall leave you here with my last close up! I love the craziness and hectic feel of this page because, for so many reasons, that was exactly how those few hours felt! Oh, and just for the record, in case anyone is wondering, hubby's finger is almost completely healed and you wouldn't even know that he had a run with a table saw last July!!


Until next time, happy scrapping!!


Melinda

Tuesday, 27 March 2018

{Stash} Masters Entry ~ Challenge 1 ~ 5x7 photo with eye contact

Hey, hey my scrappy friends!! 

So, following on from my first post with Challenge #2 here is my entry for Challenge #1. Using a 5" x 7" inch photo with eye contact.

Here is my page


My blurb that got sent in with my entry

"This photograph was specifically taken to tell these stories/record these quotes. The photograph and stories are from when he was 4 years old and I just love hearing his logic and seeing parts of this world through his eyes! This kid is a cracker and I am both excited and terrified of the young man he will grow into! I chose this range because to me it speaks of the everyday. The extraordinary, average day to day that is life. I love the graphic design and the challenge it presented to me to work with it with lots of clean lines, white space and pops of colour."

Some close up shots


And my products list

Pink Fresh Studios – Live More – 12x12 paper “Freedom”

Pink Fresh Studios – Live More – Foiled Die Cuts
Pink Fresh Studios – Live More – Studio Puff Stickers
Pink Fresh Studios – Live More – Acetate Alphas
Pink Fresh Studios – Live More – Phrase Stickers
Cocoa Vanilla Studio – You Rock – Ephemera
Teresa Collins – Basically Essential – White Alpha Stickers
Stash – flair, tags

No process video for this one. This one I went back and forth with for AGES and just couldn't make any decisions. I adore this collection, the clean, graphic lines but oh boy I struggled!! I do, once again, love how this page came together in the end and am excited to include it in Hunter's album!

Until next time, happy scrapping!

Melinda
x

Saturday, 10 March 2018

{Colour Blast} Boys. Sheesh ~ A Scrapbook Layout

Hey hey and welcome to the blog on this Saturday morning!! 
I hope you have some fun scrappy plans for the weekend, I'm pretty sure I do 😉

Have you seen this months challenge?! It’s all about texture! To be honest, I struggled somewhat with what textures I would use and how I would incorporate them into my project. I started digging through my photos and this one of me and my baby inspired me and then I came up with my main idea - hand stitching!! Here’s a peek at my finished stitched centre piece. 


And a refresher of the challenge


Here is my process video if you’d like to see my page come together


My first step was coming up with my title which I knew I wanted to hand stitch. When I worked out what I was hand stitching I came up with the “sheesh” in my title knowing I had these leatherette alphas in my stash. More texture!


I added some colour to my title but made my own colour to match the collection I was using better. The Indigo Colour Spray was way too purple for what I was hoping for and the Caribbean was way too bright so I sprayed some Indigo Colour Spray onto my desk and mixed in some Caribbean. The quantities were about 6 (Indigo) to 1 (Caribbean). I tested on some scrap white card stock. And also thought I’d make it sparkly by adding a quick coat of Snow White Colour Shimmer Spray, perfect way to add shimmer without changing the base colour!


I used a paint brush and just painted inside the lines of the word my cameo had sketched.


When that was dry I added splatters in the same blue I created and then also added more splatters to match the collection I was using. I've used Blush, Sunshine, Envy and Stormy Weather Colour Shimmer Spray's.


After that was thoroughly dried I poked all the holes for my stitching, put on my current fave TV show and got stitching!


A few layers behind my photo including some patterned paper that had what looked like brush strokes which I fussy cut for more texture. I also added some gold star shaped punchinella as the very back layer behind my photo.


Before I stuck that down I decided I wanted some extra texture behind the photo on the white cardstock so pulled out my Black Heavy Gesso and an old store card and added in some messy lines around the 4 corners where my photo was going to tie in the black stitching.


More texture with some puffy stickers which I ended up stitching through with gold thread on my sewing machine.


I added my journalling and also a strip of paper at the top of the page and my page was done!!


Head over here to load up your take on the March Challenge in the Colour Blast Creative Corner Facebook Group and you could win a $30 voucher to spend in the Colour Blast store!!


Until next time, happy scrapping!


Melinda


Thursday, 15 February 2018

{ScrappingClearly} PL 2017 Catch Up ~ Week 12

Today I am sharing my latest make for ScrappingClearly and my first share for February! A 2017 PL spread which I have done a bit of a "ScrappingClearly Stash Dive" for supplies!

I've started with the following goodies and I will link to the store both here and where they appear throughout my blog post!! I also have a process video up on my YT channel which I would love for you to check out!!


Pink Fresh Studio - Boys Fort - "Bold" 12 x 12 paper
Pink Fresh Studio - Boys Fort - "High Five" 12 x 12 paper
Pink Fresh Studio - Boys Fort - "Wowzers" 12 x 12 paper
Pink Fresh Studio - Boys Fort - "You Rule" 12 x 12 paper
Pink Fresh Studio - Boys Fort - Mini Alpha Stickers
Pink Fresh Studio - Boys Fort - Cardstock Sticker Phrases
Pink Fresh Studio - Boys Fort - Ephemera
Pink Fresh Studio - Boys Fort - Printed Veneer Stickers
Teresa Collins - Something Wonderful - Washi Tape
Teresa Collins - Something Wonderful - Ephemera Tags
Teresa Collins - Something Wonderful - Photo Overlays
Heidi Swapp - Wood Veneer
Studio Calico - Brighton Pier - Wood Veneer
White Gesso
Distress Oxide Ink - Faded Jeans

And here are my pages, first up is the left hand side


On this side I have used the "Wowzers", "High Five" and "You Rule" papers from Pink Fresh Studio as my cards. I've also used some of the Mini Alpha Stickers, ephemera pieces and also the Sticker Phrases from the same collection. A little washi and some veneer pieces from this pack by Heidi Swapp and this pack by Studio Calico. Some journalling and date stamps and the left hand side is done.

Here are a few close ups of this side


And here is the right hand side


On this side I have used 3 of the ephemera tags by Teresa Collins for the cards and cut a piece of the "Bold" patterned paper to 3x4 for my title card. I didn't feel like I needed heaps of extra's on this side but I have used the photo overlay on the bottom left hand photo, a couple of ephemera pieces and one of the printed veneer stickers. You can't see but the bottom right photo is a flip pocket and on the inside I have a piece of the "Wowzers" patterned paper for my card and also one of the Studio Calico wood veneer pieces.

On my title card I have used another of the Heidi Swapp veneer pieces and covered that with 3 coats of white gesso and used a stamp from my stash with Faded Jeans Distress Oxide Ink. Some washi, mini alpha stickers and a couple of the ephemera pieces and this page is all done too!


Here are a couple of close ups including one of the flip pocket opened


It feels so good going back and getting these pages done! Slow and steady and in the album is way more important than "perfect" to me and I am happy in that place right now!

I had lots of fun mixing and matching all of these different pieces together and really like the way it all came together in the end! I hope I inspire you to get some more stories documented and until next time, happy scrapping!!


Melinda

Thursday, 11 January 2018

{ScrappingClearly} My Little Sailor ~ A Scrapbook Layout

Hey scrappy friends! Melinda here with you today with my next share using the Pink Fresh Boys Fort collection. 

I have run with the browns, greens and blues in this collection for this page and also the January 2018 sketch which I have taken quiet literally!! It's different to my "normal" style but I love playing with "different" and seeing how I can make it my own!


When I flipped through my stack of papers in my kit and saw this sketch there was absolutely no question that I HAD to use the "Wisdom" 12x12 patterned paper for my background with those squares that match PERFECTLY with the background on the sketch!


I have pretty much stuck to the sketch with all of the paper layers, I even added a blue card stock border around my whole page and then used the same blue to mount my photos. The papers I have used for my layers are "Bold" and "Game On" (the banners). I used a tag from my stash for the tag.

I have inked all my edges in Walnut Stain Distress Ink and also added some brown splatters using Colour Blast Colour Spray in Coffee.


I knew I wanted to use the green alphas in the Mini Alphas set in this collection paired with the WRMK Indian Summer alphas so grabbed some green gelatos and did the packaging technique by simply rubbing the gelato onto some plastic, adding water and smooshing it down onto my not gesso'd background. And of course splatters! I tested 4 different green gelatos (Green Tea, Lime, Pistachio and Spearmint) and felt that the Spearmint was the best colour for what I wanted to create so ran with that.


I stitched all of my layers using gold thread and love the extra little something that gives the page! I even stitched my "journal lines" on my tag and love how it looks and the texture it gives.


A few triangles from the ephemera pack and 2 printed veneer pieces, some stamping using again the Walnut Stain Distress Ink and my page was done!


And here is my final page


I do have a (half) process video up on the ScrappingClearly channel if you are interested in seeing this come together. I say half because I thought I had pressed record but apparently, I had not!! Oops!


I had lots of fun playing along with the sketch this month and I hope I have inspired you to play along too for your chance at a $30 store voucher! I will be back again a little later in the month with my take on the January mood board so until then, happy scrapping!!


Melinda


Thursday, 4 January 2018

{ScrappingClearly} Fort Fun Together ~ A Scrapbook Page

Hi there and welcome to the ScrappingClearly blog today!! Melinda here with you and I am sharing my first make not only for the month but for the year!! I hope the new year finds you well and ready for lots of scrappy inspiration from all of us here!!

Kylie sent me the very awesome Pink Fresh Studio Boy's Fort collection and I couldn't wait to get stuck into it!!

Here is my first page with the awesome collection and I am beyond happy with how it all came together!


I have a process video available for this layout as well, just watch below!!


To create my background I have started with Marshmallow cardstock paired with 3 different Distress Oxide Inks - Salty Ocean, Peacock Feathers and Faded Jeans - and the packaging technique; adding extra water when needed and drying off between coats. 

I love how the colours sit on top of each other without changing the colours - you can really see that in this close up of some splatters!


I added some stamping using black archival ink and a couple of texture stamps randomly across where my mixed media was.

I used papers "Wowsers", "Bold" and "Game On" to layer messily behind my photo adding extra dimension between my photo and the papers.


Time to work on the title! The name of the collection reminded me of the photo I chose which in turn helped me to pick a title. I have built my title with the Boys Fort Mini Alpha Stickers and also some alphas from the Teresa Collins Signature Series which I have used some Fossilized Amber to colour - this colour is a great match with those mustard-y yellows in the collection! And enough room for a little journalling under the title!


With the main part of my layout done I pulled out some embellishments and used some of the Printed Veneer Stickers (these are AWESOME!), ephemera pieces and also some of the Phrase Stickers to embellish.


My very final touch was some black splatters using my Roadbase Colour Spray by Colour Blast and some black marker outlining the big alphas in the word fort. With some of the shadows in the photo plus the journalling and the black phrase stickers I felt it was just what I needed to finish the page off.

That's it for me for today but I will be back again sharing more "Boys Fort" inspiration!!

I hope the start of your 2018 has been fab, I can't wait for some more play time!!

Happy scrapping!

Melinda