Hello again my scrappy friends!! I made it back here, woohoo!!
Today's share is one of the pages I created with my March 2020 Homemade Kit! For all the deets on that kit head over here and you can also find the flip through with all the photos on this blog post and this video.
This blog post is for layout five - Sue Plumb's online class!
Here is the link again for Sue's class if you'd like to follow along.
And here is my process video (sorry, blogger has changed and IDK how to link my YT account anymore!!)
This was a really fun and easy page to put together! I had never ever thought of adding colour to my background like that, thanks Sue!!
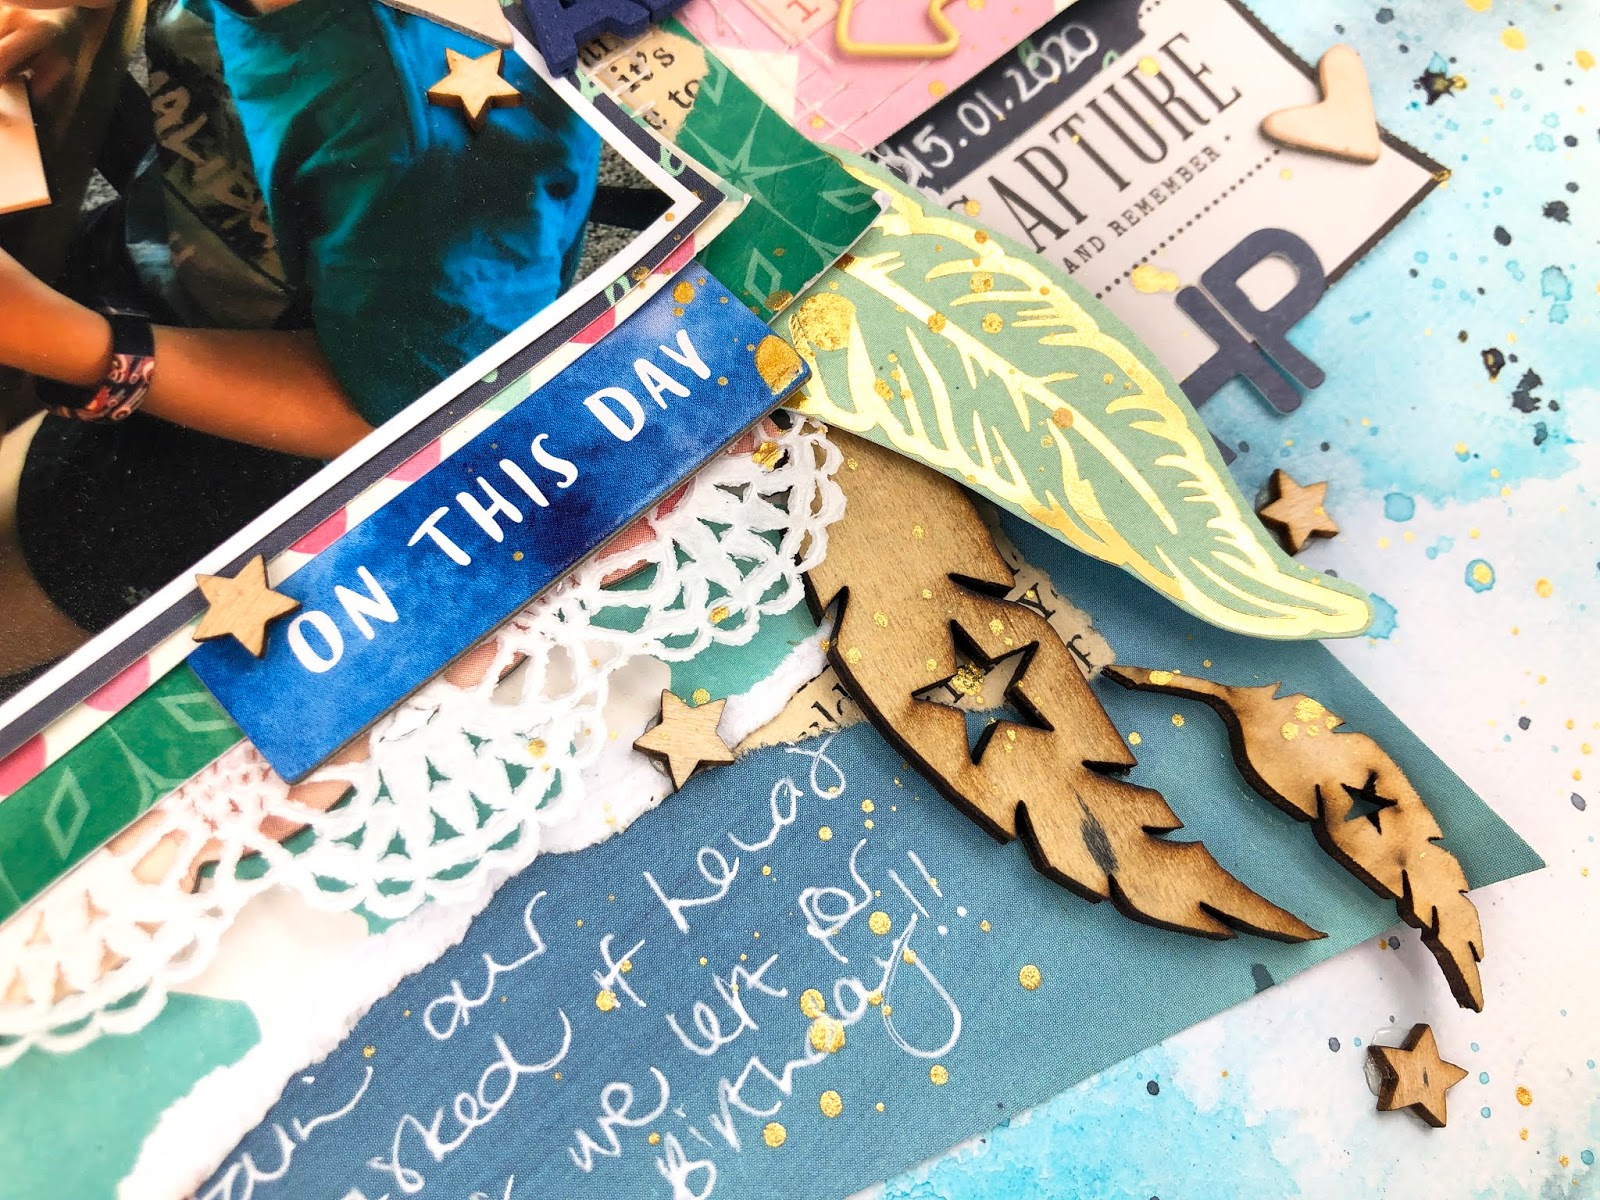
Here are a few close ups
I hope you enjoyed this share today! If you'd like more info on my kit etc please follow the links above otherwise, leave me a comment and I'll get back to you ASAP!!
Hello, hello and welcome to my first blog post for 2019!! I really can't believe that another year has come and gone the way that 2018 did but it has and on life goes!!
Today's share is for the Scrap The Boys Challenge blog and I was really inspired by the colours in the graphic this month and that was my jumping off point.
And here is my finished page.
Would you believe that ALL of the patterned paper I used on this page is actually from a Christmas collection?! Yep! The 3 patterns I have used all came from the Tis The Collection that Cocoa Vanilla Studio released a few years ago and I just love it!
A little mixed media in the background using a combination of Distress Oxide inks with the packaging technique and also some Shimmerz products fairly new to my stash.
I customised a word from a CVS die cut pack to fit my colour a scheme better and then used a combination of that word (summer), some CVS puffy stickers and some other CVS flat alphas and I really love the combination of fonts and textures!
I've added a few stickers from a couple of different CVS collections and also some wood veneer pieces, I loved the inclusion of the wood colour!
I have a process video up if you'd like to see this page come together - there is some amount of shuffling things around the page; my mojo is a little meh at the moment! But I got there in the end lol
I do hope you enjoy and make sure you head over here to the STB blog to check out all of the other amazing DT inspiration, these girls are so very talented!
I hope you are enjoying the beginning of this new year and I am excited to be bringing you some new things very soon!
Hey everyone and welcome once again to my blog!! So glad you stopped in!
Today's inspiration is my latest share for CUT to YOU. This month Gwen is sponsoring the great Aussie challenge site Made to Scrap the Aussie Way and created this VERY cool cut file that is available both as a custom cut and a digital file.
I, of course, made use of the digital cut file and when I opened it in the Silhoutte software I manipulated it so it was a tiny bit shorter than 12" as I was totally and completely inspired by the tattoo in the inspiration piece from Made To Scrap. I wanted to mimic that so I cut the file in black cardstock. TIP: I found using a new blade did the trick in cutting the black perfectly so if you have struggled like me, perhaps you need a blade or a "special" blade for black?! While I was cutting black I also cut the fun Constellation file a few times, filling my page with different sized stars and re-sizing them to fit around and fill the whole page.
Anyways, here is my page
For all of that pretty, messy fun background I have once again used my Distress Oxide inks.
If you are a follower of mine, did you see that I used PURPLE?! In fact, I not only used purple, I purposefully MIXED a purple lol But the page needed it and purple is one of my niece's fave colours and since it's a photo of us I figured I would include it!
Here are a few more close ups!
And even a process video
Make sure you keep an eye on the CUT to YOU HQ page to see the other girls awesome pages and also to see what other cut files people are playing with! Also, if you are inspired by the challenge head over here to enter your take to win some awesome CUT to YOU goodies!!
I hope you have enjoyed and as always, thanks so much for stopping by!
Hey, hey everyone and welcome to my blog again today!!
Another share for CUT to YOU and today I am sharing a rainbow of flowers lol
So, did everyone see the gorgeous new releases this month?? I am lucky enough to have received a whole bunch of them and I just couldn't decide so I first asked in the CUT to YOU HQ group (you guys were too slow!!) and then I asked hubby and he picked this Loop Flower for me to work with. And then I got an answer on the HQ group - floral so it was decided for me!!
I stretched the cut file to fill my whole background and cut it on white cardstock - I had an idea in my head and using white meant I could PLAY with ALL the colours!! Oh, and if you buy the custom cut Gwen will cut it to fill your background too ;)
I grabbed another sheet of white cardstock (my intention was to use the not cut piece thus my reason for picking another sheet rather than leaving my cut on my mat and adding colour to the top) and got to work.
I knew I wanted to play with my Distress Oxide inks so picked out a rainbow of colours (sorry, no purple, I don't own a purple!! #sorrynotsorry) and started blending my colours, one at a time, using an ink blending tool. I started in the middle with a yellow (easier to find the centre of the page and not add too much of any particular colour) and then did the warm colours and then went back in with the cool colours. I used some washi tape to hold the cut file (now stencil) down for some of the blending but by the end I was just holding it in place and being careful as I added colour. The colours I used (in ROYGBIV except IV order and add in pink lol) Picked Raspberry|Candied Apple|Spiced Marmalade|Squeezed Lemonade|Cracked Pistachio|Peacock Feathers|Mermaid Lagoon
Time for the magic to be revealed!! I lifted off the cut file/stencil and though the whole 12x12 looks great I fell in love with the cut file and it was at this point I changed how I was going to do my background! I do still have my rainbow of stencilled flowers in my stash so I'm certain it will get used!
I added some water splatters to both pieces to get that gorgeous oxide effect happening and used some paper towel to soak it up after it had sat for a few seconds.
From here my page came together super easy - I had a whole rainbow of colours to work with so matching colours wasn't a huge problem but rather than add more colour I chose some gold accents by firstly backing my photo with some gold foiled vellum and a doily. And then of course I needed some gold in my background so I splattered some gold colour shine all over my white background.
I pulled out another "vintage" gold star from Charms Creations and added that to my photo cluster. I created a tag, did some gold machine stitching through the centre of the flowers (side note - IF you want to stitch through this cut file it is WAY easier to sew when it is adhered to your background!!), grabbed some alphas and voila, one completed page.
This is a super fun page and I so love creating with a rainbow! I recently went to a class at a local scrapbooking store where I learnt some new Distress Ink techniques which lead me to give this a go!! Thanks Suzanne!
I do have a process video if you interested in seeing this come together, I do hope you enjoy!
So the cat is out of the bag now and I am super excited to share that the incredible Charm from Charm's Creations invited me to be a guest designer for the month of July and I jumped at the chance!
I do love me some of Charms gorgeous creations and I would be lying if I didn't say that I may hoard them sometimes so when I got a nice little fat package I was super excited to not hoard!! lol
I started this page on recent retreat I was on and finished it off when I got home so no process video but a few photos!
These photos are of my big boy on our family Easter trip this year. We visited some friends on their property about 3 hours away from home and they had this adorable kitten which Jacob was totally smitten with the whole time we were away!
I decided to use a totally different colour scheme for me and ran with yellow and orange and I love it! Especially with those pops of that darker blue! I've used Distress Oxide Inks and the smooshing technique to create that background.
That chevron I just love, love, love and it ties in so beautifully with my whole page! This is one of the Denim, Hessian & Tan Chevron's that came in a mixed pack with also a star, arrow and heart.
I hope you enjoy and make sure you stop by again very soon for some more Charms love and perhaps I will even get more chance to play with some this month!
Thanks so much for stopping by and happy scrapping!!
Melinda
x
Thursday, 17 May 2018
Hey, hey scrappers! I'm here with you today sharing my latest creation for ScrappingClearly!
You can watch the process video below, just click play and enjoy! Make sure, if you haven't already you subscribe and if you like what you've seen leave me a thumbs up!!
I started this page by diving into my ScrappingClearly stash and found these awesome Heidi Swapp September Skies papers that really spoke to me. I had fussy cut that big floral piece from Beautiful Bouquet quiet some time ago and it sat and sat and sat and now it is stuck!!
I also had partial sheets of both the Mountain Trail (B side) and Light Spectrum and thought they worked really well together with the floral so there was my base!
I have added in some mixed media, of course and started with some Scribble Sticks and the packaging technique and then I grabbed my Distress Oxide Ink in Carved Pumpkin and got more of the colour I was after.
I have used a couple of strips of washi from the Teresa Collins Urban market washi pack to break up the patterns and work as my neutral.
I added in some splatters using the Scribble Sticks in Tangerine and I made a mix of Night, Umber and Black for the darker blue splatters.
A couple of paper layers behind my photo using more of the Heidi Swapp papers and also the Teresa Collins Something Wonderful "Printed Paper".
I finished off with one of the Heidi Swapp puffy stickers from this pack and a few word strips from my box of goodies.
Lots of journalling and my page was done! I love the bright colours of this collection and love how all those bold and bright patterns still worked together to create a page I am happy with!
Remember, documenting us and our stories, both big and small, are just as important in our albums as everyone else's story so when an idea jumps into your head, run with it ;)
I hope I have inspired you to put some new patterns together, or perhaps even to tell one of your stories! Please remember to share over in the ScrappingClearly Share & Inspire group, we love seeing your creations!
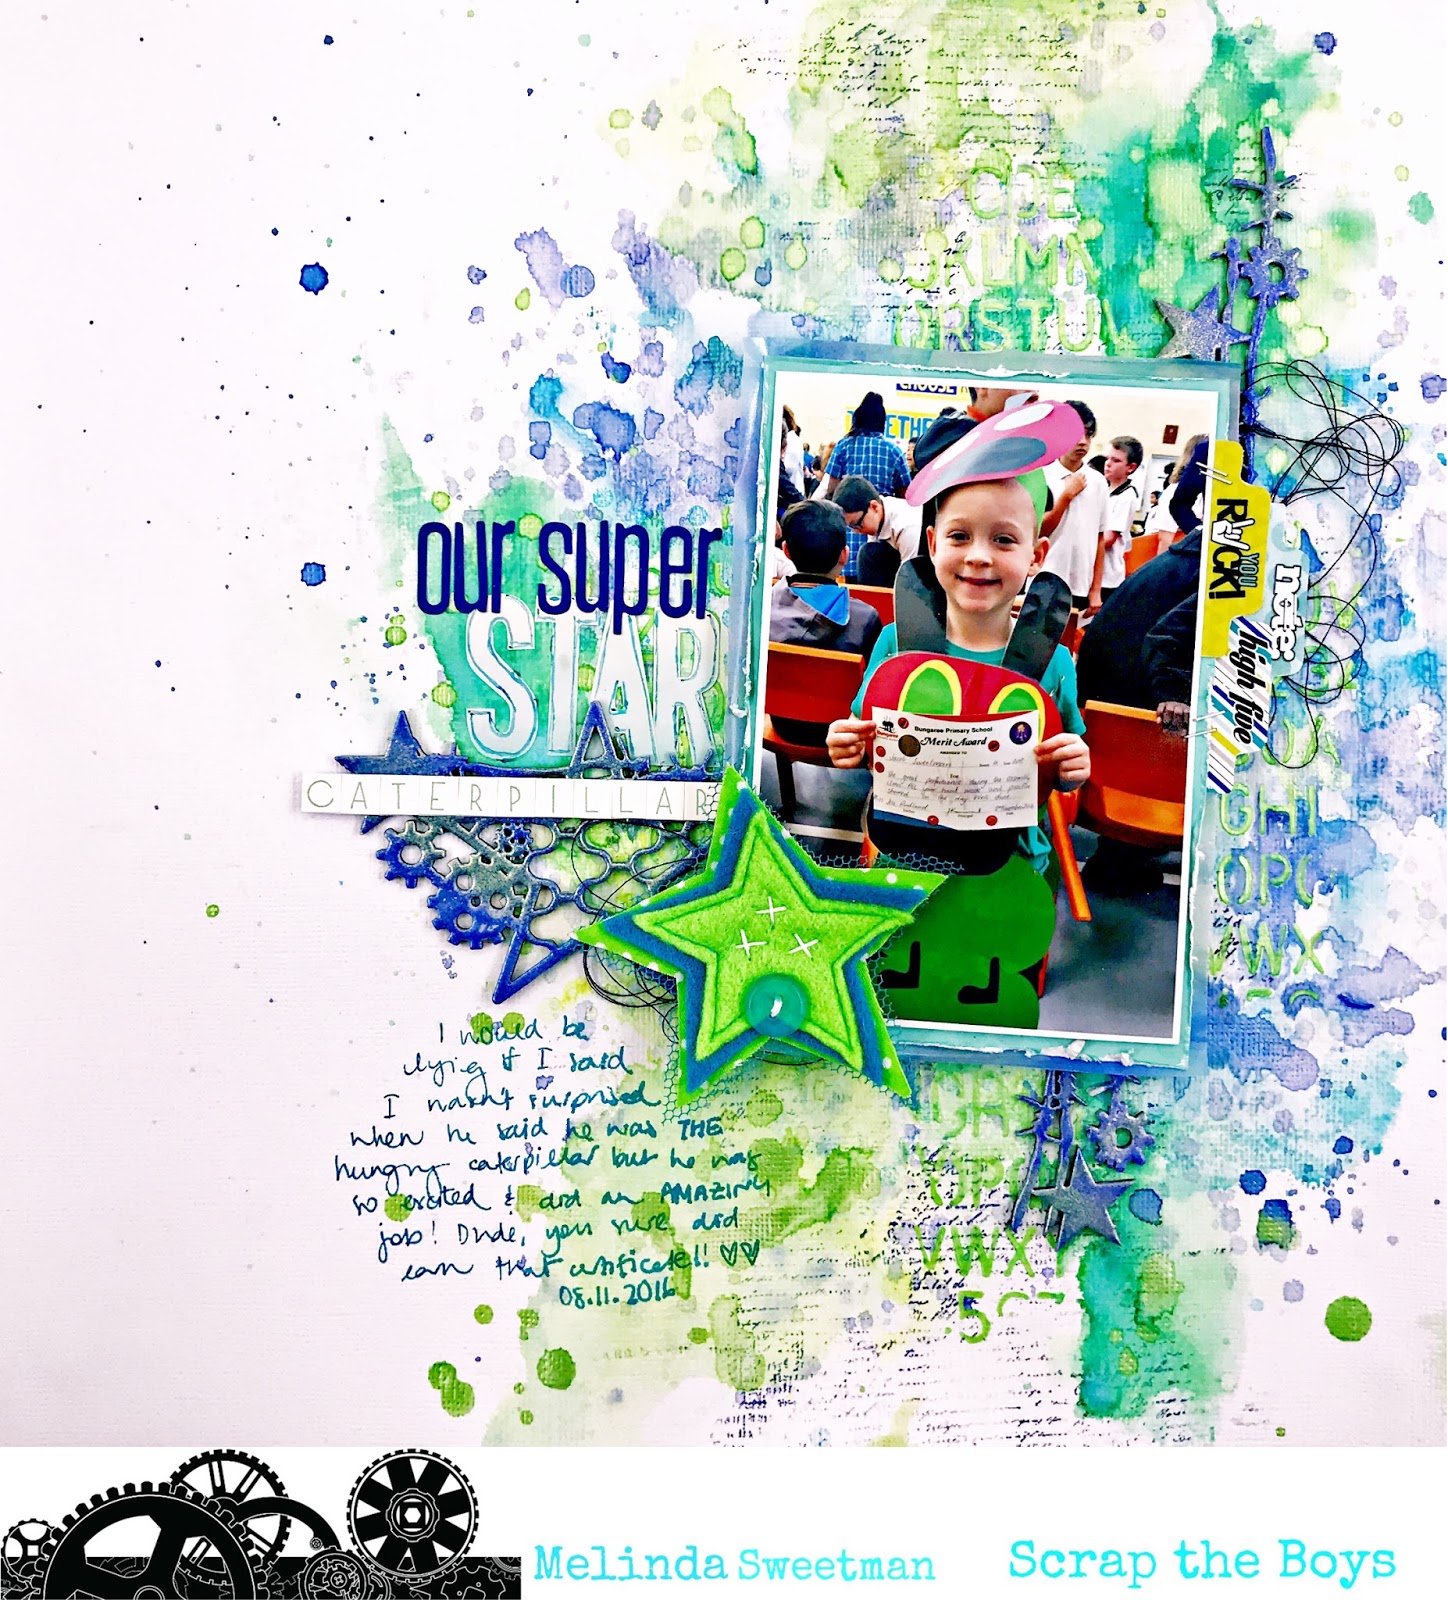
Hey, hey and happy May!! Yes, I know I am "late", what can I say?! Life has gotten busy, the boys were back to school last week, footy season has started and we now have 2 little guys playing and I HAD to take some time out for ME!
So, this is the STB May 2018 challenge!
Isn't it fabulous?! I mean, those colours?! And those really cool images, love it!
Here is my page
And my process video is here
I have used Distress Oxide Inks, Colour Blast Colour Paste and Embossing Powder and Dusty Attic chippy. Oh and a Charms Creation star that I perhaps have been waiting for the *perfect* layout to add it to!
You can see the official May reveal here on the STB blog - the other girls work, as always, is A-MAZING!! I hope that between myself and the rest of the team we have inspired you to play along with the challenge this month! Get your blues and greens on and have fun!
Thanks so much for stopping by, I hope you enjoy and I can't wait to see what you create using this fun moodboard!
Good morning and welcome to my blog this weekend! Do you have any scrappy plans? I do and I hope to be super productive, as always I have deadlines and things I want to create!!
Anyway, I'm here today sharing my newest page created for ScrappingClearly. I have used the very fun Photo Play Boys Rule Collection. I am documenting an interesting story today of my boys being maniacs, even while we were in emergency with my husband last July. The journalling sums up how well they coped and all in all what an awesome job they did in such a gloomy situation!
I was inspired by a couple of stickers in the collection and built my page starting with those....
I also created a process video which you can see below.
I started by tearing 3 pieces of patterned paper from the Collection Pack (Seeing Stars, My Boy and Smash Bang) and layered them on the right hand side of my white background paper and then added a coat of white gesso both over the bottom of the papers (where my photo's were going) and onto the white cardstock.
Time, of course, for some messy fun! I started with a text stamp in Black Archival ink and then used a Dotty Texture stamp with Dark Blue Archival Ink. And then more colour!! Back, again, to my Distress Oxides! I was going to use LOTS of colours but then ended up using only Squeezed Lemonade and Spiced Marmalade and the packaging technique over where the gesso and stamping was.
I also added some splatters using the Faded Jeans Distress Oxide watered down as I felt the white half of the page needed some of that darker blue to balance the right side.
Once that was all dry I added all my stickers and some messy thread in both a dark blue and a bright lime green and I love how that brings all the colours all through the page. The black word stickers are from the Boys FortPhrase Stickers sheets.
Last off was my title using the Black Glitter Heidi Swapp chippy alphas paired with the fun Mini Alphas from Pink Fresh Studio's Boys Fort collection.
I have to document the actual story of the reason we were at the ER in the first place but am kinda stuck - it's one of those stories that I certainly feel like I want in our album but am unsure how to add it in! Have you shared one (or more!) of those types of stories in your albums? How? Please do share, I would love to hear!!
Anyways, I shall leave you here with my last close up! I love the craziness and hectic feel of this page because, for so many reasons, that was exactly how those few hours felt! Oh, and just for the record, in case anyone is wondering, hubby's finger is almost completely healed and you wouldn't even know that he had a run with a table saw last July!!