
Hello my scrappy friends and welcome to my blog today! I'm sharing my latest DT project with you for CUT to YOU! Yep, I said project and not page again!

I actually created this a little while ago as a gift but couldn't share it until this month as the cut file was one of the fantastic freebies Gwen offered for iNSD! Did you manage to snag yourself this cut file for free? If not head over here to the Etsy store and you buy it now!

This is the project I created and it is actually in a frame by Ikea called "Ribba". The inside dimension of the frame is about 9" square and I thought the perfect size for an OTP project that wasn't ginormous or too heavy!
I started by cutting the title and the scissors on some smooth white cardstock keeping in mind the limitations of the inside of the frame.

I decided to back the whole title with some vellum, except for the heart in the middle of the 'A' as I had come up with an idea for the background that did not involve any mixed media lol The person this was gifted to is a (very talented!!) quilter so I used her craft to inspire my background for this!
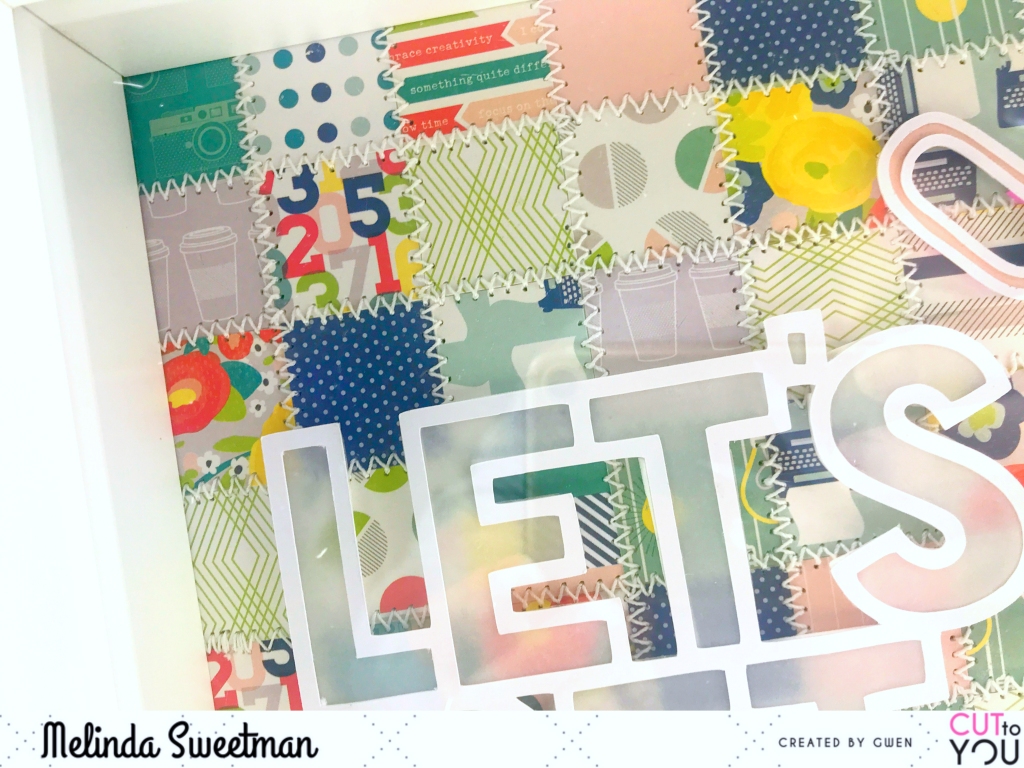
I have pulled out an older 6x6 paper pad by Shimelle and cut a heap of 1" squares to create my background. Without much rhyme or reason, other than not having 2 of the same pattern next to each other, I randomly stuck down the squares to form a kind of quilt like pattern onto some cardstock. To really go with that idea of quilting I also used my sewing machine and did a zig zag stitch on every line, both horizontally and vertically.
With the main part of my design good to go I got to work on my scissors! I've used the same pink from the heart in the 'A' to back the handles. (cause who wouldn't love a pair of pink handled scissors?!)
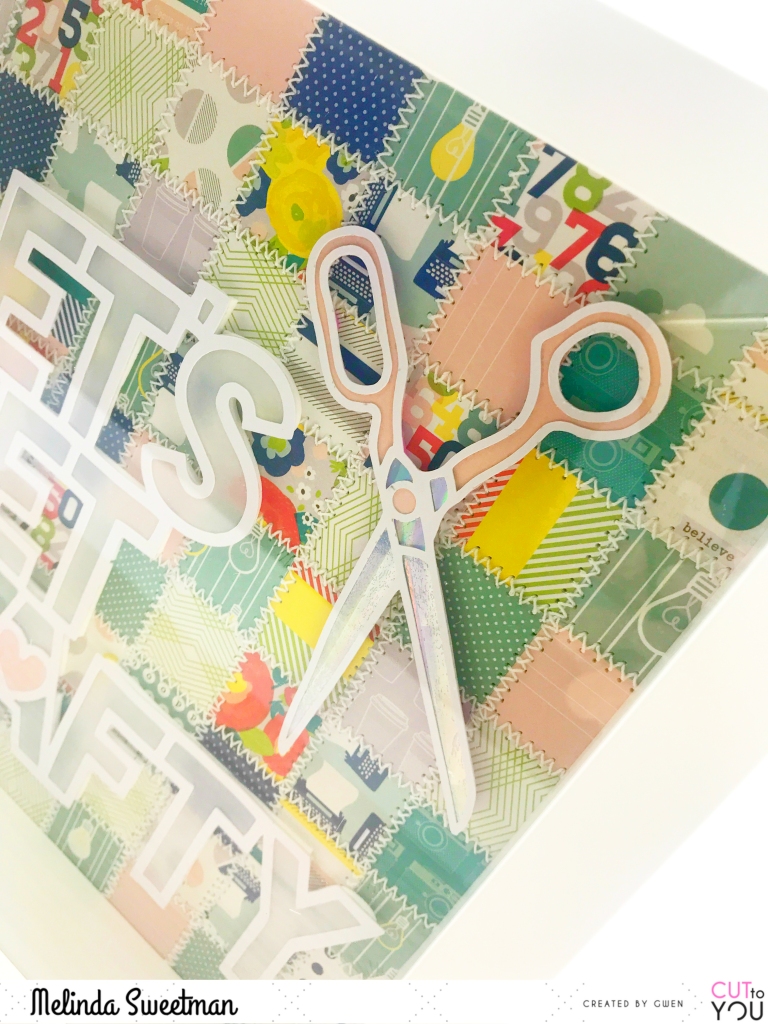
Next I have created my own holographic paper for the blades. This was really easy to do with my Minc machine and the Minc mist! I simply painted some of the mist onto some scrap paper, let that dry thoroughly and then ran my scraps through my Minc with the holographic foil and voila!! I love how these scissors came out!
Time to put it all together! I used foam adhesive around the whole title and also behind the scissors and then used my wet adhesive to stick it all to my "quilted" back ground.
I have recorded my process for this as well so I do hope you enjoy!
This was a super fun project to create and it would be so easy to replicate! And using different papers you would get a completely different look so next time you have a gift to give, maybe you could think a little outside the norm!
I hope you have enjoyed and I shall see you next month my next share!
Happy scrapping!
Melinda
x
No comments:
Post a Comment